I like new art and colours in my home, but I don't like to spend the big bucks. I usually decide to gather some paint colours and do a little DIY. If I get sick of it, I can always go over it and start again with some new colours. On this one I didn't …
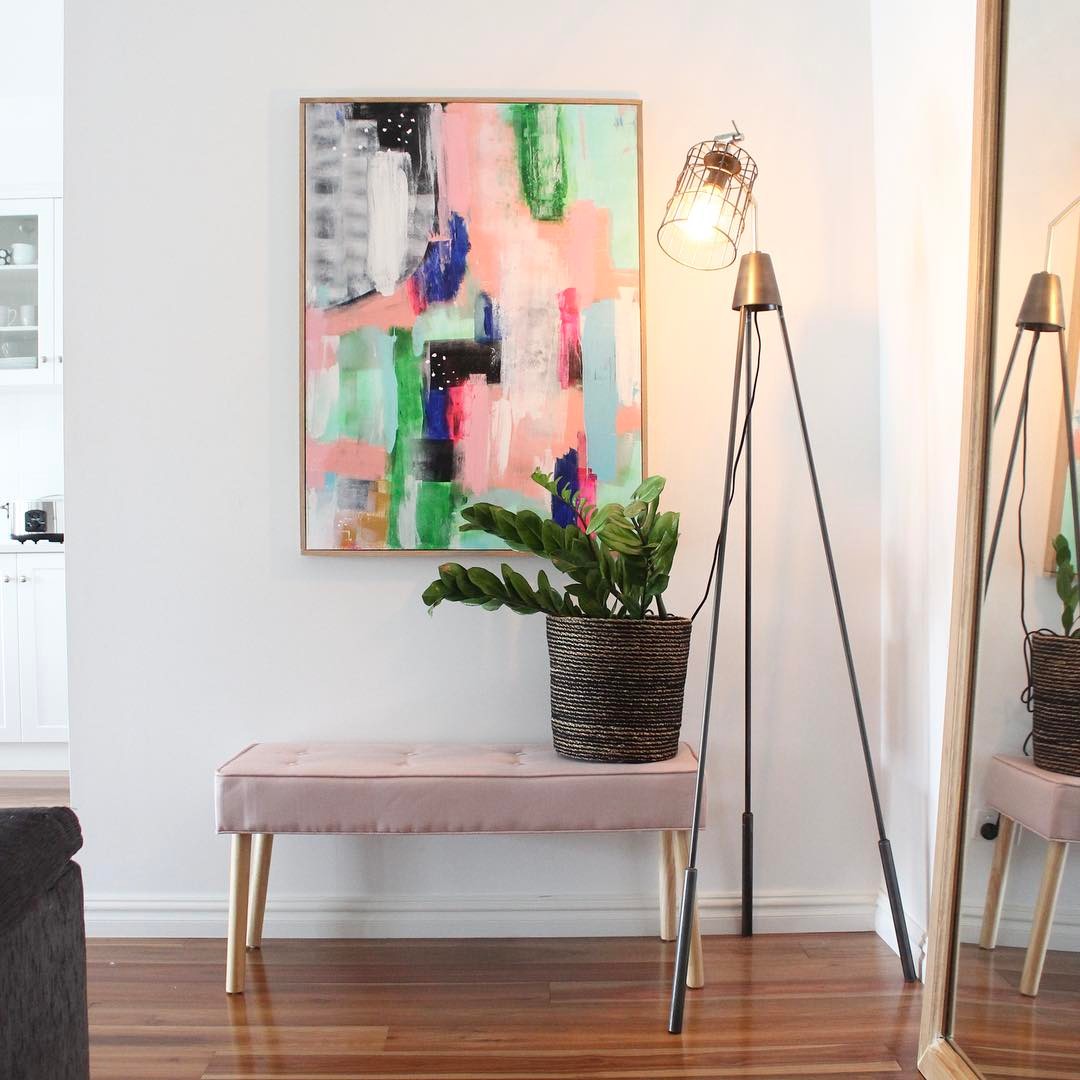
I like new art and colours in my home, but I don’t like to spend the big bucks. I usually decide to gather some paint colours and do a little DIY. If I get sick of it, I can always go over it and start again with some new colours. On this one I didn’t spend a cent because I used what I already had at home, so if I didn’t end up liking the canvas, it didn’t really matter too much.
I had an old canvas in my garage and just rolled over some white paint to start fresh again. The surfaced ended up being quite textured which was good. It had a few layers of paint on it before I even started.
I have a storage room in my laundry and a few boxes with some paint. I grabbed some colours which I thought might match. I didn’t really have any rules, I knew I just wanted to start with black, blue, green and pink…
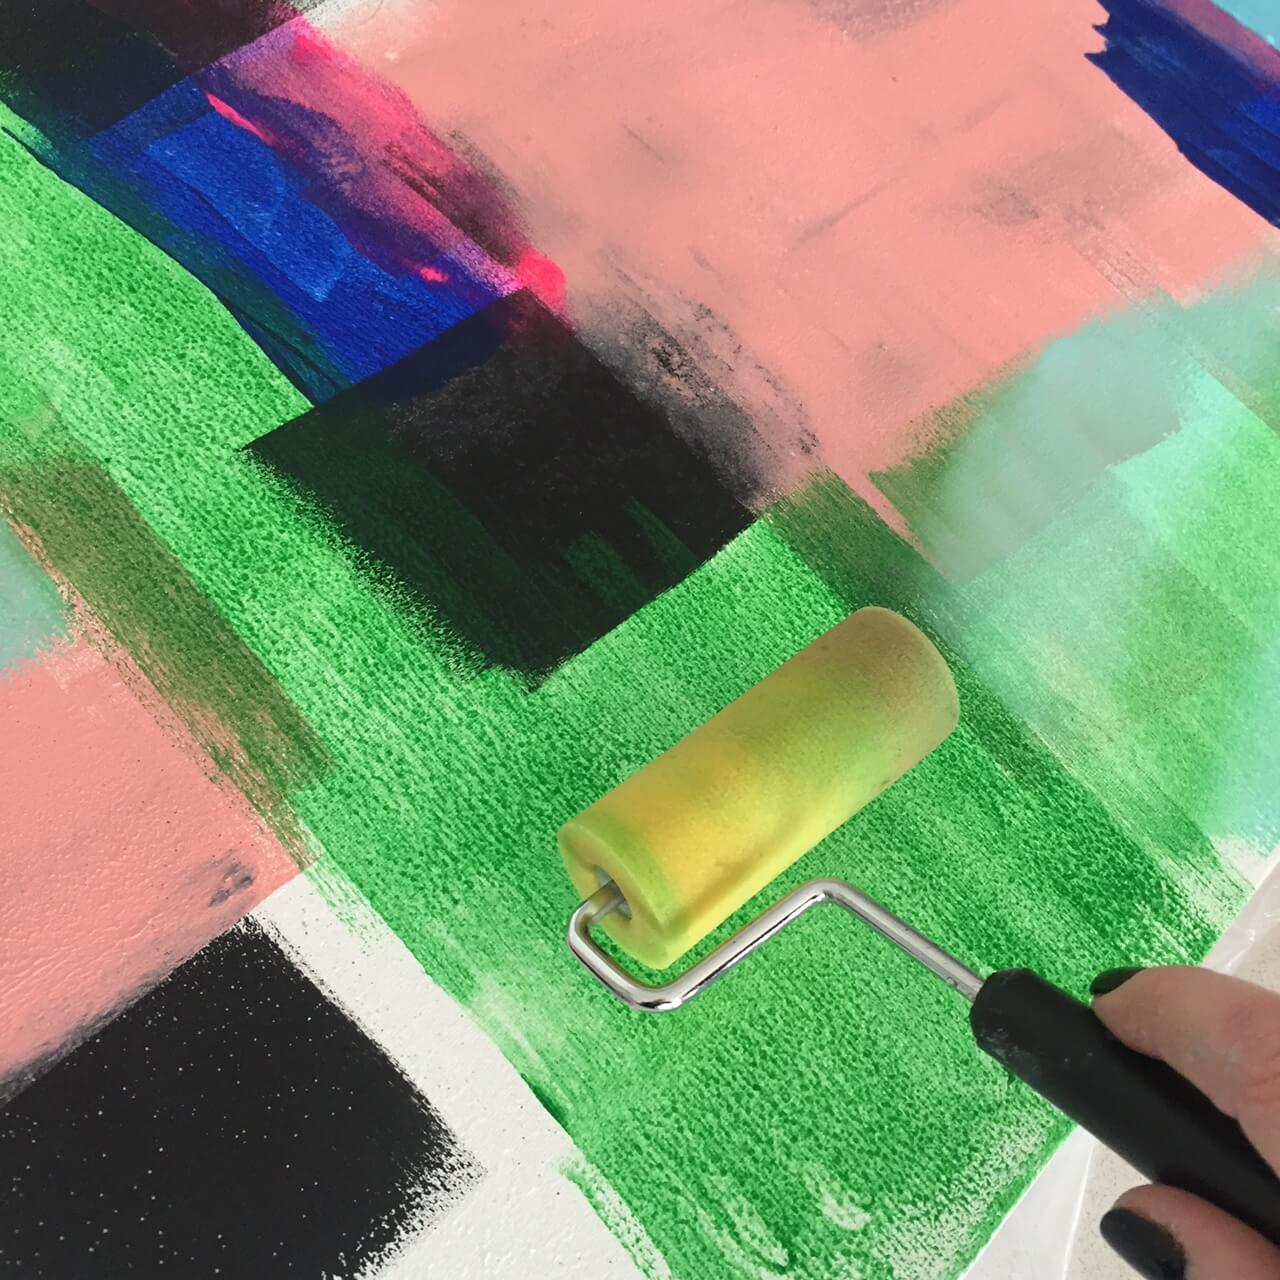
The first layer went on with a little sponge roller. I rinsed it out in between and wasn’t too worried if the edges of each paint colour overlapped.
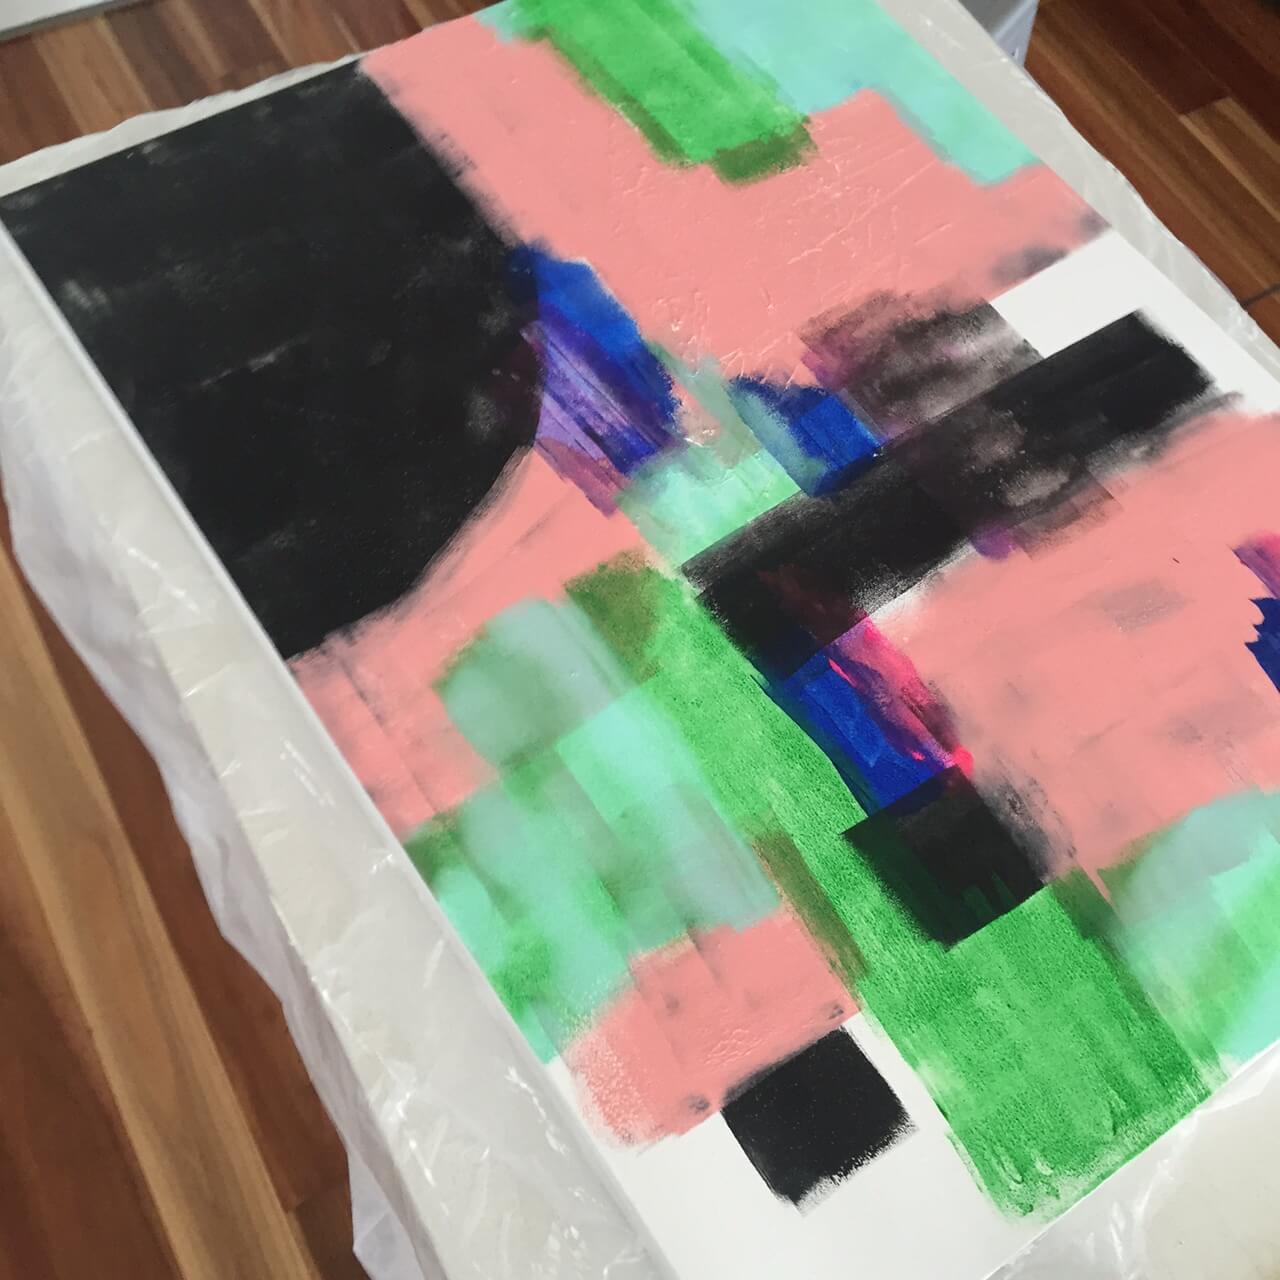
I let that dry quite thoroughly. My 12 year old got out the hair-dryer and did it for me (I was too impatient to wait!). Actually, the hairdyer does make paint crackle a little so this was good. I was happy with that texture.

Then I grabbed a scraper. I had a couple of sizes in my storage room. I started putting sections of paint over the top and left lumps to dry.

I went back over any see-through sections with either the roller again or the scraper….

Then I decided to use a business card. You can use little pieces of cardboard or whatever. Pinterest showed me how to do this!!


Then I used some of the leftover paint on the business card to wipe around in other areas. I wasn’t fussy!

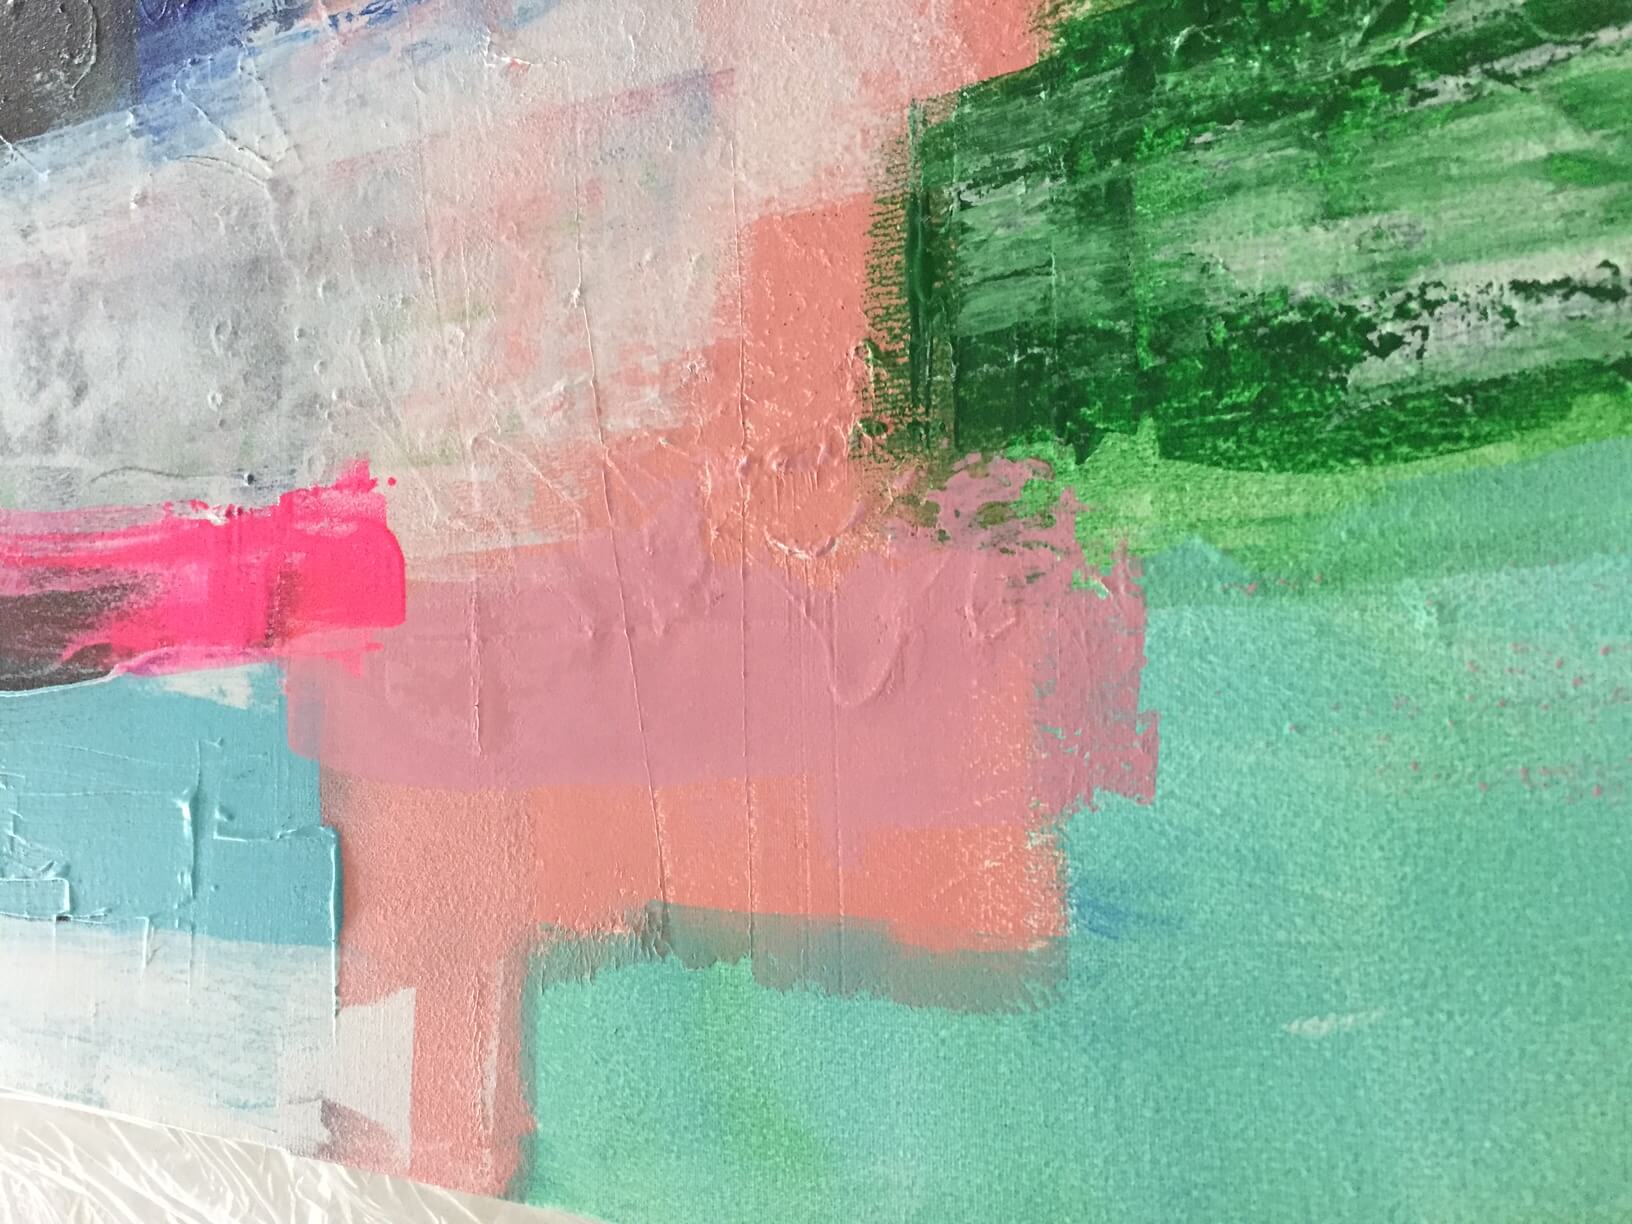
Lastly, I used some white paint with the card to soften all the colours, edges.

Taaa-daaahhhh…

I dripped a couple of white spots here and there. Why not?! 😉


I then added the frame. That’s easy to do too! You can read that post here.

I did this one too last year.
Have you done DIY art before? I wrote this post with some cool tutorials which I think got me fired up to make my own.
♥ KC.
Be the first to read my stories
Get Inspired by the World of Interior Design
Thank you for subscribing to the newsletter.
Oops. Something went wrong. Please try again later.






Comments
Jenna Harding
Looks fantastic! You pay big dollars for ones similar
Keti Hatzipashalis
Top job!
Melinda Drummond
Aren’t you clever! Love it Katrina!
Annette Johnson
Fantastic.
Rebecca Braid
Your painting looks professional and the colours are bang on!!! I want one!
Kendall Lester
Love!!! Maybe I could send you a prepaid satchel for you to pop one in for me???
Mel Corbett
That’s really nice K
Sameera Morales
Wow! Looks so professional, its beautiful!
What type of paint did you use and where do you purchase it from??
Think I’m also going to give it a crack!
Katrina
just paints from a craft store 🙂