Anyone can make these shelves for a kids bedroom, or even your own or maybe the bathroom! So many uses... Anyway, I did this project all by myself. So you can too. No cutting, nothing too hard. My husband took one look at the backyard and said "can you stop making?!" He's only joking, he …
Anyone can make these shelves for a kids bedroom, or even your own or maybe the bathroom! So many uses… Anyway, I did this project all by myself. So you can too. No cutting, nothing too hard. My husband took one look at the backyard and said “can you stop making?!” He’s only joking, he loves a good DIY and he was pretty impressed. 😉
My eldest son (his bedroom is here) wanted to get rid of the white bookcase he had and was after some simple shelves for his trophies. These shelves would be awesome to display LEGO too!
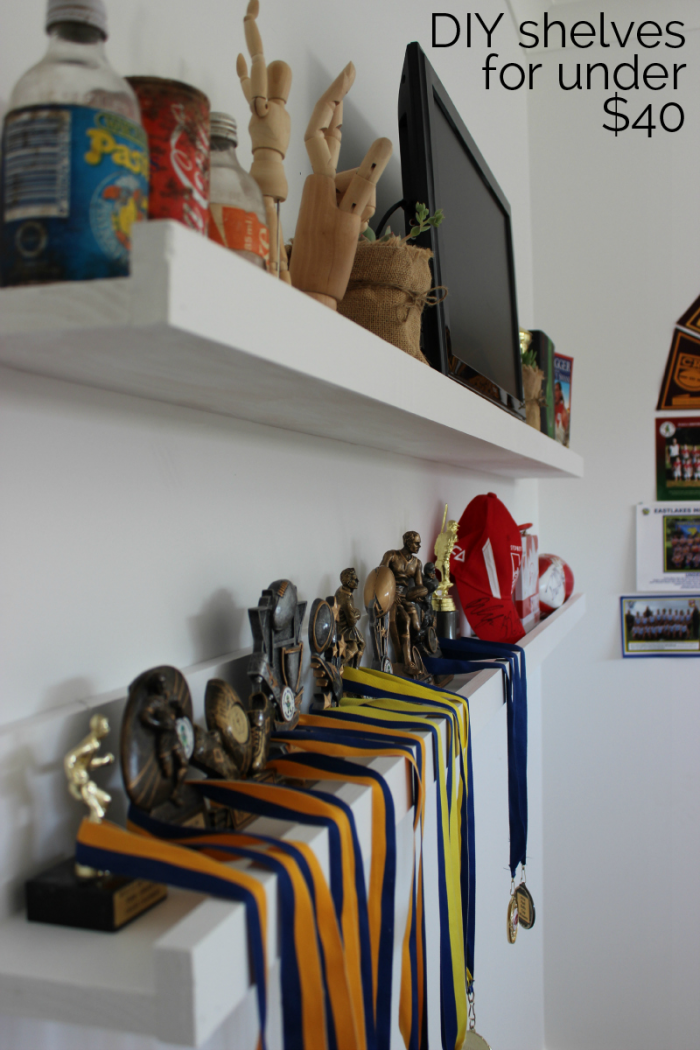
So off to Masters I went to buy the materials (which came to $39!!).
Here’s what you’ll need:
♦ 4 x pieces of pine (110 x 19) in 1.8m lengths. These will form the back and the base. They are already pre-cut so you won’t need to worry about that.
♦ 2 x pieces of pine (42 x 19) in 1.8m lengths. This will be for the front lip to stop everything falling off and give it a frame.
♦ Wood glue
♦ Packet of flat-head nails (not big ones because it’s pine and will split easy!)
♦ Paint
♦ A couple of screws to mount them to the wall when finished
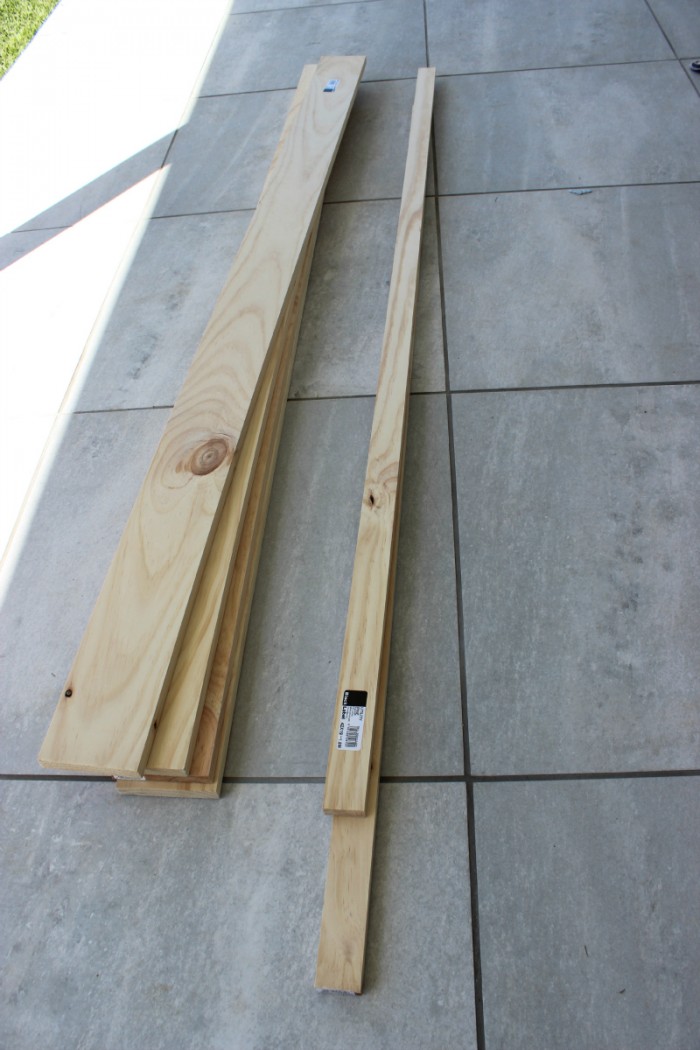
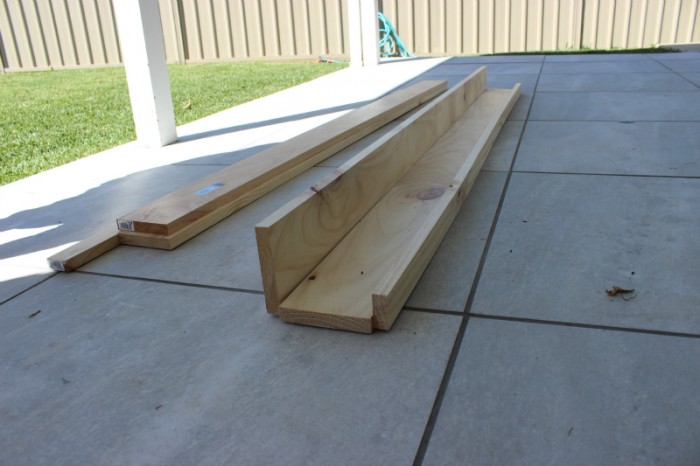
Above is how it will all come together… the base, the back and the front lip. The base sits flat on the ground – the back and lip frame it.
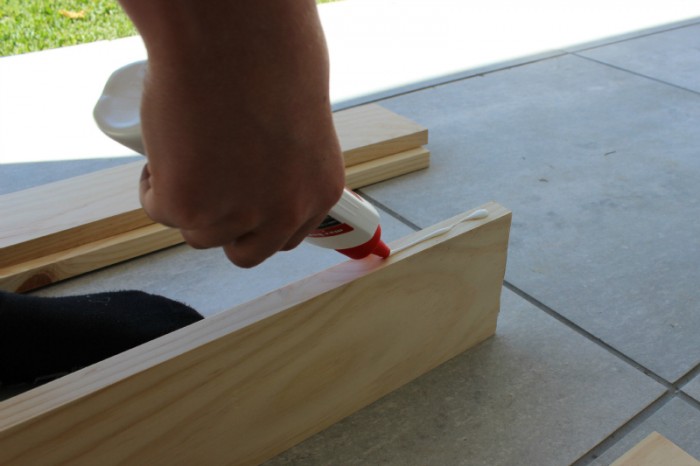
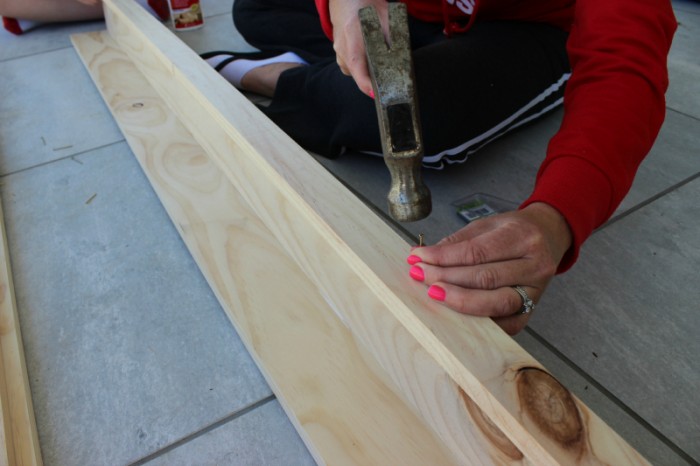
Glue the pieces in place and then hammer in nails to keep it in place (I had a child help me hold everything!). I used about 5 nails across. And here’s the thongs and socks photo we’ve been laughing at on Instagram! At least my nails are ok? LOL.

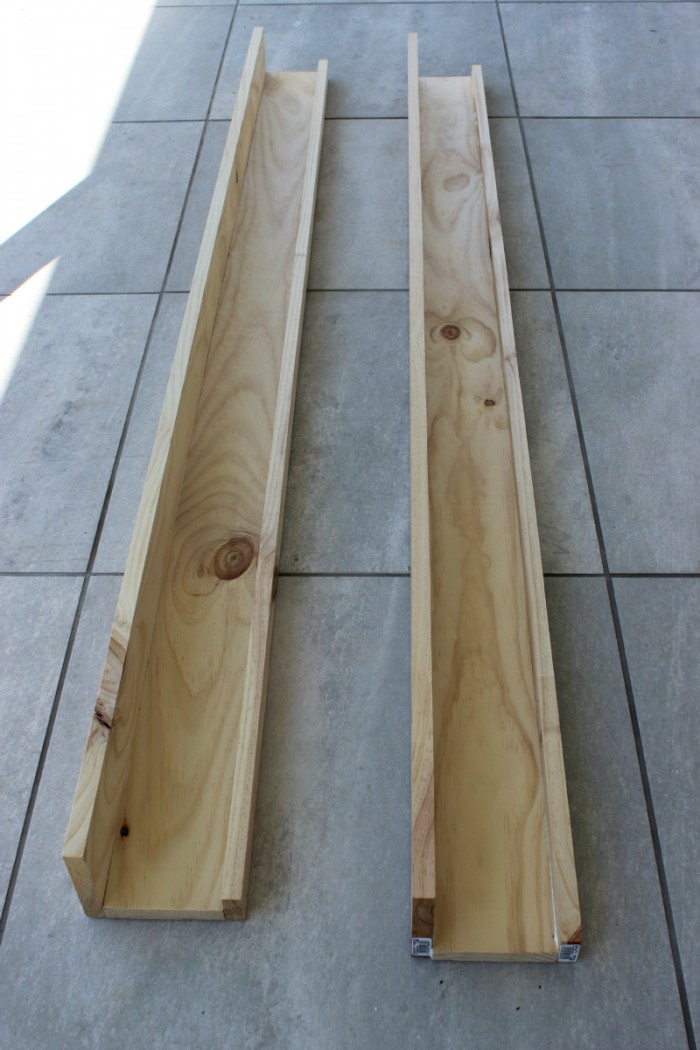
See, easy! They weren’t hard to put together and above you can see it’s all in place and they won’t fall apart.
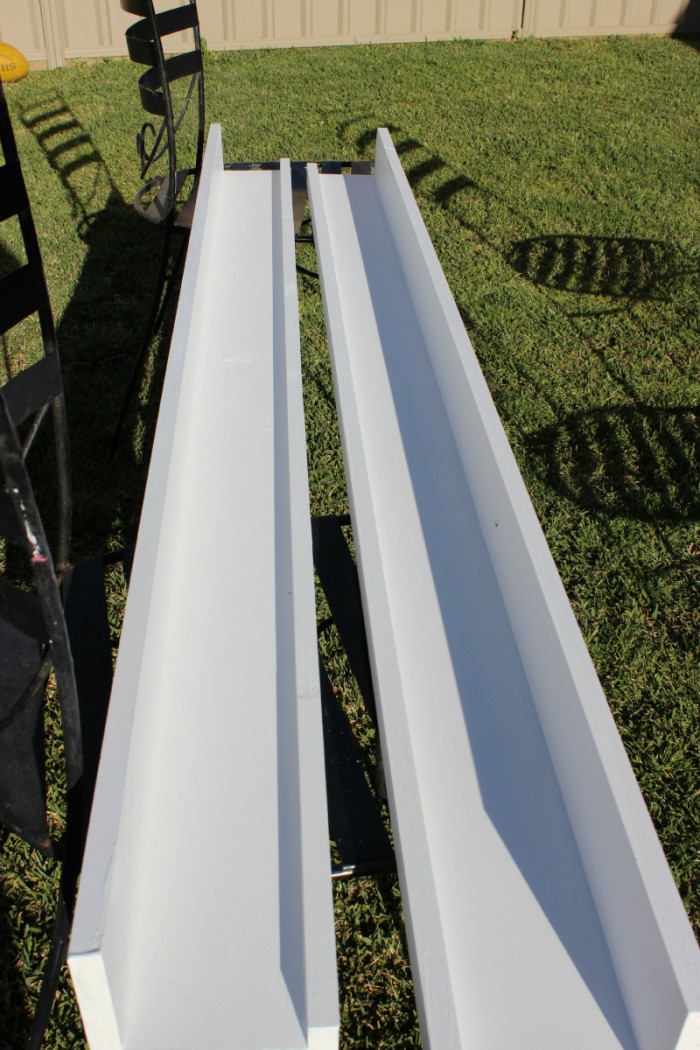
I gave them a few coats of white paint. I think they’d also look cool in a funky colour!
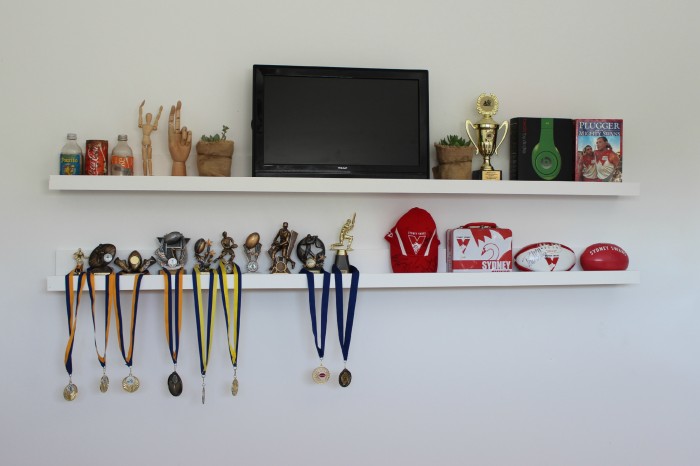
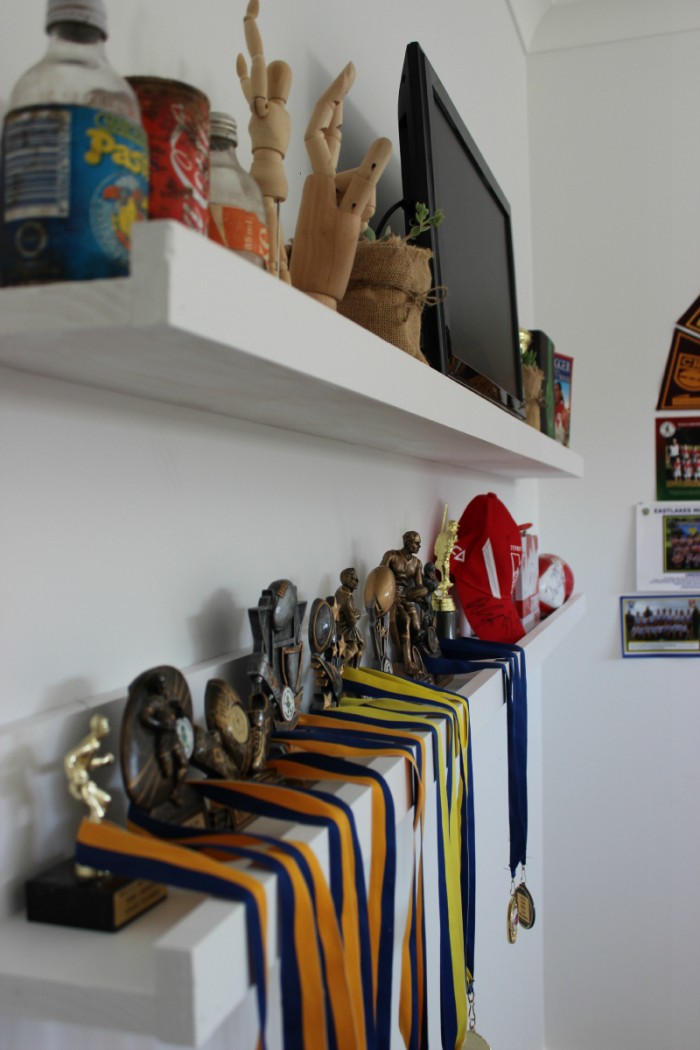
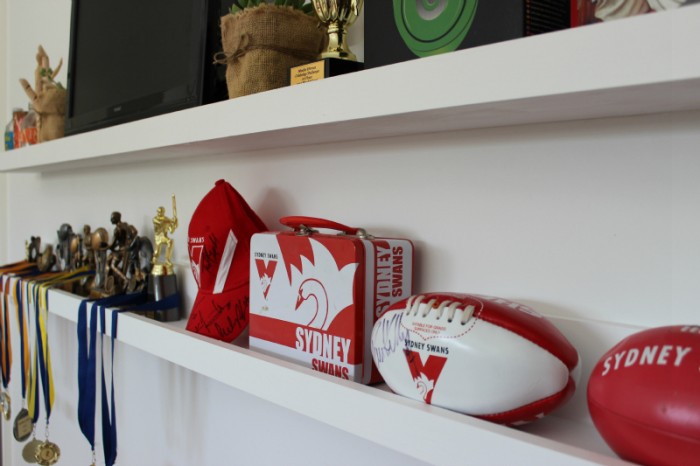
I used a stud-finder to find the studs in the back wall, then used the drill to screw the shelves on the wall. Only needed 2 screws per shelf and you can’t see the screws because I touched them up with paint and there are things covering them. We’re growing that shelf full of trophies! You could do more than 2 shelves and put books or anything on them.
PS. The tv points were put in when we built so they are up high behind the tv (yes, you know I hate cords with a passion!).
Do you think you’ll give this one a go?
Happy DIY-ing. ♥ KC.
Be the first to read my stories
Get Inspired by the World of Interior Design
Thank you for subscribing to the newsletter.
Oops. Something went wrong. Please try again later.


