
Sponsored by Masters and Nuffnang Hi there! Thanks for coming by to see Part 2 of my floating shelf makeover. Thanks to Masters Home Improvement, they set me a DIY challenge and this is what my husband I decided to do - it was not difficult and I am positive you'll be able to do …

Sponsored by Masters and Nuffnang
Hi there! Thanks for coming by to see Part 2 of my floating shelf makeover. Thanks to Masters Home Improvement, they set me a DIY challenge and this is what my husband I decided to do – it was not difficult and I am positive you’ll be able to do it too!
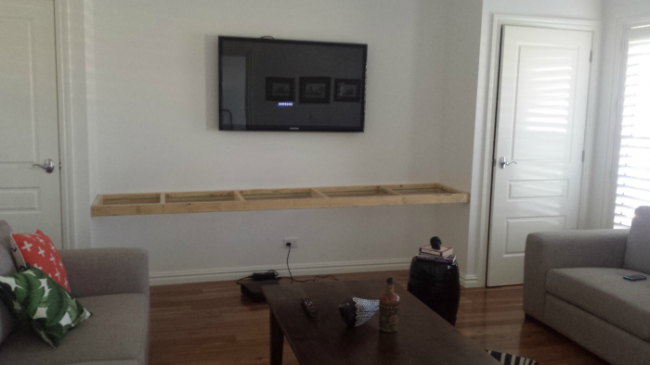
Here’s what I wanted to do:
• I needed 2 big floating shelves under a tv area between 2 storage cupboards.
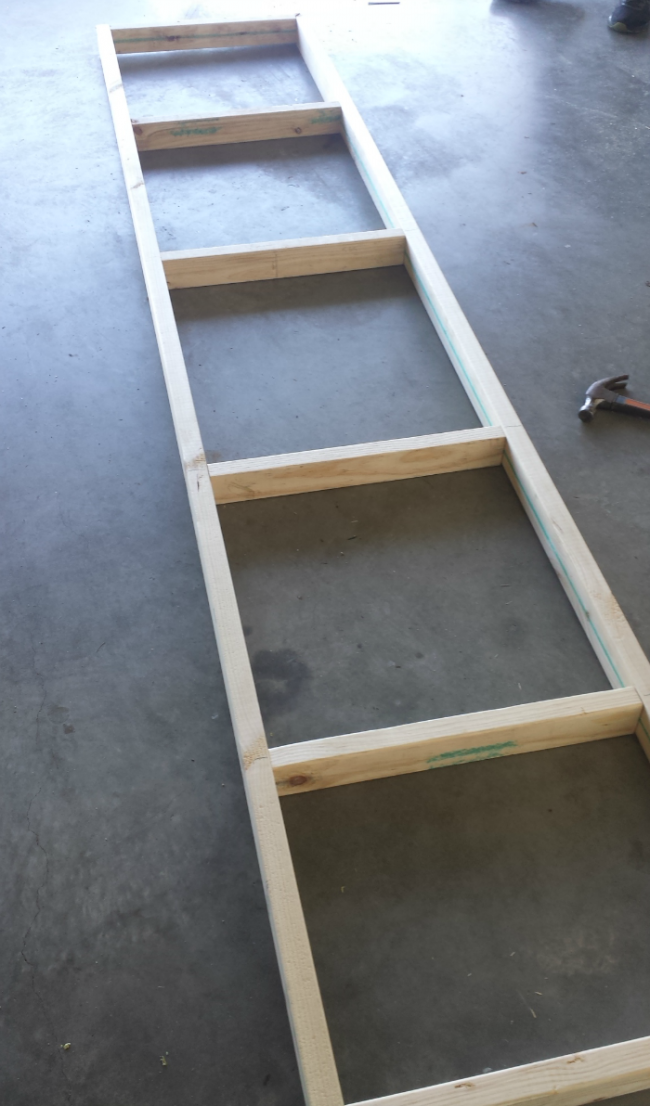
• I wanted to make a frame to sit inside the space, and plaster (gyprock) the entire frame. This would mean square setting the corners.
• The frame/plaster idea would give me the width and length I required, plus be easy to mount to the wall and I would not need any brackets.
Are you with me? Ok, let’s see the progress photos below…
Masters offers over 35,000 products including items from:
1. Building, Timber & Tools
2. Electrical & Hardware
3. Decorating Lighting & Fans
4. Flooring & Tiles
5. Kitchen & Appliances
6. Bathroom & Plumbing
7. Garden & Outdoor Living
We decided to hang around the building and timber products for this job…
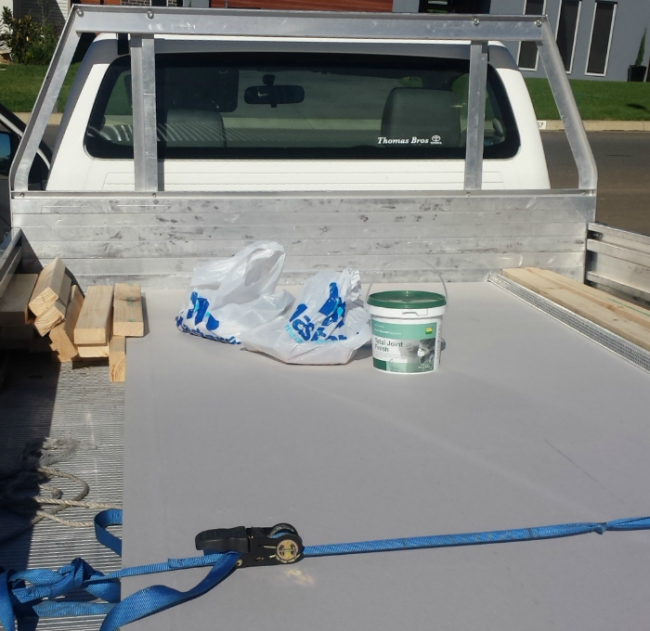
We bought:
– Timber for the frame
– Plaster sheets
– External corners for the plaster
– Plaster cement
– Screws, nails
– Sanding block
– Paint
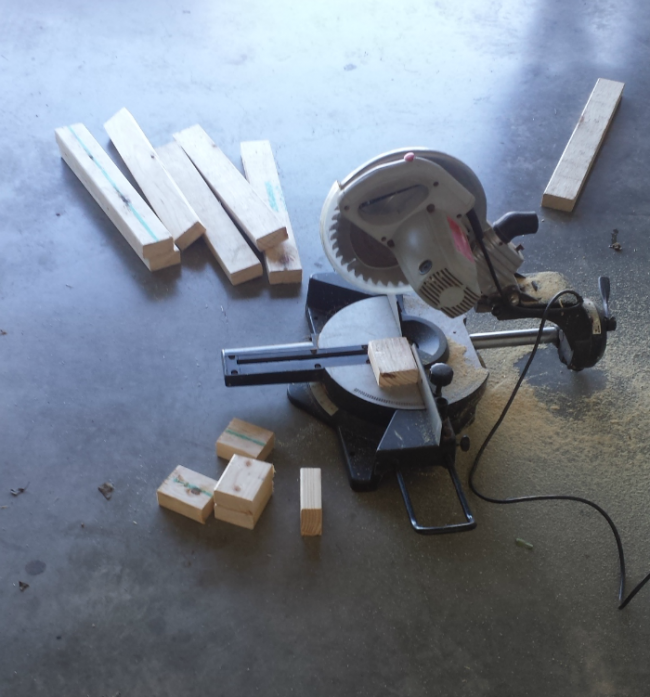
Masters pre-cut all our long pieces of timber for the outside part of the frame. We kept the off-cuts and cut those to size when we got home. So, just take your measurements to Masters if you don’t have the tools to cut yourself – they’ll do it all for you!
TIP!
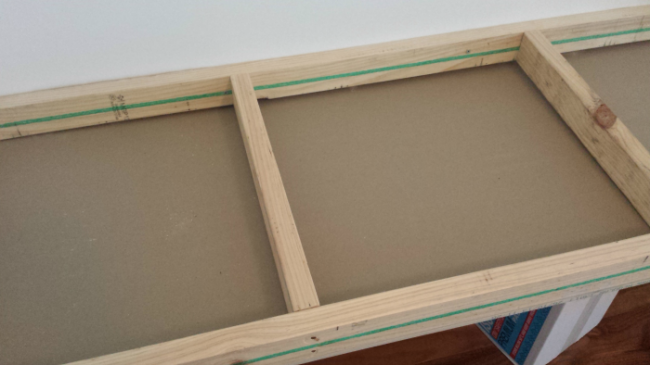
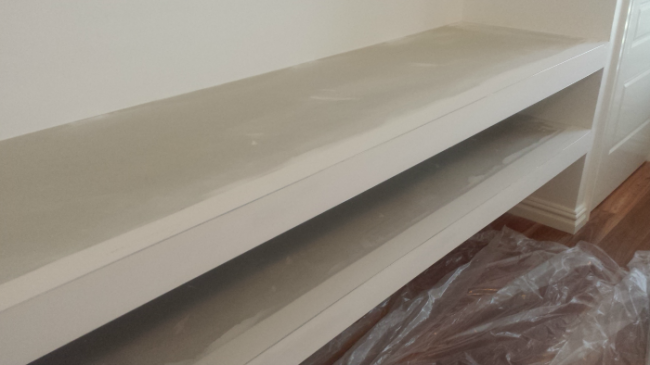
You must put the bottom piece of plaster on before you mount it to the wall or you’ll never get it on. Just use your frame to lay on the plaster and score it with a knife and break the plaster off. This is really easy. It doesn’t matter if the edges are a little ratty because you’re going to plaster them. Just nail the plaster to the frame.
We have a stud-finder so when it came to mounting the frame in to the wall, we obviously found the studs and hit the frame in to those.
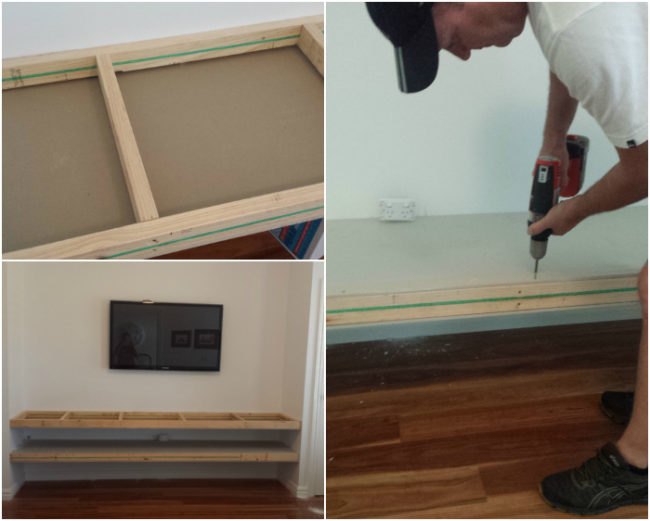
As you can see in the above photos, we put the top piece of plaster on before we mounted the top shelf in to the wall.

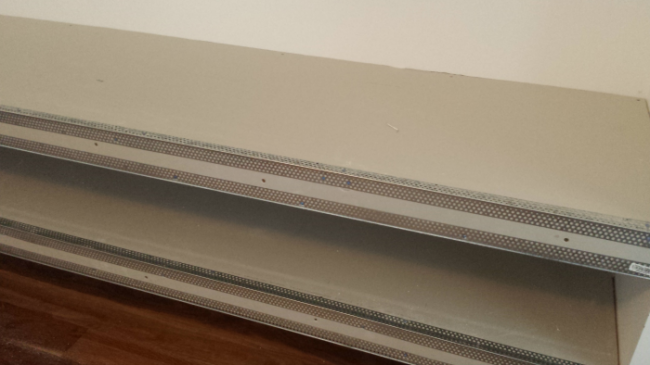
On go the external corner brackets. They were really long, so we used a pair of tin snips to cut them to size. They are then just nailed in to the plaster. This will give you a nice neat edge!
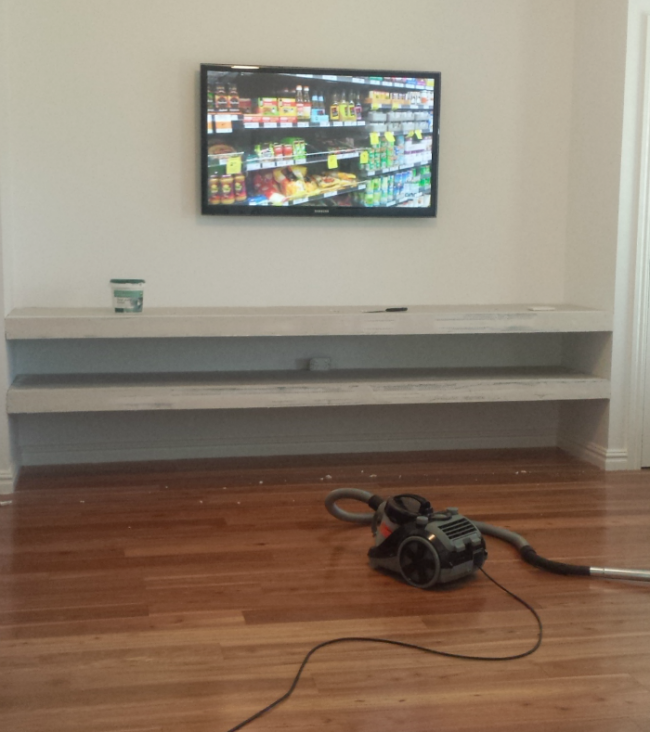
… And here are the shelves after they’ve had the plaster troweled on. I must admit I got out of doing this part! My husband wouldn’t let me near it haha! He is a perfectionist so I let him do this quietly on his own whilst I attended to children. We did NOT hire a plasterer! Truly, it wasn’t hard… just a bit of patience and take your time smoothing it on. It had about 3 coats. So the first one was a light coat and then it got thicker until you couldn’t see the external metal corners. Then it got a light sand so it felt smooth and was ready to paint.
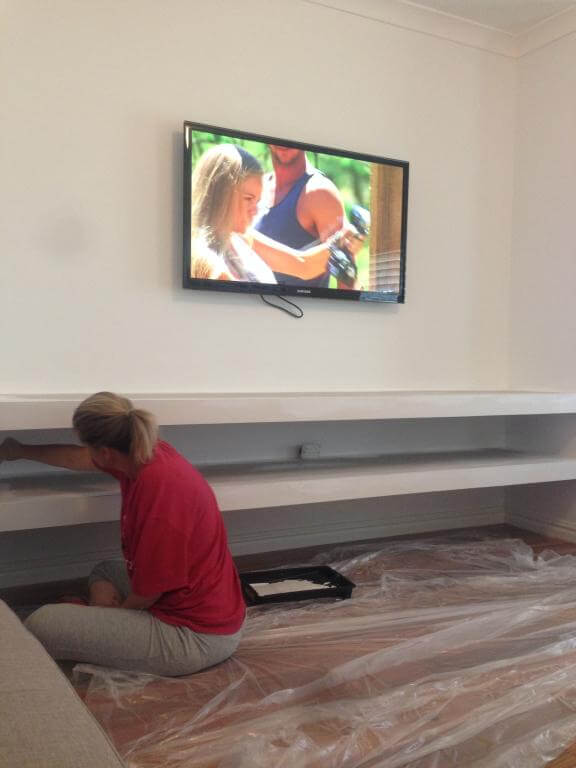
Now I switched back in to gear and got busy painting it! We all argued in our house about which type of paint to use, but we ended up going with the flat white (to match the walls and make it look seamless). I originally wanted to do them in a semi-gloss but my husband didn’t want to. Haha! He won on this one!
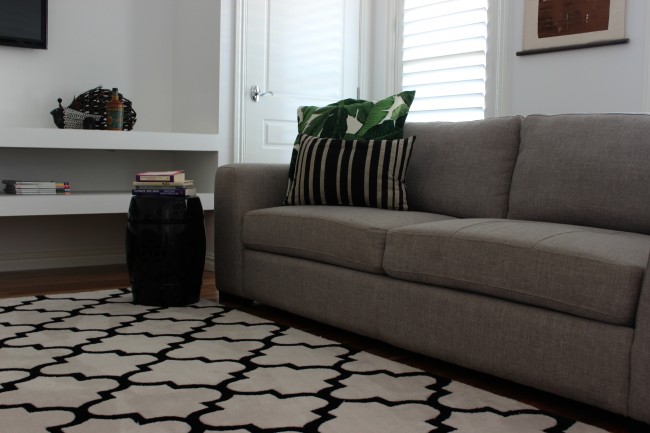
Here’s the finished job…
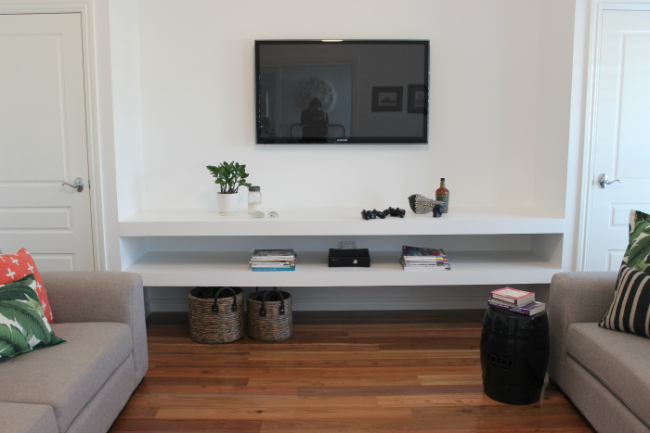
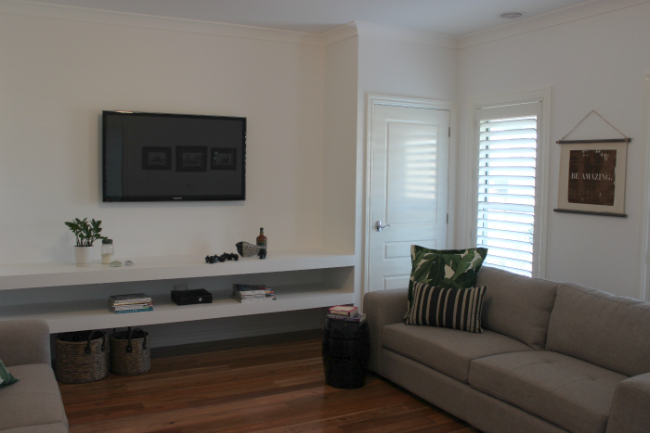
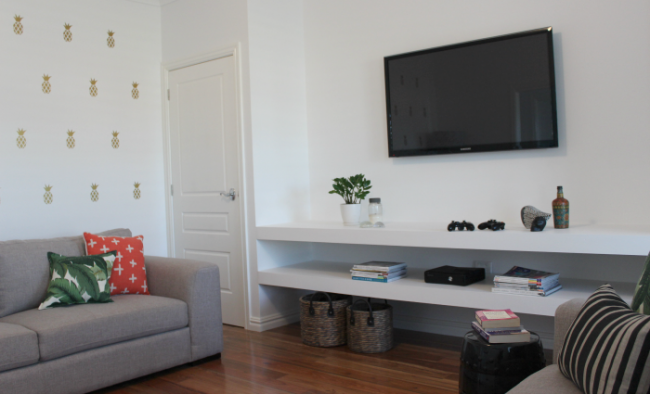
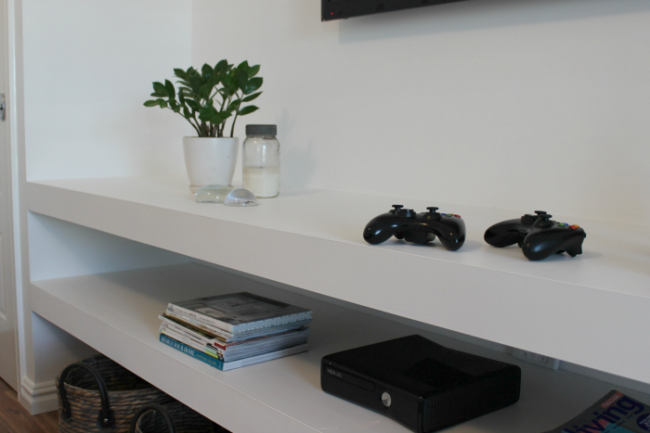
I just need to buy some nice pieces and style the shelves up! They’re rather boring at the moment 😉
GIVEAWAY TIME
I am also going to give 3 lucky readers a $50 Masters gift voucher! All you have to do is answer this question and you’re in the draw…
How would Masters help you with that DIY project you’ve always wanted to do/been putting off?
Giveaways are in accordance with my disclosure policy. Giveaway is based on skill. T & C’s are here.
CLOSED. Winners are in comments.


Comments
Soni
This is very ambitious for me, but I’ve been wanting to build a small deck and a Masters gift card would help me buy the wood!
ClaireT
I would love a Masters gift card for my laundry, that’s if I had a laundry! The previous owners of our house turned the laundry into a study (bonkers!), so with two kids (including a baby) as well as the usual mounds of stuff, I have to cart them to the garage in all weather to launder. I would love to make a little bench and nest for my washing machine in the house, I would actually enjoy doing washing!! Can you imagine?
Kelli-Anne Woodford
I would love the voucher to buy some new handles for a tv unit. They’re looking a bit ‘blah’.
Odway
My husband thinks he is a real handyman, but I’m forever ‘politely reminding’ him to finish any one of his half-done projects! If he would just fix the broken kitchen cupboard door I would be a very happy lady! Masters would help me to buy my very own power drill to make him jealous… let’s see who can “get around to it” the fastest now hey!
Syed
My DIY project is smaller than others; I have a cycling machine at home and am on the laptop all day; my project is to build a laptop stand, so that I get my cycling in while surfing the web. The $50 Masters voucher would probably more than cover that project!
Lara Daebritz
The planter-box at my front door – it’s full of weeds;
Re-planting with pretty flowers is what it needs!
And Masters, it has a gorgeous garden section;
With flowers a-plenty for my careful selection!
marypreston
My under the tub laundry cupboard has literally fallen apart. Masters could help me revamp the entire area. I could do away with the duct tape that is holding it all together. Shame!! Shame!! Shame!!
Moni
I want to turn my front yard into an edible garden, full of herbs and other seasonal vegetables! I need to build planter boxes, set up irrigation pipes and so much more! Lots or work, but it will be awesome when it’s done! Masters has almost everything I need to make this project happen so it would be great to put the voucher towards all the materials!
Melissa Jones
We have slow water leak from toilet tank which is because the tank is too old. We’re gonna get a new one from Master to replace it. A couple of days ago my hubby just replaced the kitchen mixer tap which was bought from Masters.
JBMarigold
Wires, turnbuckles, a sapling or three… That $50 gets me started on those espaliered dwarf apple trees!
spog777
a great start to buying the implements I will need to paint the inside of the house this winter
Jules
Hi Katrina, I have been struggling to find an ETU I like so this would be perfect! The only thing is I don’t have the walls on either side, I have one large long wall. Do you think just ‘floating shelves would work?
Sara
Nice! What are the measurements of the final result? height width and depth please?