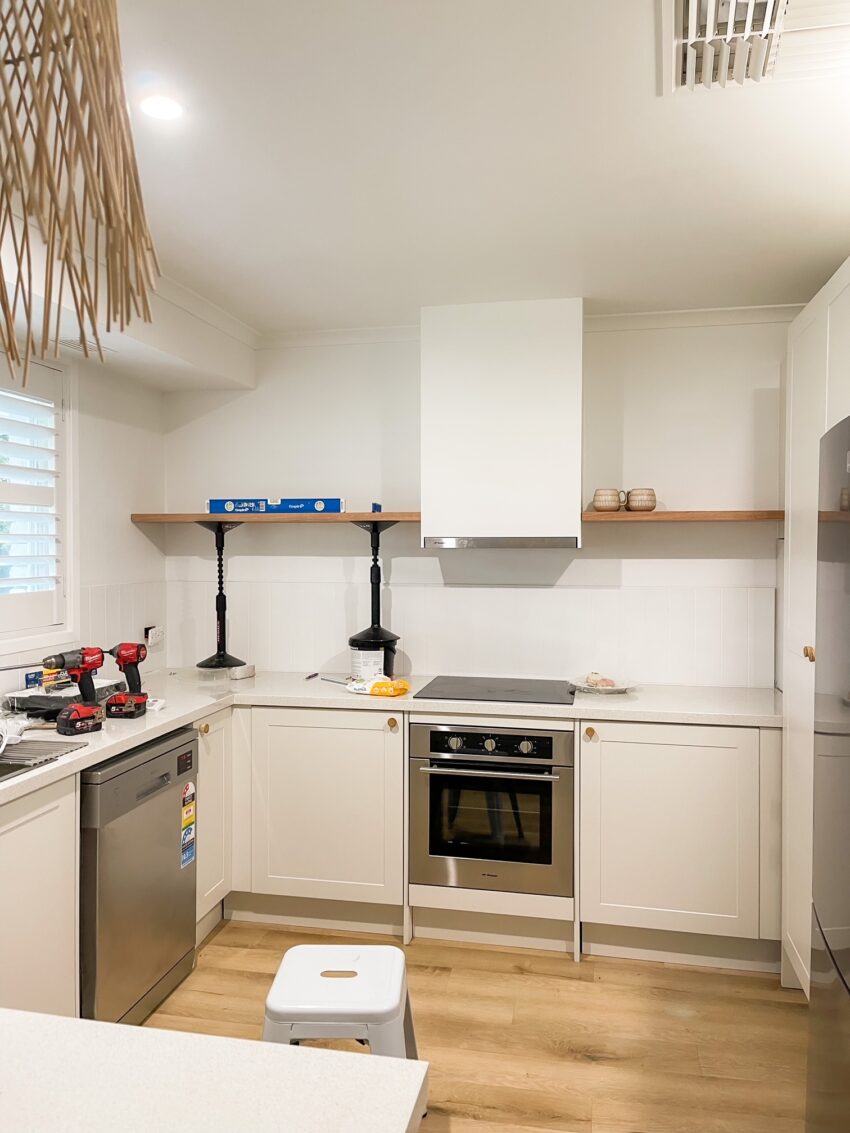
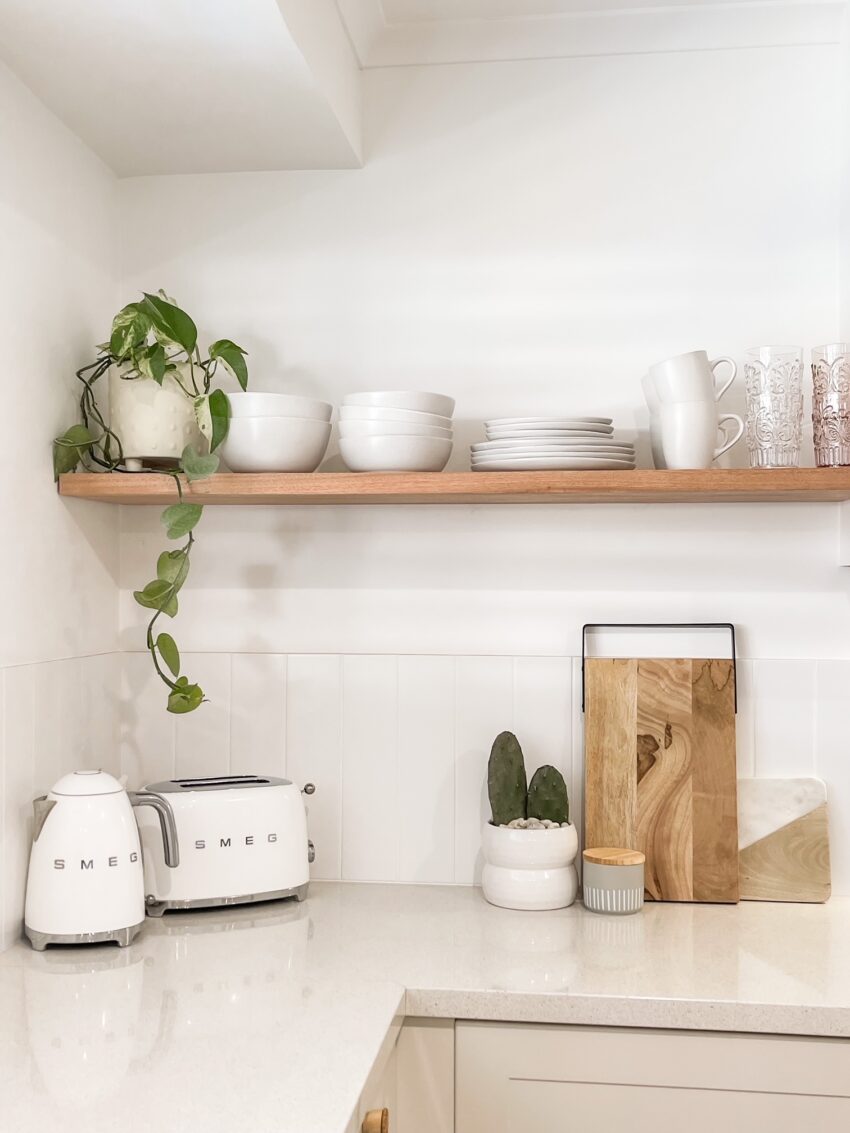
Here's how to DIY floating timber shelves - Buy some oak timber, metal rods and liquid nails from Bunnings. Mark out where you want the shelf and find the studs in your wall. Cut the shelf to size and seal it. Cut down the rods (use a grinder) so they are about half the depth …
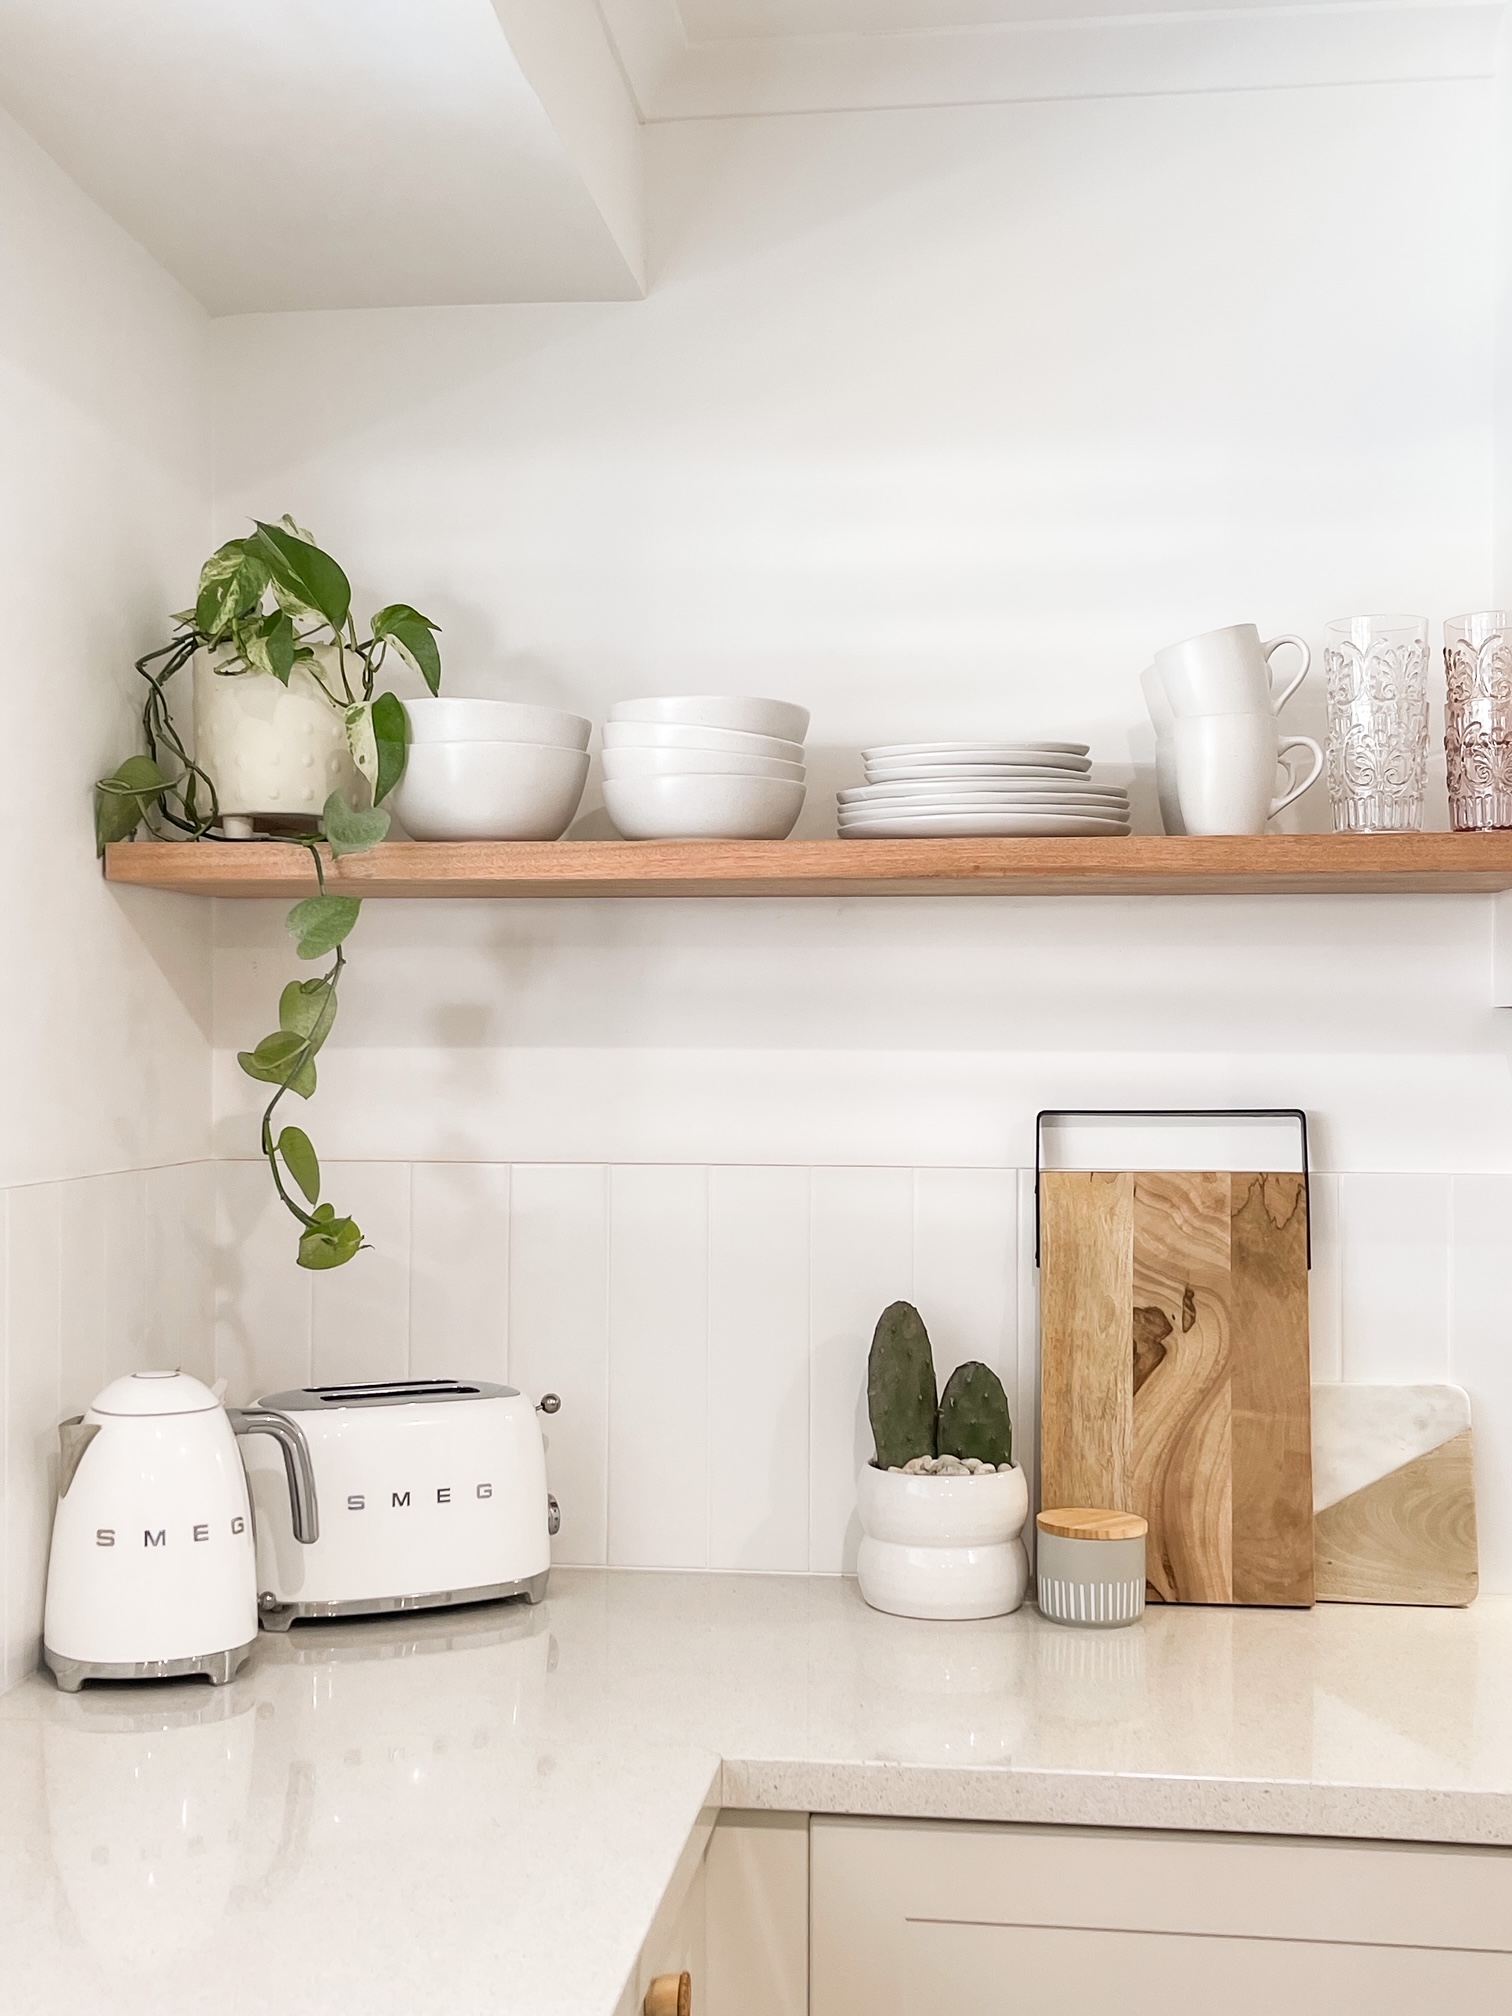
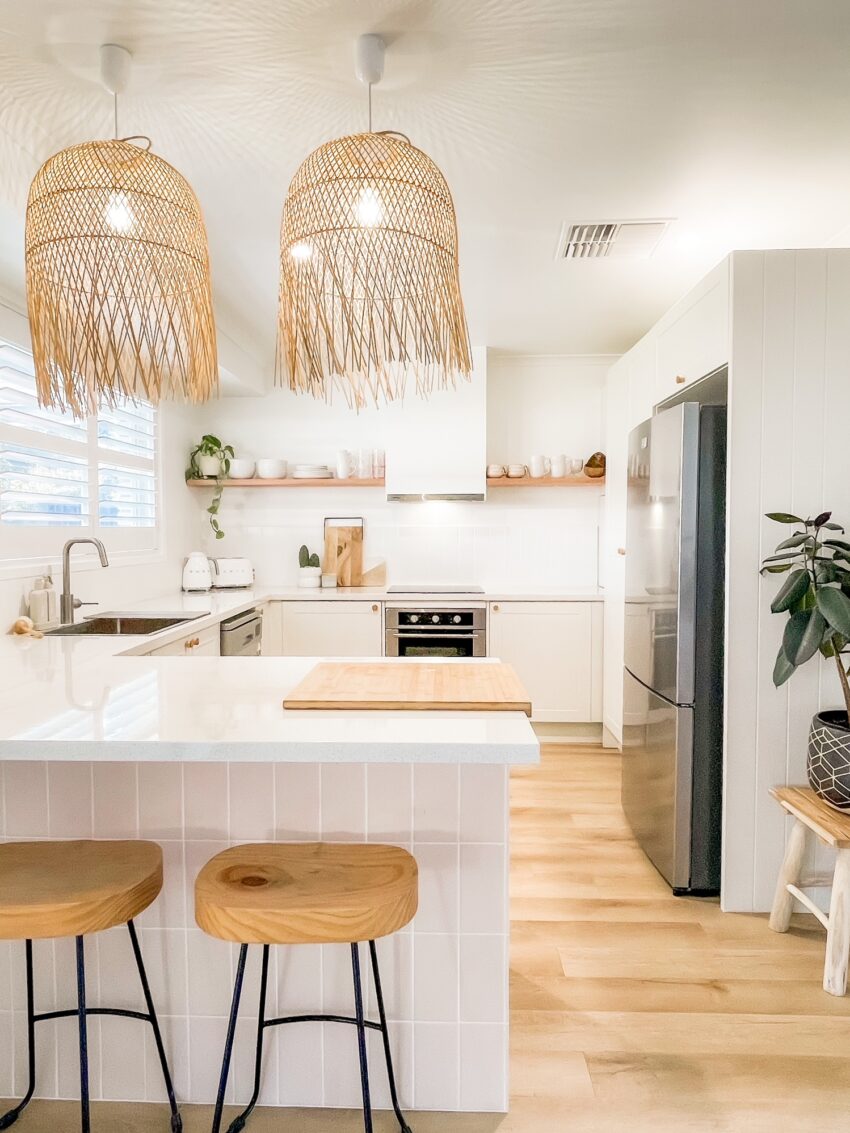
Here’s how to DIY floating timber shelves –
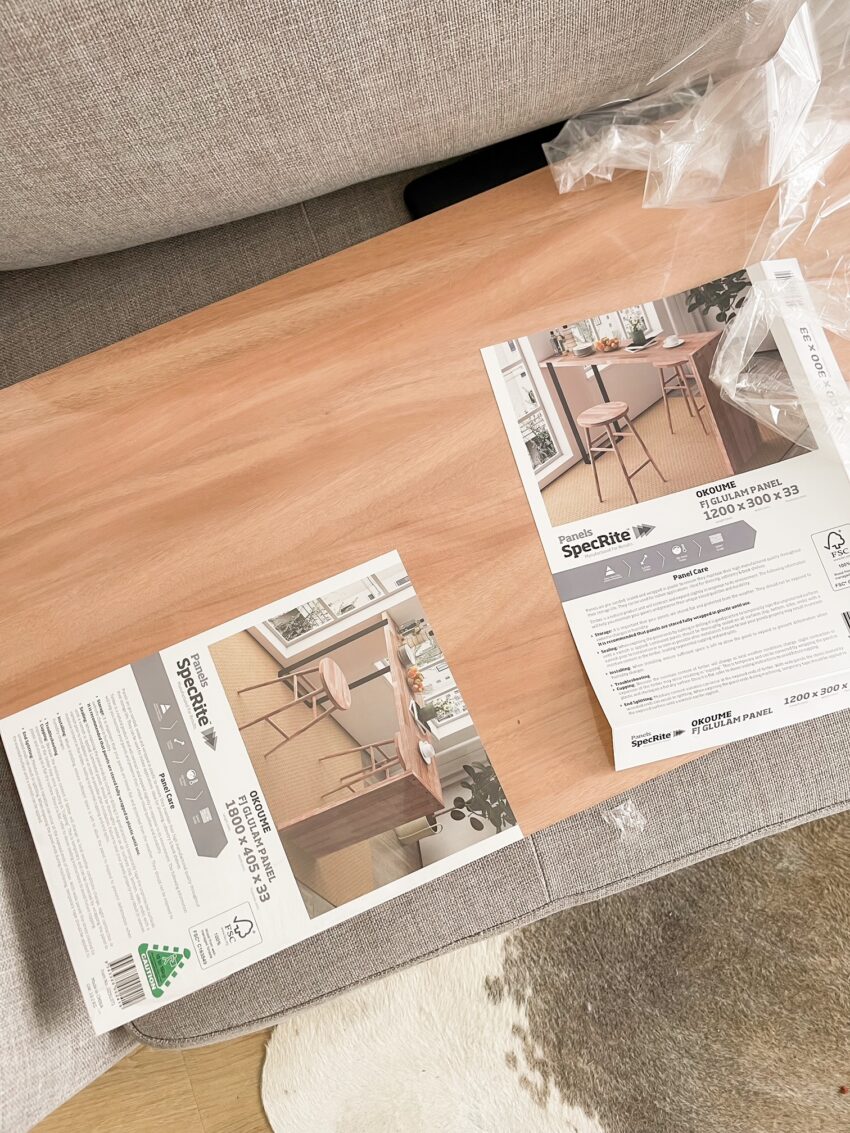
Buy some oak timber, metal rods and liquid nails from Bunnings.
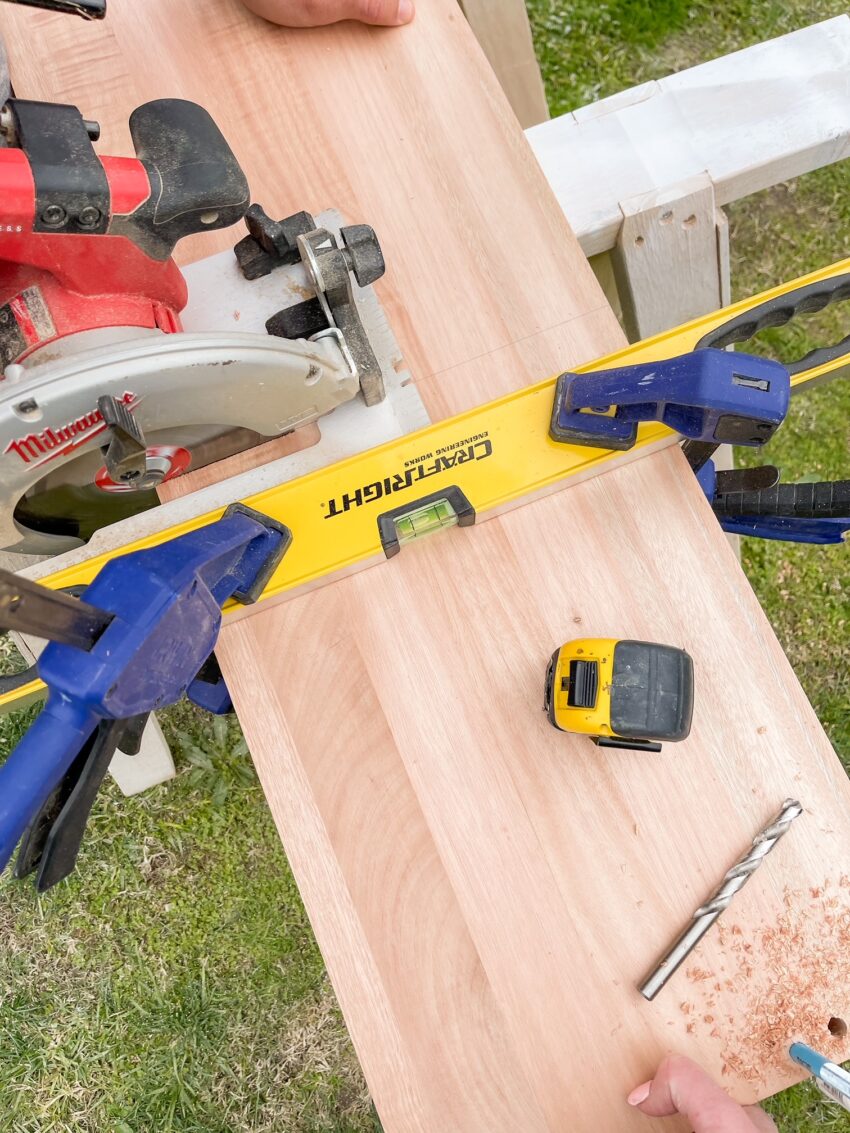
Mark out where you want the shelf and find the studs in your wall.
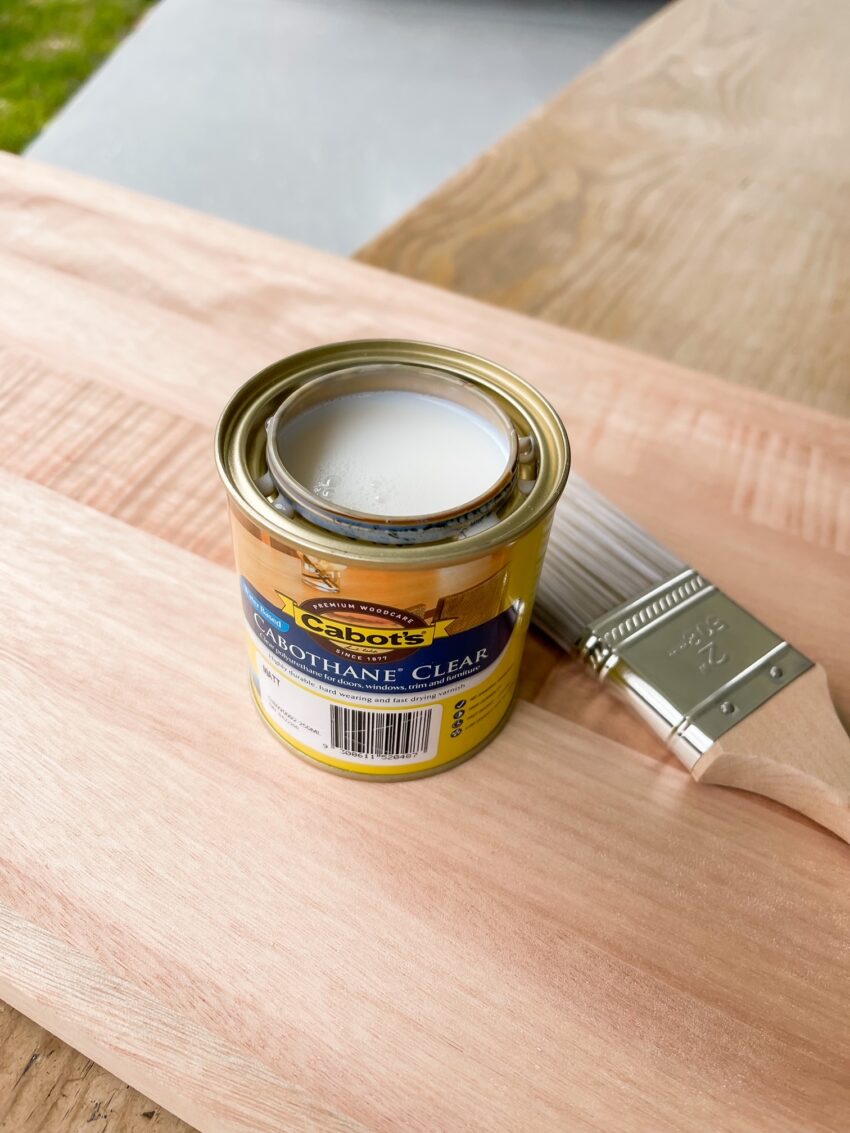
Cut the shelf to size and seal it.
Cut down the rods (use a grinder) so they are about half the depth of your shelf (and the other half in to the wall).
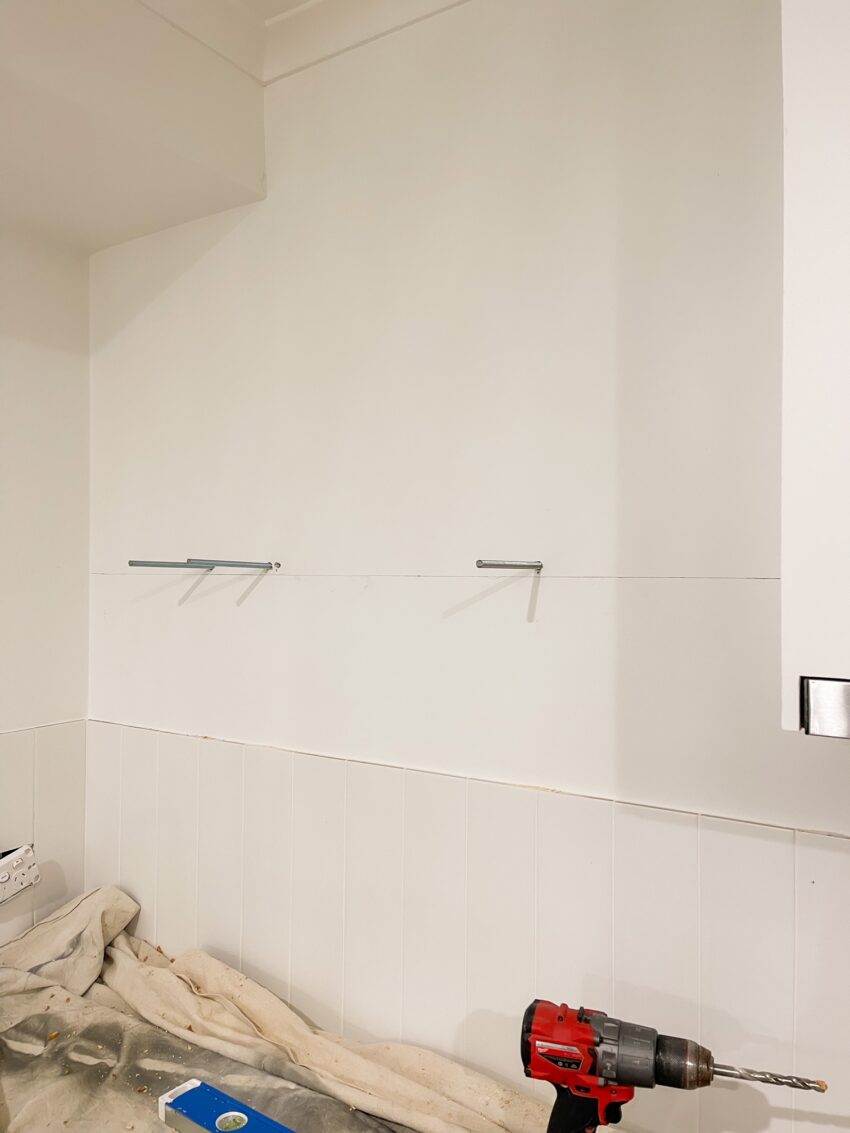
Drill out (slightly bigger) where you’ll place the rods in the wall studs and match up with the shelf. This is important because the rods will never be dead straight when in place and you’ll struggle to wiggle the shelf over them if you don’t have some space to play with.
Pile a heap of liquid nails around the rod and on the back of the shelf.
Slide it on, and use something (these are called Stan The Stand) to hold them in place until the glue goes off.
Use your level to make sure they are straight.
Tip – if you can drill through the ends (from inside a rangehood or cupboard) then do that with a couple of screws as well to make sure it’s secure.


Happy days! x