This is not a sponsored post. I paid for all materials. I painted a chalkboard wall in my laundry a few years ago. I actually hated it and wanted it gone. There are only 2 ways to fix a chalkboard wall - sand it all off and repaint, or cover over it. So, cover over …
This is not a sponsored post. I paid for all materials.
I painted a chalkboard wall in my laundry a few years ago. I actually hated it and wanted it gone. There are only 2 ways to fix a chalkboard wall – sand it all off and repaint, or cover over it.
So, cover over it I did!
I knew this wouldn’t be a hard project so I convinced my husband and son to pull this together for me.
What did I use for this DIY panel wall?
- Easycraft VJ panels from Bunnings
- Liquid nails
- No more gaps
- 2 pieces of quad
- Paint

The how
- I bought 2 sheets of Easycraft panel. I had to run them horizontal because our ceilings are tall and the sheets weren’t big enough. Get Bunnings to cut the sheets to size for you! So much easier.
- We had a little section above the door frame that needed cutting out, so my child did that one at home with a cordless circular saw.
- Then butt the panels up to the cornice and on top of the skirting. The panels are 9mm thick so should sit nicely up against any existing walls.
- Put a heap of liquid nails behind the board and fix them off with some small nails to hold in place until the glue goes off.
- We finished the top cornice, bottom skirting and top left/right sides (against the existing wall) off with no more gaps.
- To finish the edges around the door frame so they look neat, we just added some quad and painted gloss to match.


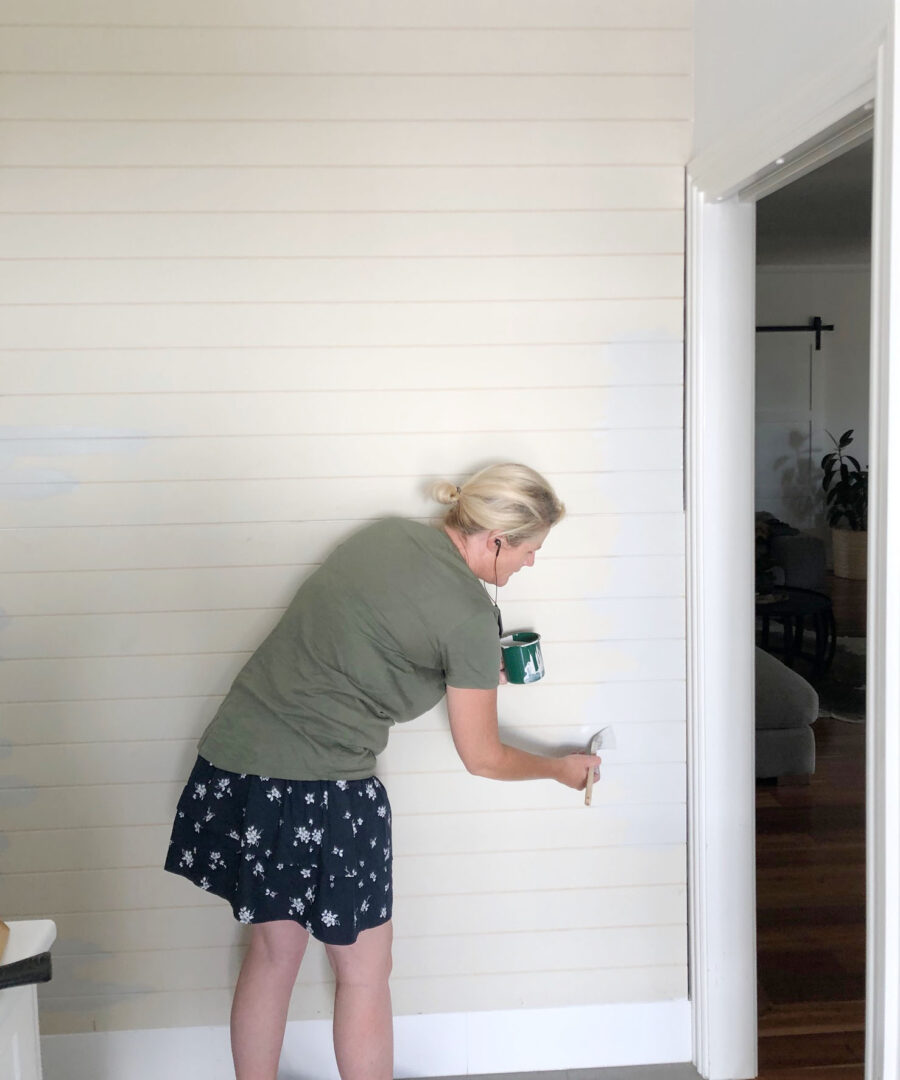
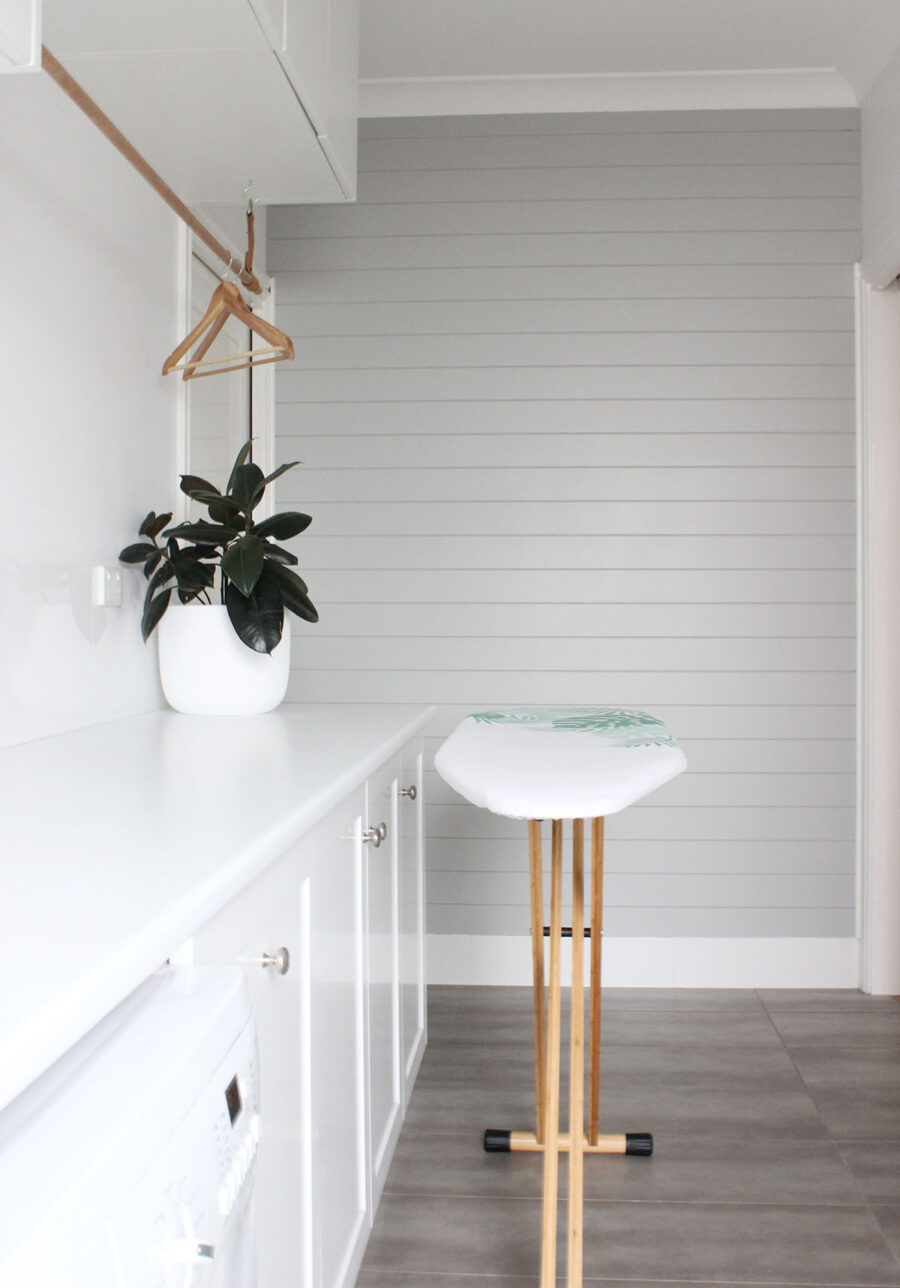
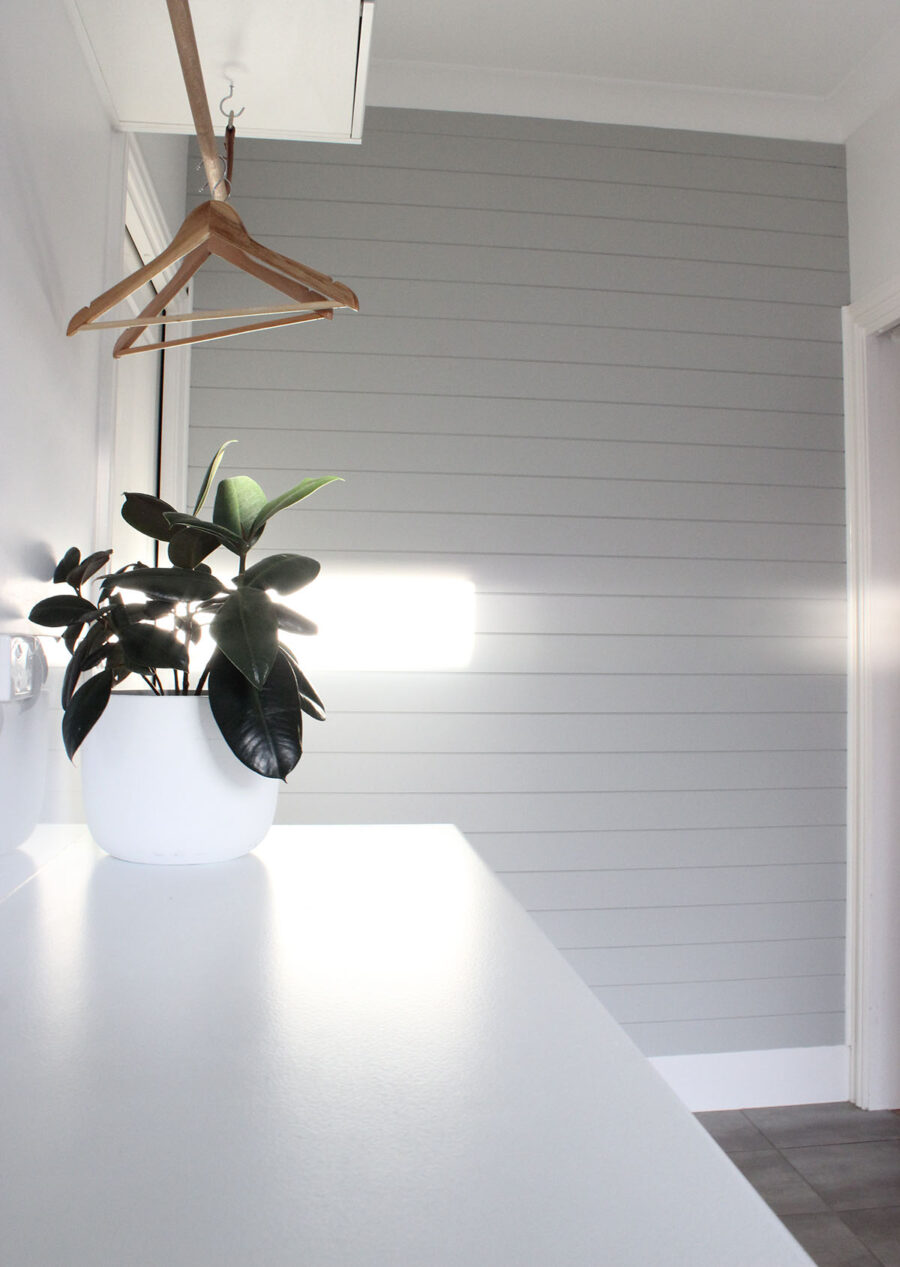
Then I painted the wall! I used Shale Grey (I already had 20L of this stuff because it’s the paint we used on the exterior of our house). Plus it’s my favourite grey ever! I hand painted all the grooves twice and then used a roller to get a nice finish.
Here’s another DIY I did with laundry overhead cupboards.
KC.
Be the first to read my stories
Get Inspired by the World of Interior Design
Thank you for subscribing to the newsletter.
Oops. Something went wrong. Please try again later.





Comments
Emma Yates
Hi Katrina, what colour is your house? Shale grey and which white?
Katrina
surf mist and vivid white 🙂
Linda
Hi Katrina
Great job on the wall it looks ?.
Where did you get your ironing board and its cover? And also what type of plant and where did you get the pot?
I love how crisp and clean and calm your laundry looks.
Linda
Elisabeth Crowe
Hi Katrina,
Thanks for the tip on the VJ board. I intend planking my laundry walls, but may just cut the corner and use VJB. Just wondering, did you have any vertical joints where you had to butt two VJBs together?? If so, how did you cover the joint?? Just with cover strips, maybe??
In your comment above, do you mean Surf Mist was one of your whites? We have it on our roof and it does look white. But have you ever used it inside your house? It’s actually a beautiful greige colour, really soothing. You’d never believe it’s the same colour as when it’s on the roof! Surf Mist has a lot of black in it, so in an enclosed space gives off an entirely different colour – love it!
Thanks Katrina. Cheers, Liz.
Kerri
HI Katrina. Looks great! I’m wondering if you think it would be possible to do this on a brick wall?
Katrina
I’d say so! Just glue on 🙂
maddison evans
Hi Katrina, I love this Grey! Is it taubmans or Dulux?
Katrina
Dulux 🙂