Here's a DIY project for you - make your own concrete pots! Aren't they all the rage at the moment? I've been a sucker for all the concrete goodies and I thought I'd give this a go! This was an inexpensive project and I spent about $20 all up (I made 5 pots - I …

Here’s a DIY project for you – make your own concrete pots! Aren’t they all the rage at the moment? I’ve been a sucker for all the concrete goodies and I thought I’d give this a go!
This was an inexpensive project and I spent about $20 all up (I made 5 pots – I probably could have made more with the bag of cement I had).
What you’ll need:
- A bag of cement mix. Make sure you get cement and not concrete mix
- A bag of peat moss – optional (this gives the cement that rough look)
- A selection of pots/cups
- Cooking spray
- Plants + little rocks
- File (optional)
- Paint
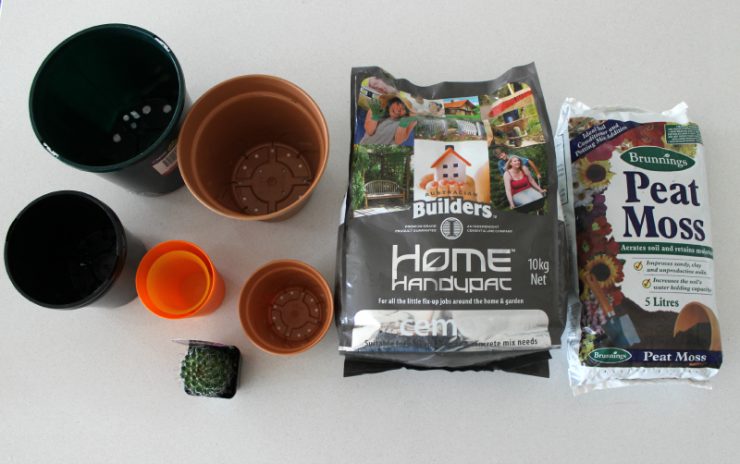
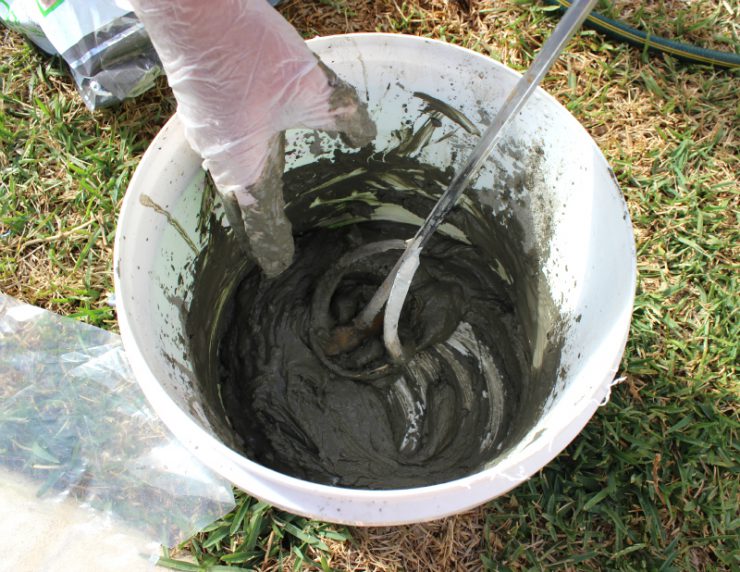
Mix up the cement in a bucket.
I put a mixer on the end of the drill to mix it up better, but you can just stir with your hands (just wear gloves!). You can see from my finished pots that I made some without the peat moss and some with. I LOVE the peat moss pots (that was a mouthful!). They have a rougher look and you can slightly see the little pieces in the pots. Just pop a good handful in to your cement mix if you want to use it. It was $5 for the bag so I wanted to give it a go.
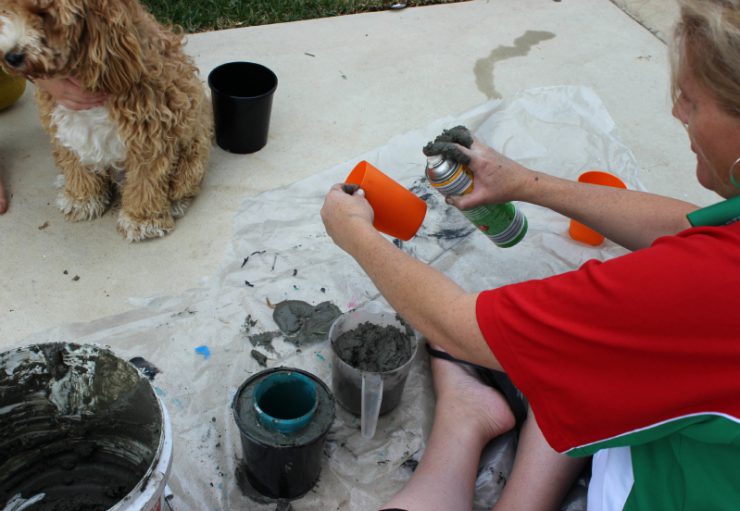
Spray BOTH the pot and the cup you’re using. This will make it easier to get them out when it sets!
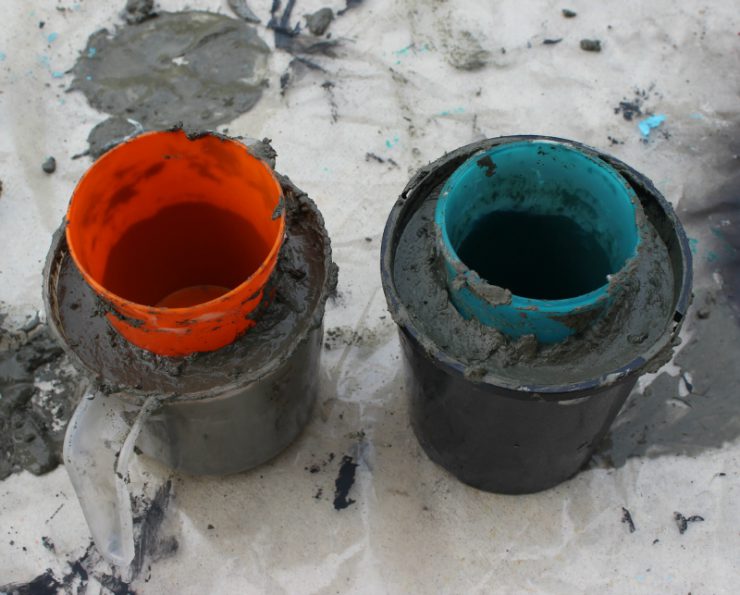
Fill the pot 2/3 and then squash the cup in the middle – the excess will fill up the sides. They will pop up a bit naturally, so you can put some water in the cups to keep them down.
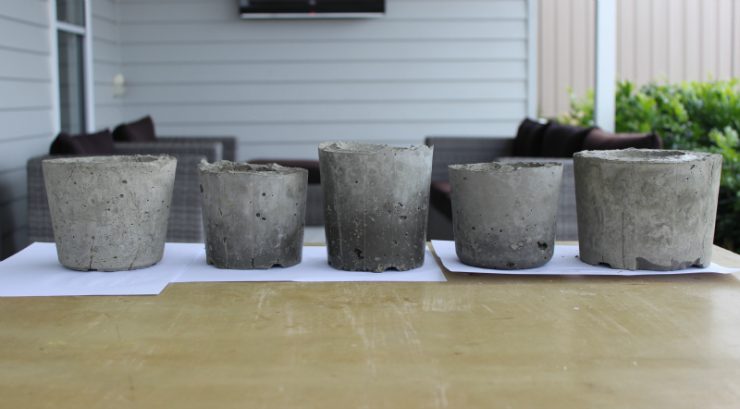
24 hours later!
Some of the plastic pots needed to be cut open so I could get them out, but some came out with a bit of wiggling and tapping. I let them dry for another couple of days here on my back table.
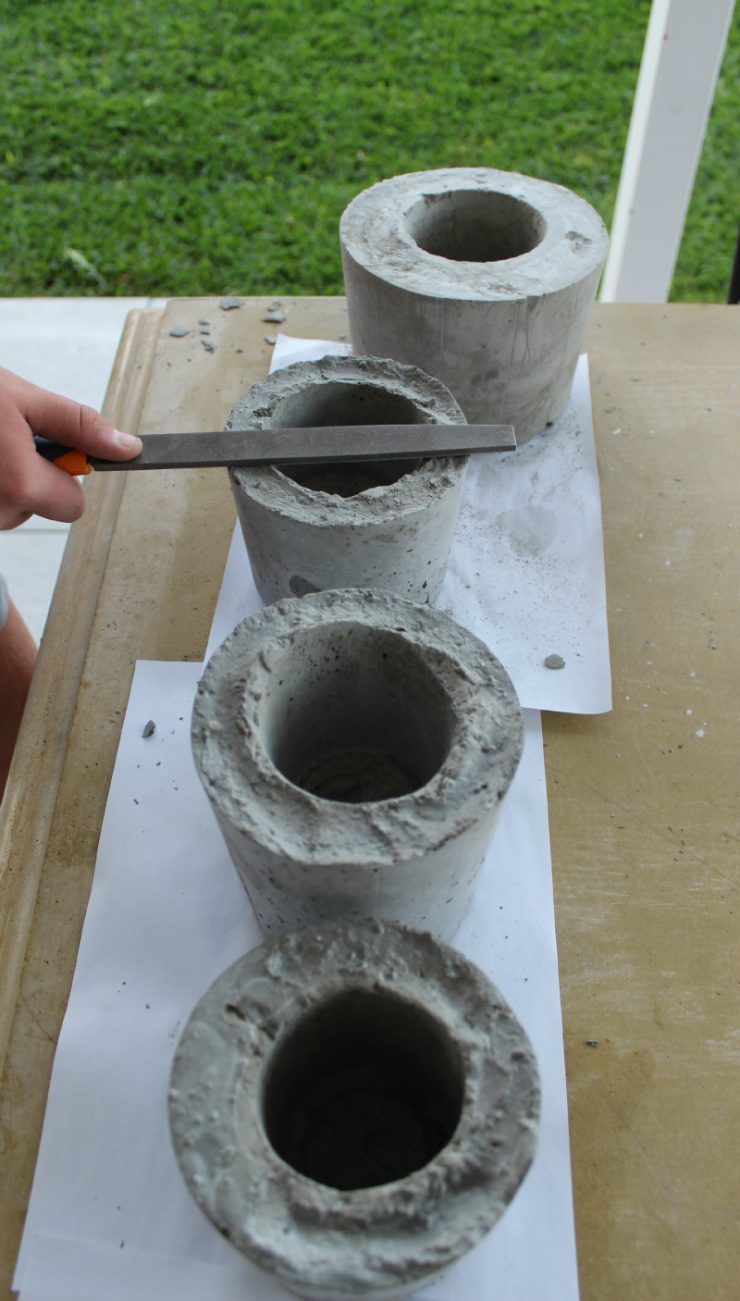
You don’t have to file the tops as they look great as they are, but I did tidy them up a little (well my 13 year old did!).
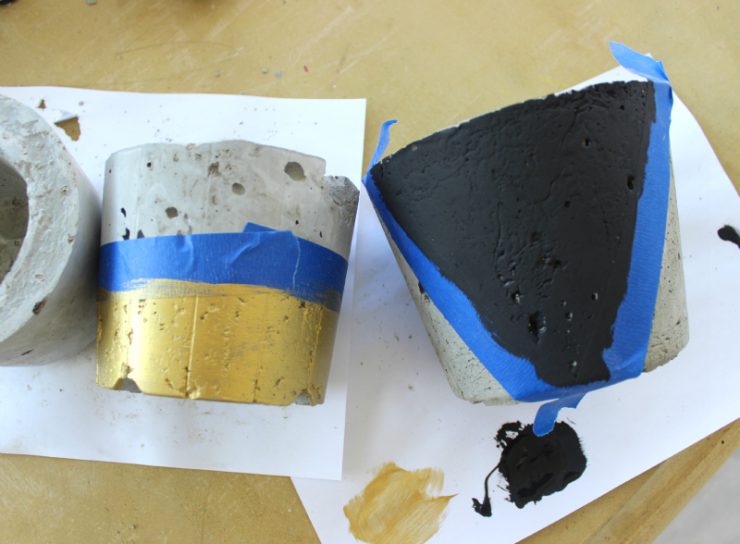
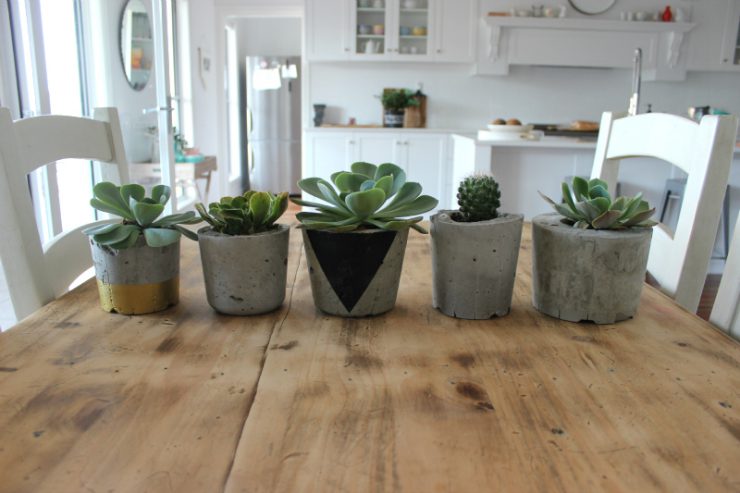
I masked up a couple of areas and popped some paint on. LOVE them!
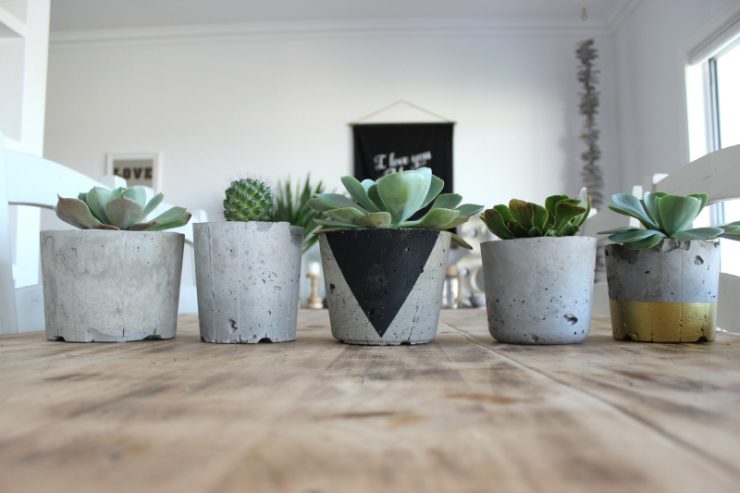
Here’s the finished product! I have been growing succulents in my garden so I grabbed some from there (except for the cactus I bought). I also put little rocks in the bottom of the pots before I planted the succulents – seeing as there is no drainage you’ll need the rocks on the bottom and some very hardy plants.

Happy DIY-ing! ♥ KC.
Be the first to read my stories
Get Inspired by the World of Interior Design
Thank you for subscribing to the newsletter.
Oops. Something went wrong. Please try again later.




Comments
Penny Barns
Clever gal
njideka
really beautifullll… i love it..http://www.justfarbblog.com
Yvonne connell
Love it i am making some at the moment using some silicone baking tray for cakes see how they turn out tomorrow when dry.
Tina Moore
I have done this with plaster of paris. Looks good too
Ann
How does it go with being water tight?
allen
Put some PVA glue in the mix. 45 years ago my dad used to patch up our old water tank went it cracked by putting PVA in the mix. He said it made it water tight. I know PVA is water soluble, but when in the cement I guest it just clogs it up . Never leaked where he patched it. My brother inlaw made a water trough for my sisters horse the same way and it didn’t leak.
Clare
Oh my goodness I LOVE these …. definitely going onto my to do list! You make it look so easy! Thanks for sharing 😉
Julia Walsh
Rebecca Peel :))
Julia Walsh
Rebecca Peel :))
Ness Lockyer
I’d love to try a sink for the studio. I never start slow
Ness Lockyer
I’d love to try a sink for the studio. I never start slow
Roxanne Catch
I always wanted to try this! Thanks for the tips
Helen Jaman
you are so clever !! x
Rachael
I found using cement the pots cracked after some time but have not had this issue with concrete!
Donna
Hi Rachael, I have been having the same problem. All websites seem to say concrete (don’t use cement) but my pots cement ones are cracking too. Don’t know what I’m doing wrong!
laura
Hey! Hopefully this finds you. I couldn’t use concrete mix because the rocks were too big. I use Portland cement and sand using a 1:2 ratio. USE AS LITTLE WATER AS POSSIBLE!!!! Seriously. Mine were cracking because I was using way too much water in them. Once i dialed the water back, it really helped. Another thing I was told to do through the Quikrete website is to wet cure them for 5-7 days. Basically submerge the entire pot and let it sit for 7 days underwater.
Cracking occurs for 2 reasons: Too much water in the mix and when the water evaporates there is not enough cementuous material to keep it together properly.
OR
Drying unevenly because of uneven wall thicknesses. So if they dry at different rates, it can cause stresses in the pots causing cracks.
I’ve had no issues since I reduced the amount of water and wet cured the pots. It really helped.
Also, make sure to use a sealant on your pots afterwards. When I didn’t use a sealant, they would sometimes crack after I watered the plants. The sealant should help make them resistant to humidity and moisture. I used a Quikrete sealant and painted it on with a small brush really thin. It seems to help. That’s the only brand really available in my area, hopefully you can find something that works for you!!!
🙂
Byron
Hi Laura! Thanks for the brilliant reply – so helpful.
Just want to clarify, the ratio you recommend is 1 part cement to 2 parts sand? (not the other way around)
Thanks
Lauren
Hey Laura, this is so helpful, thank-you. When you soaked the pots in water, did you leave them in the moulds or let them dry and take them out?
Thank-you, Lauren
Kellie-Jo Gustowski
Gabrielle Merrigan you should come to my place one day and we shall play doing this or you sort my garden lol
Jayla
Hi laura, do you wet cure your pots before or after you seal them?
Thank you so much
Jayla
Megan Ebdon
Sally Rowe have you tried to make these pots before?
Felicity Gimson
Ashleigh Roberts
Ashlea @ Glamour Coastal Living
I have been loving concrete pots, but found them expensive for the small sizes and couldn’t decide on the best value and look! I am loving how easy this looks though, well done! I l,love the black print. How fabulous are succulents, mine have gone berserk and there is so many little shoots and cuttings to be taken from them. They are the plant that keeps giving I love it! x
Sandra
These are lovely, Katrina. My sister would love them. She has a ‘thing’ for succulents
Heidi Langley
Abbey Cadell
Kylee
I love these. Now if only I didn’t kill EVERYTHING green in my house I would give them a whirl.
Pauline
Stunning. Like you I’m also discovered the multi uses of his material. I’d have it as my kitchen counter polished if I could. Great idea. Thanks for sharing.
Malinda @mybrownpaperpackages
I love the look of all the concrete things at the moment, especially with a lick of metallic paint. I never realised how easy they were to make yourself.
Melbourne Designer
Really Loved this one! Very creative. Interesting rustic and unpolished feel when coupled with dull green thick plant will really give a superb feel to the space. I should try this out soon.. The black stripe tint is creative as well..