
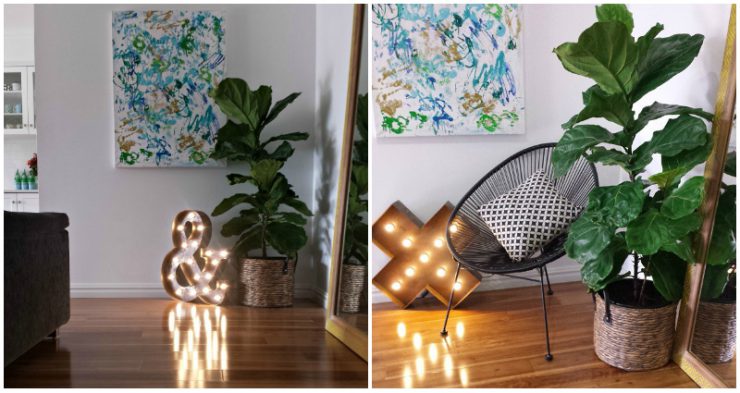
Earlier this year I bought a Fiddle Leaf Fig. They seem to be all the rage don't they? Bunnings had a good tall one which looked really healthy for only $85 and I had an ugly corner in my home which needed filling up, so I thought the Fiddle Leaf Fig would look great there. …
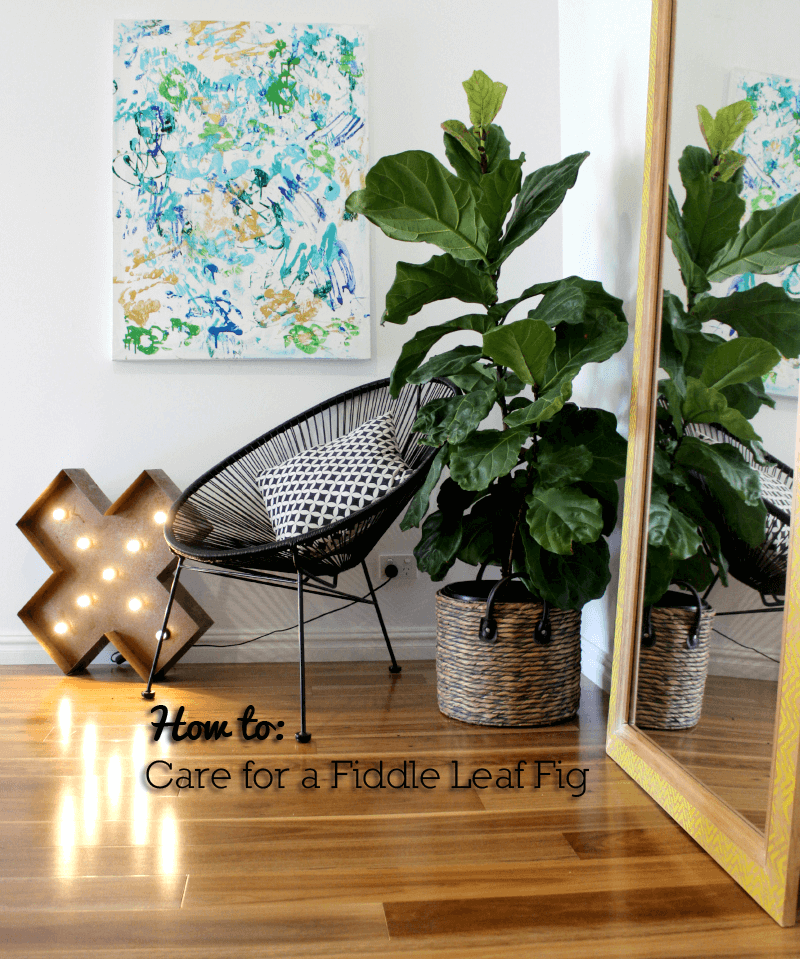
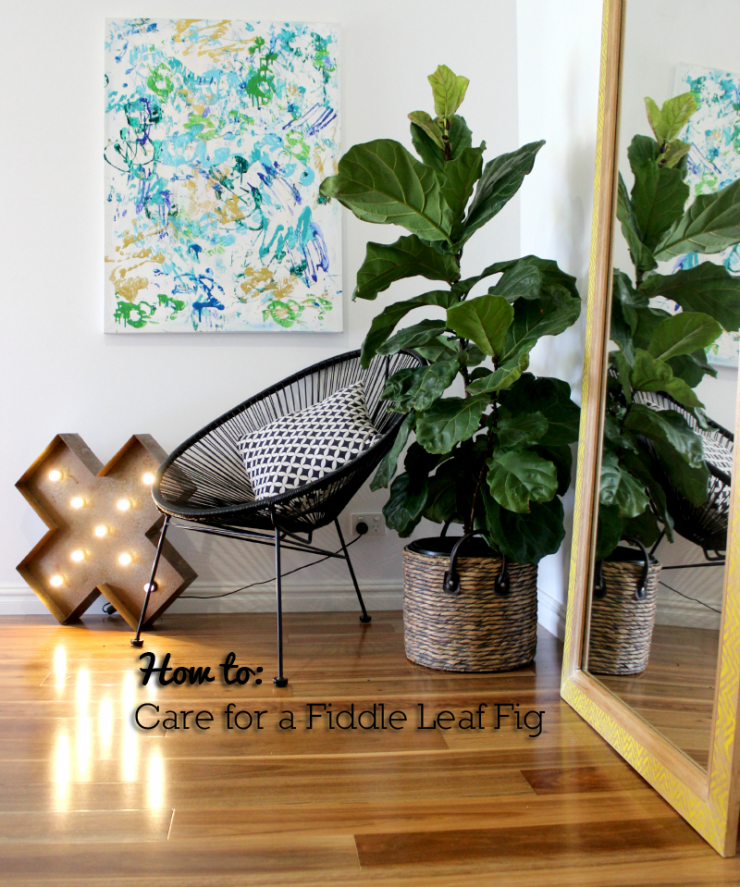
Earlier this year I bought a Fiddle Leaf Fig. They seem to be all the rage don’t they? Bunnings had a good tall one which looked really healthy for only $85 and I had an ugly corner in my home which needed filling up, so I thought the Fiddle Leaf Fig would look great there.
But it made me nervous. I am not a gardener and I don’t know the first thing about caring for indoor plants properly! I even killed my succulents, but I found they had started growing again after I ditched the pot around the side of the house. Check out this photo!
Anyway, I wanted to make a good go of this Fiddle Leaf Fig. I decided to do my research and have a crack at it!
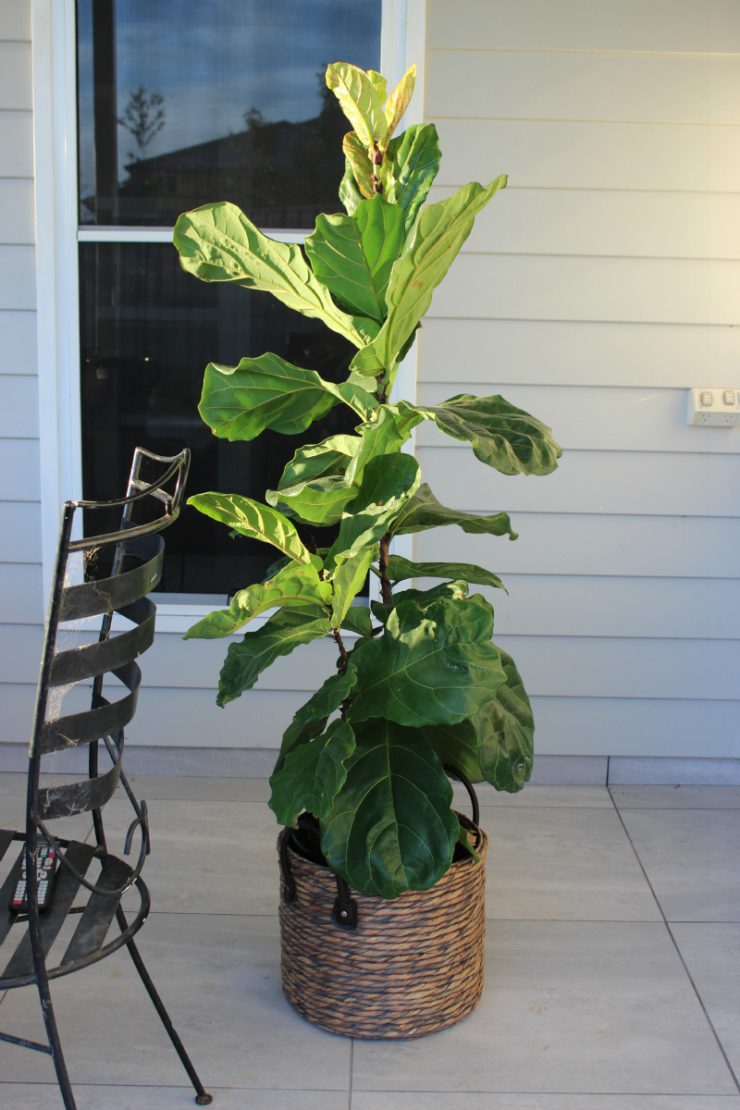
So far so good. I have had a couple of hiccups along the way and lost some new growth on the top, but I haven’t killed it and it still seems to be growing.
Most people say they like a filtered sunny position with lots of light but this wasn’t going to work where I wanted it. The corner of my home doesn’t get a lot of light. So this meant I needed to babysit my Fiddle Leaf a little more than usual.
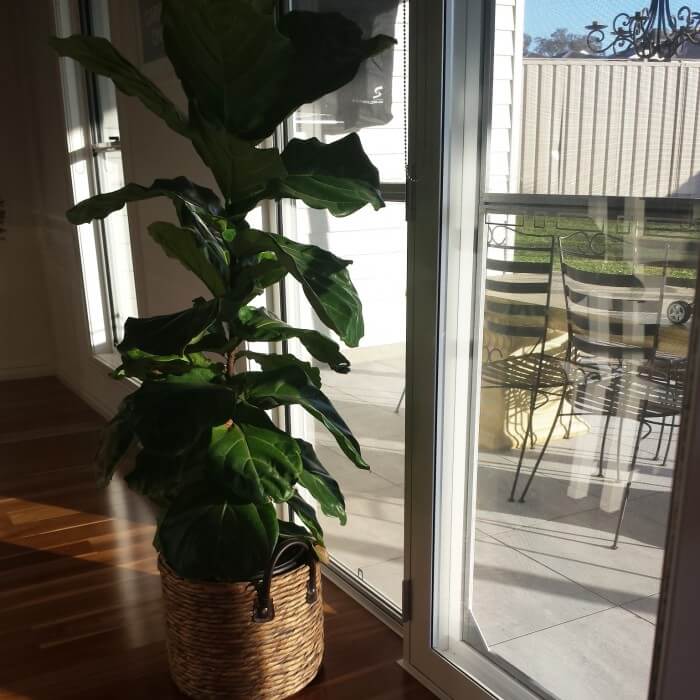
Every couple of mornings I move the plant to the back of my house where the sun comes up and I get some sunlight. In the Winter months the light streams in to the house, so I just move it to that area for an hour or two. But I have found that during the warmer months I need to actually place it outside to grab a few rays.
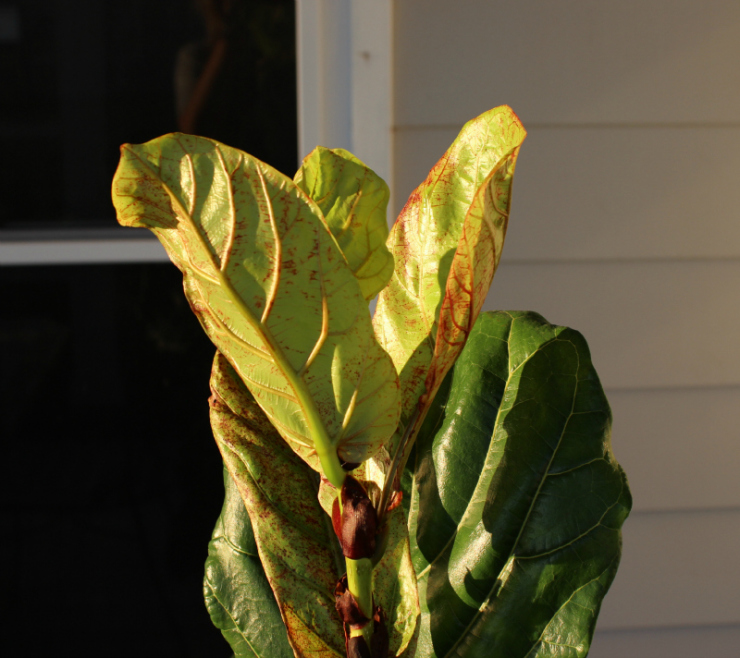
A couple of things here… I don’t let my plant get direct sun rays for very long at all (if I had better filtered light this would work better, but I have got to go with what I have). I also don’t leave it out in the open for too long. I learnt this lesson when I started seeing red spots on the new leaves. I did some research and it seems that cold air (like outside air) makes the leaves stressed and their tiny vessels get stressed – like broken capillaries! See the photo below. But I believe these will improve as time goes on. I can see they are fading.
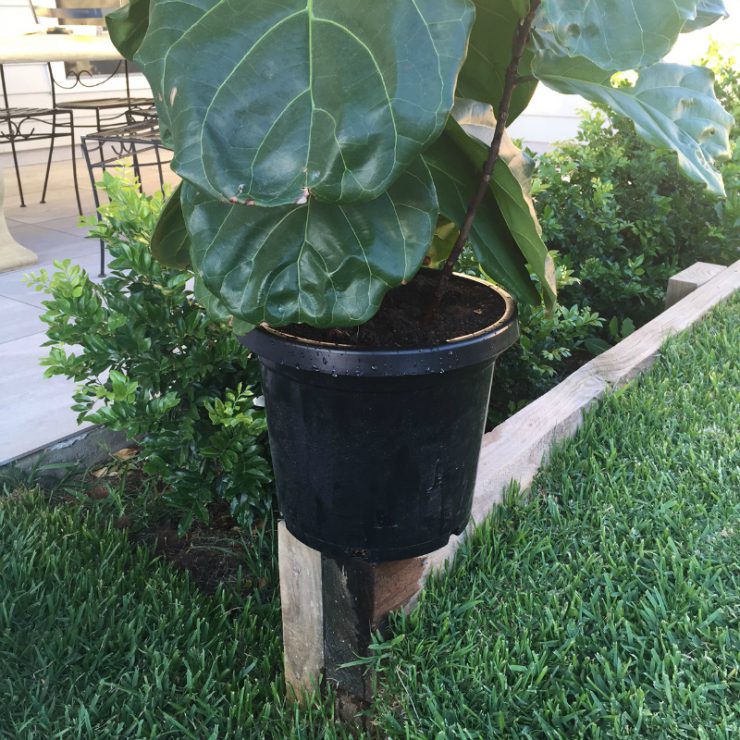
I water it only once a week outside (with the hose), and I prop it up so the water can thoroughly drain through. Once I see water coming out of the bottom I stop watering. I don’t put it back in the basket unless the water is no longer dripping through (I also have a plate in the bottom of the basket just in case). When I water it I also spray the leaves over gently – they become glossy looking again because dust can settle on them quite easily.
Here are some points to note:
- Indirect light (morning is best)
- No cold air outside
- No hot air (not near heaters or full sun)
- Water once a week (or every 10 days depending on how hot the weather has been). Stick your finger in the soil and if the soil is dry down to your knuckle then you can water again. I also feel he bottom under the put. If it’s still a little damp, I wait a couple of days. Water it outside and put it up on a chair or ledge so the water drains through the bottom thoroughly.
- Brown areas on the leaves usually means over-watering (well I think this is true in my case). I have a few brown spots and they are down low on the bottom leaves so I think in the beginning I was watering it too much.
- Use Seasol in the warmer months every 6-8 weeks. I’ve used it twice now and within days I have noticed new leaves.
- Here is an awesome YouTube video I found too outlining some basic tips.
I wouldn’t say this is a very low maintenance plant! It’s a little bit of trial and error. I have read lots though where people have thought theirs was dying, but then changed up the routine and have managed to save it again.
If you have a Fiddle Leaf Fig, I’d love to know what your tips are? I know mine could do even better!


Comments
Jane Hansen
The funniest thing just happened! Just read your post and I recently just killed both mine but left them in their pots. I have one sitting in a spare room that is only used to store junk and I haven’t looked at it for ages but I got up and checked it after your post and couldn’t believe it but it has 6 new leaves!! Now what do I do with it lol!
Katrina
Well that is funny Jane! It must like the lighting in there and maybe because it hasn’t been watered in ages? maybe it was getting too much water? Give it a burst with some seasol I reckon!
Malinda @mybrownpaperpackages
I have been looking high and low and contacting all of the nurseries in my area (and even beyond that) and cannot find a fiddle leaf fig anywhere! Mythical plants! So nope, no caring tips here, just a lot of envy.
Katrina
Bunnings can order them in for you!
Belinda Doyle
I cannot give any advice lol I have two both in sunny positions and both get treated and watered exactly the same. One is thriving the other not so much
Kirralee @ Escape With Kids
I was tempted to buy one awhile back, but I think it was at least $150 and I was worried I would kill it since I have virtually no gardening skills (although I haven’t killed the succulents yet!). This is super helpful but I’m not sure I’m up for such a high maintenance plant! Yours looks beautiful though. Well done in working out what you were doing wrong.
Paula
Mine seems to be absolutely thriving at the moment with what seems like a new leaf or two each week. I think it’s doing so well because of the position it’s in – (so much so I’m scared to move it!). It’s near a window so it gets a lot of indirect sun mainly during the afternoon. I’ve cut back on the watering as well – checking the soil first before giving it a drink. Fingers crossed it keeps thriving.
Michelle Howley
I would just be happy to find one here in Perth!
Bek
Michelle, try little leaf co in Booragoon, they had about 6 or 7 available yesterday 🙂
Jo Long
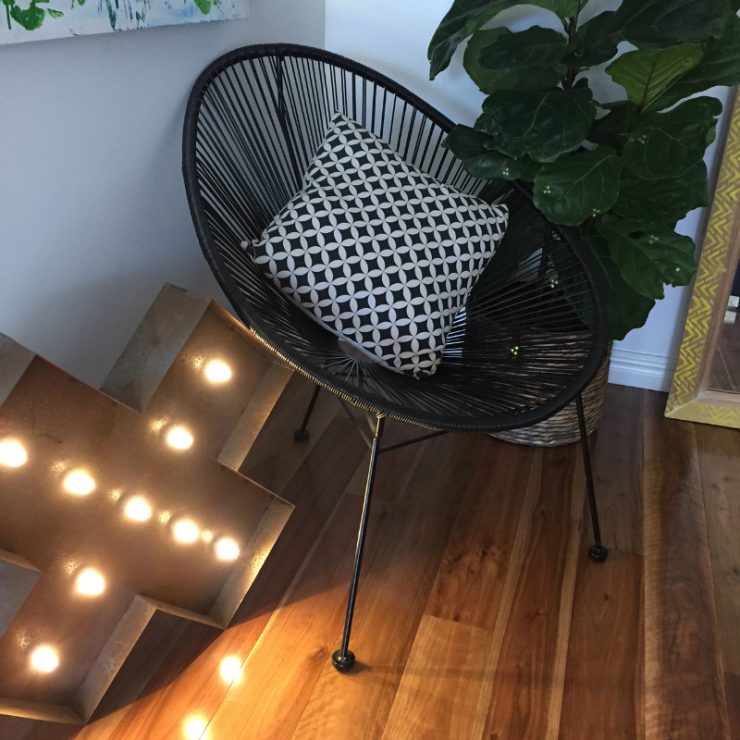
Where did you get that chair Katrina?! ❤️
Deb Bertram
If you live in Brisbane you can get them at the Rocklea markets. I got a smaller one last year for $13 and a large one a few weeks ago for $19. You need to get there early but if you miss out you can order one and they’ll bring it along for you the next week. I did a blog post on it recently if anyone is interested. There must be local markets in most places that might be an opportunity to pick one one for a song. I was worried about spending a lot of money on a plant because I usually need something I can’t beat to death with a stick.
tyleah bridges
Hi Deb which stall holder sells them?
Thanks!
Jen
Hi Katrina, I bought one earlier this year and it is going great guns. I was very nervous as a lot of people say these plants are fickle and I am no green thumb! Mine lives on my deck and gets filtered morning sun. I water it once a week with a very weak solution of Thrive and it seems to work. I wipe the leaves over as well to keep the dust away. Deb, what is your blog? I am in Brisbane too and found my plant at a nursery in East Brisbane (after much searching) but it cost me over $100. Would love more info on the Rocklea markets.
Maralyn
I just belatedly read your reply. I sell them at Mazz & co Park Ridge for $20 they are beautiful nearly 1m high.
Loretta
Hi Maralyn do you have any at mazz and co at the moment available ?
Samantha Somerville
You need to feed it Trines. Seasol is like vitamins, thrive is food. Need to catch up with you darls xx
Joh Bryant
I’m not a green thumb but I haven’t killed mine. I water it once a week with seasol. Every now and then I hose it outside and let it dry in the sun for the afternoon.
Leanne - Lime & Mortar
I recently thought mine was dying a gloomy death. I sat it in bath of water for a day in bathroom which gets plenty of light. I moved it back to its normal spot thinking it was game over and i would just enjoy it until then. But suddenly weeks later its looking happy and theres new growth on both branches! Woohoo
Yvette Wilson
I really need to read this, thx Katrina, good timing x
Harriette Boydell
Emily Hall Leticia Gaskell Harriet Bryan Kellie Carty pay attention!!
Rosana, Engineer Mum
My Figaro the Fiddle Leaf Fig is going great guns. Even after my littlest bounced a gym ball on top of him. They don’t like being moved a lot. A love a drink of weak Seasol. Once a month I wipe down the leaves with dishwashing detergent water to keep away the white mealy bugs which love the new growth. If I find those white furry bugs I wipe down the leaves weekly until they are gone.
Rosana
Lisa Jeffery Whinnen
Awesome post! Mine is covered in some brown spots on some of the leaves, so I think I will try watering a bit less. I have it in quite a dark room and it only gets about half an hour a day of ever so slight filtered light.
anastasia
I don’t have one but I want one!! Gorgeous…
Lyn
Can you please tell me where at the Rocklea Markets you bought the Fiddle Leaf Fig from? I have been searching and can’t find them anywhere. Many thanks. Lyn
Louis
I live in Brisbane and they do have them at the Rocklea Markets for $19, I saw them today (Dec 6th 2014) although they were the ‘bambino’ variety which is the smaller dwarf version. Still beautiful, but their leaves don’t get as big as the regular fiddle leaf fig. I’ve had one for a few months now and they grow nice and compact but don’t grow to a grand scale. Also, I recommend getting to the markets at 6am because there was 5 in the morning when I arrived and all sold by 7:30am!
However, today I brought an AMAZING large fiddle leaf fig from a nursery in Willawong Brisbane. It’s a small local nursery that has the cheapest prices for any range of plants! And they happened to have several very large fiddle leaf figs for $99 with 3 stalks in each pot. I wasn’t even looking to buy one but they were incredibly large, healthy and a decent price (considering some places charge $99 for a tiny single stalk half the size of these plants) So I spontaneously brought my second! Couldn’t go past such a bargain. I definitely recommend going there if you live in Brisbane. They don’t have a website but their address is; Plant Factory Outlet, 40 King Ave, Willawong QLD 4110. Ask the lady who works there because she took me into the private section that isn’t open to the public and she let me pick the best one 😀 Would love to share the info and help my fellow fiddle obsessed friends 🙂
Louis
Oh also Katrina, from my research and personal experience, the red dots on the new growth is due to excessive watering! A little less water should see new growth with out the red spots. Hope that helps 🙂