Creating a gallery wall is a wonderful way to display a collection of artworks or pictures, adding depth and personality to your space. Follow these steps for a beautifully arranged gallery wall: Plan and Prepare Arrange and Mock-Up Measure and Mark Hang and Adjust Finalise and Enjoy PRO TIP: Use sticky tack or rubber dots …
Creating a gallery wall is a wonderful way to display a collection of artworks or pictures, adding depth and personality to your space. Follow these steps for a beautifully arranged gallery wall:
Plan and Prepare
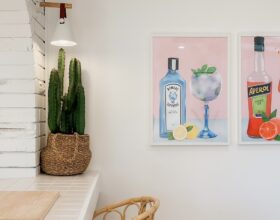
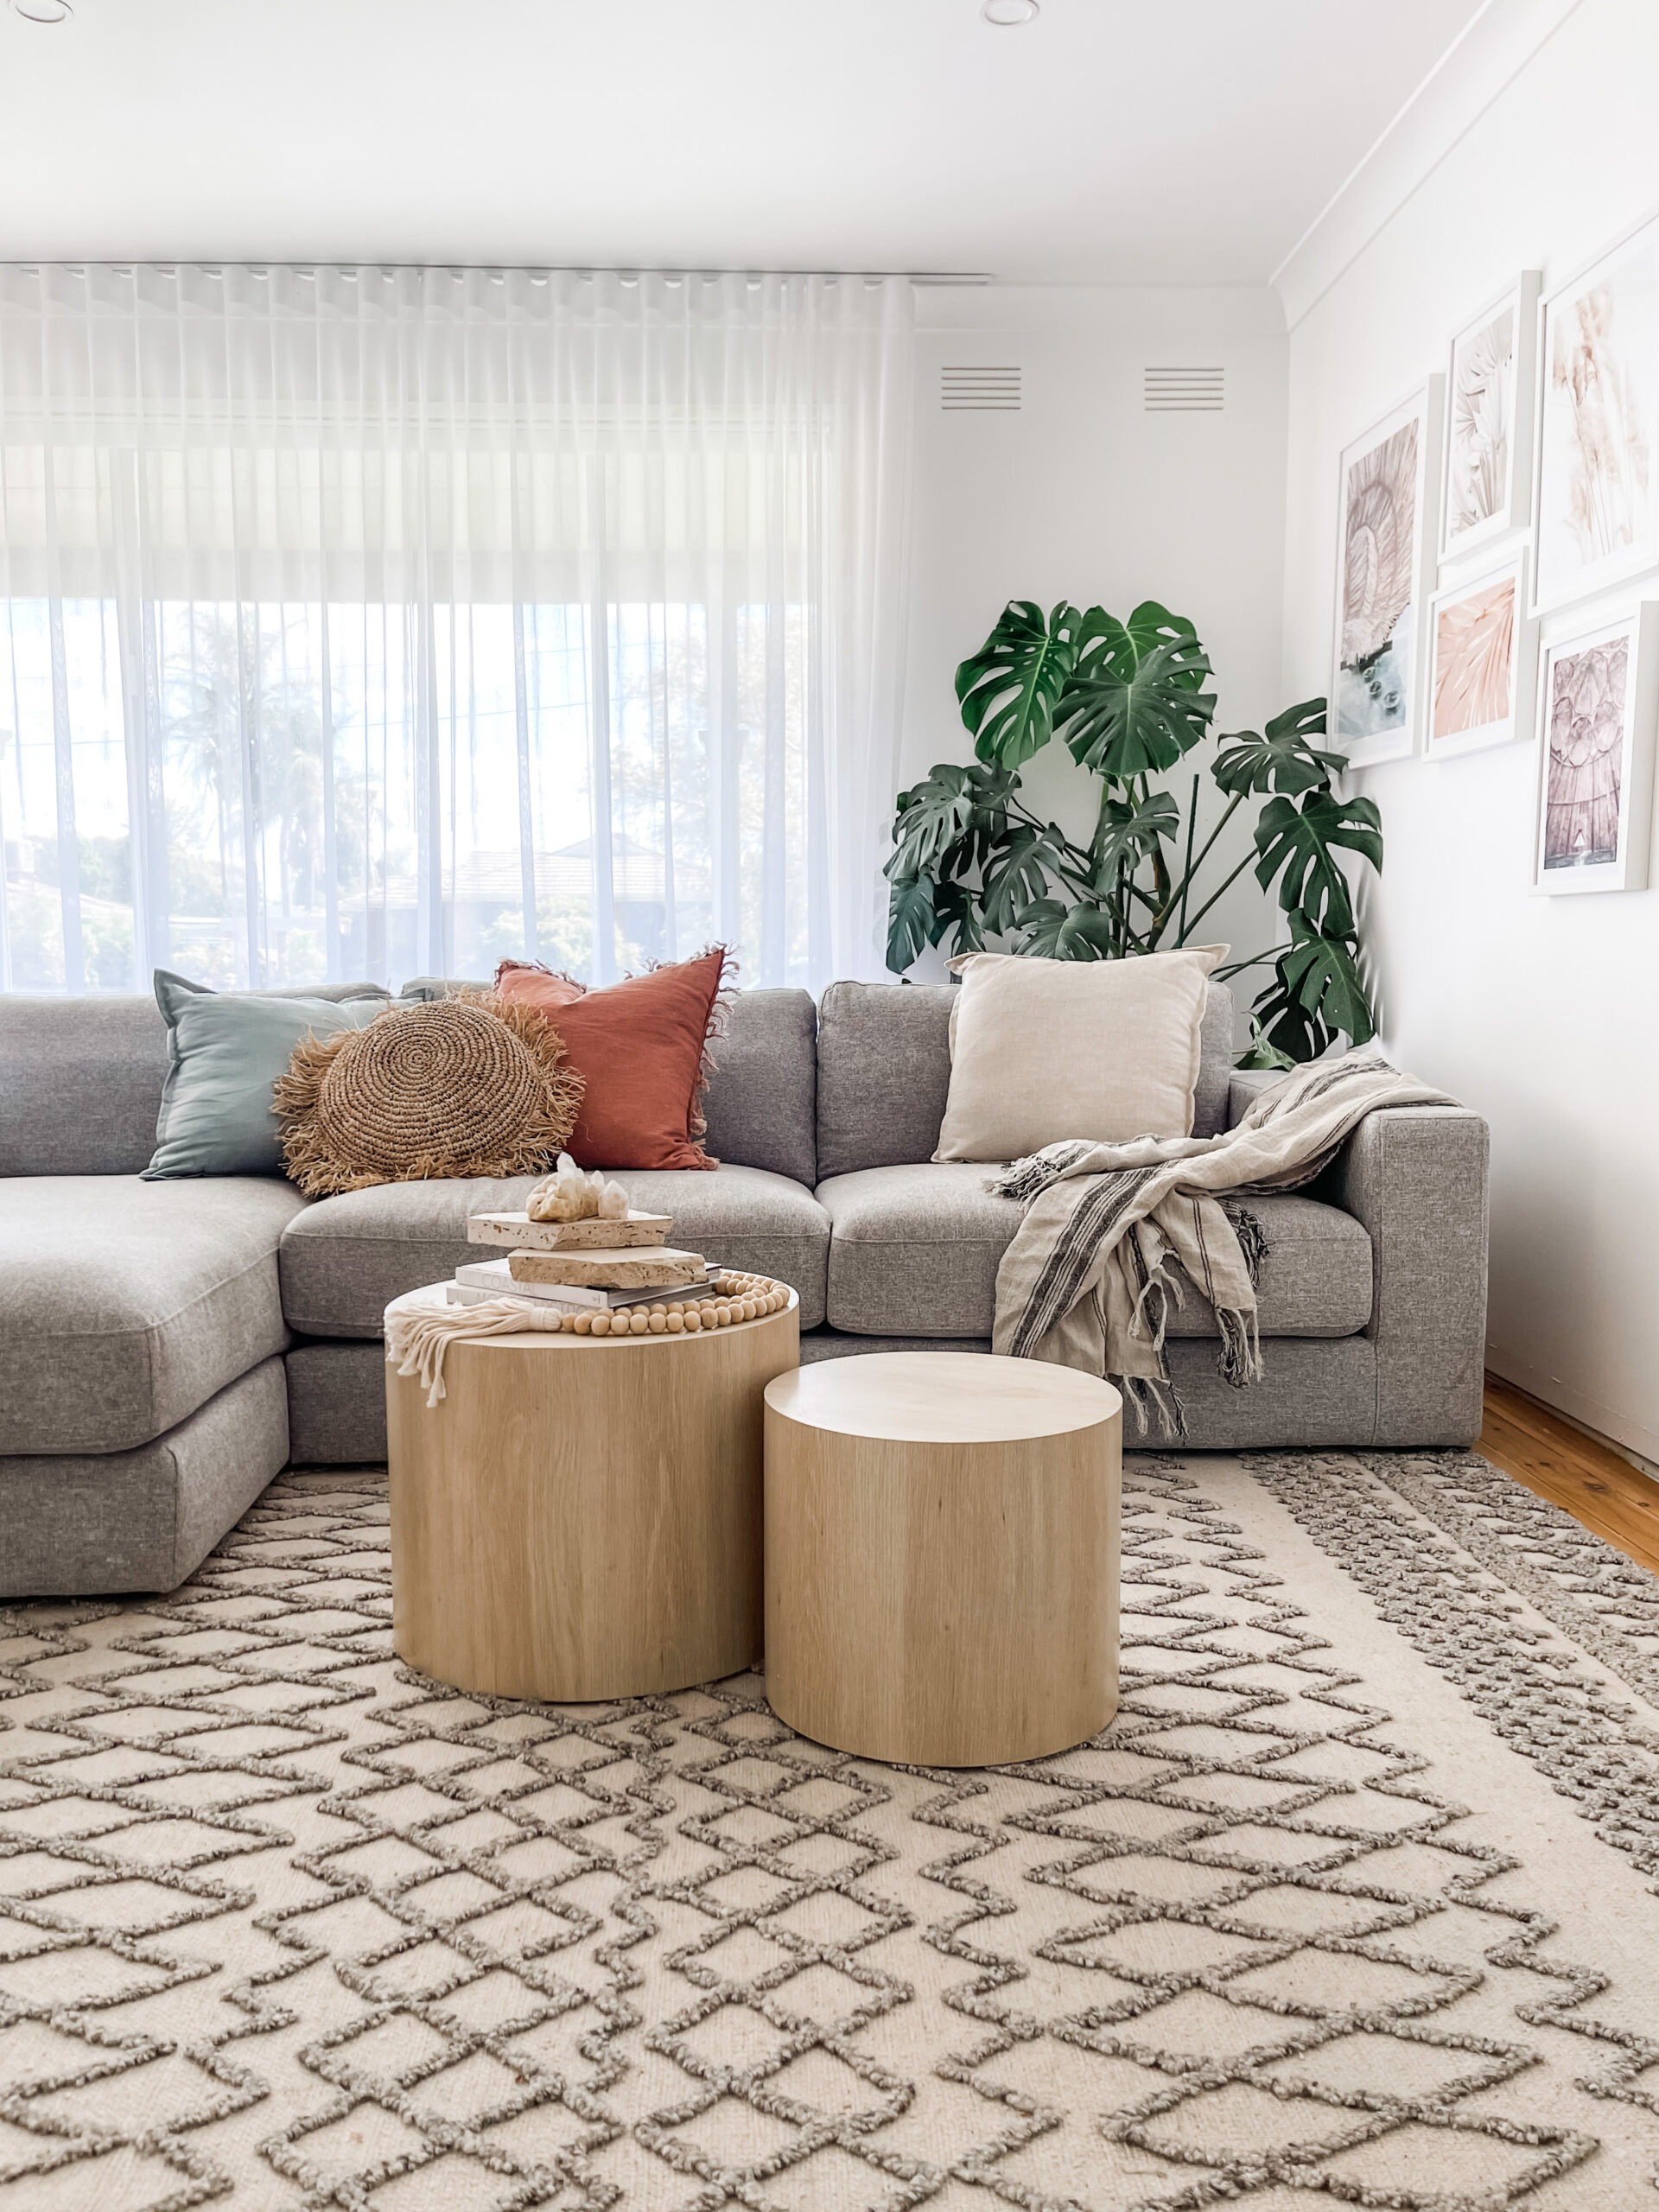
- Select Your Artworks: Choose a cohesive collection with a common theme, colour palette, or style to create a visually harmonious gallery wall.
- Gather Materials: You’ll need a tape measure, level, pencil, painter’s tape, hammer, nails, and suitable hanging hardware for your artworks.
Arrange and Mock-Up
- Clear the Space: Remove any nearby furniture to create a clutter-free area for your gallery wall.
- Trace and Cut: Trace each artwork onto craft paper or newspaper, then cut out the shapes and label them with corresponding artwork names or numbers. Alternatively, you can use painter’s tape to outline the art directly on the wall.
- Arrange the Layout: Experiment with different arrangements by placing the paper cutouts on the floor or taping them to the wall until you find a balanced and visually pleasing layout.
Measure and Mark
- Determine the Placement: Once you have a layout, measure and mark the centre point of your gallery wall on the wall with a light pencil mark.
- Measure for Spacing: Measure the distance between each artwork horizontally and vertically. Use these measurements to mark the placement of each piece. A level will help ensure straight lines.
Hang and Adjust
- Start from the Centre: Begin with the centre artwork, aligning it with the top centre mark on the wall, and hang it using the appropriate hardware.
- Work Outward: Hang the surrounding pieces based on the measurements and spacing you’ve determined. Use a level to ensure each artwork is straight and aligned with adjacent pieces.
- Adjust as Needed: Step back frequently to assess the overall arrangement and make adjustments for a balanced display. Use painter’s tape to temporarily affix pieces and experiment with placements.
Finalise and Enjoy
- Securely Hang: Once satisfied with the arrangement, securely attach each piece using the appropriate hanging hardware. Double-check that all artworks are level and secure.
- Finishing Touches: Remove any remaining paper cutouts or tape, erase pencil marks, and consider adding decorative accents or lighting to enhance the gallery wall’s impact.
PRO TIP: Use sticky tack or rubber dots on the back of your art to keep frames straight on the walls.
Hanging pictures is indeed an art in itself, and by following these essential rules, you can transform your walls into captivating masterpieces. From adhering to the eye level rule to creating a visually pleasing gallery wall, you now have the tools to confidently showcase your art and elevate the aesthetics of your space. Happy art hanging!
Be the first to read my stories
Get Inspired by the World of Interior Design
Thank you for subscribing to the newsletter.
Oops. Something went wrong. Please try again later.