It's school holidays and I have a child who is always busting to 'build something' (hence wanting to be a builder!). Sooooo I was a bit sick of my current coffee table and thought we could whip up a new one. My husband has an endless supply of pallets at his work. If you get …
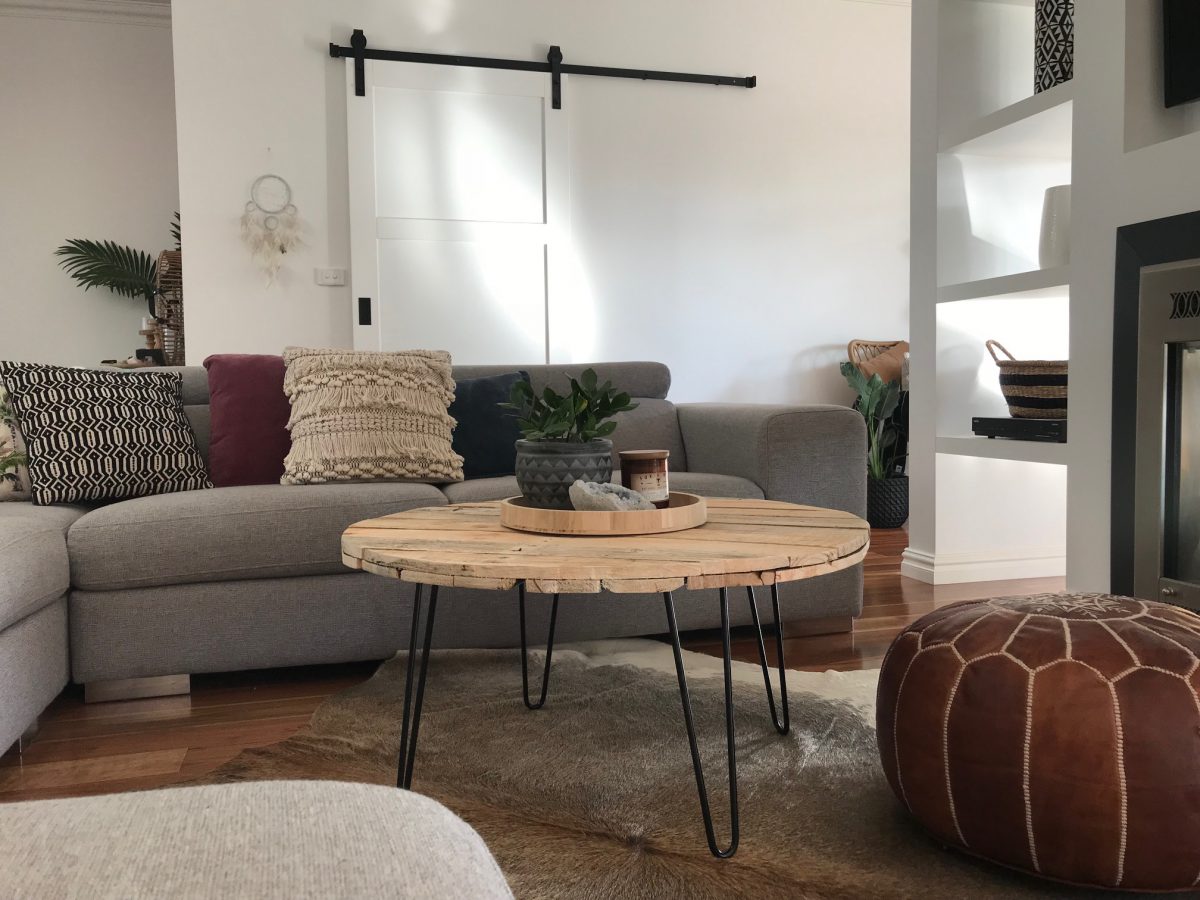
It’s school holidays and I have a child who is always busting to ‘build something’ (hence wanting to be a builder!). Sooooo I was a bit sick of my current coffee table and thought we could whip up a new one. My husband has an endless supply of pallets at his work. If you get the right pieces you can make amazing things. I’ve done another square coffee table with castor legs here and a bedhead here.
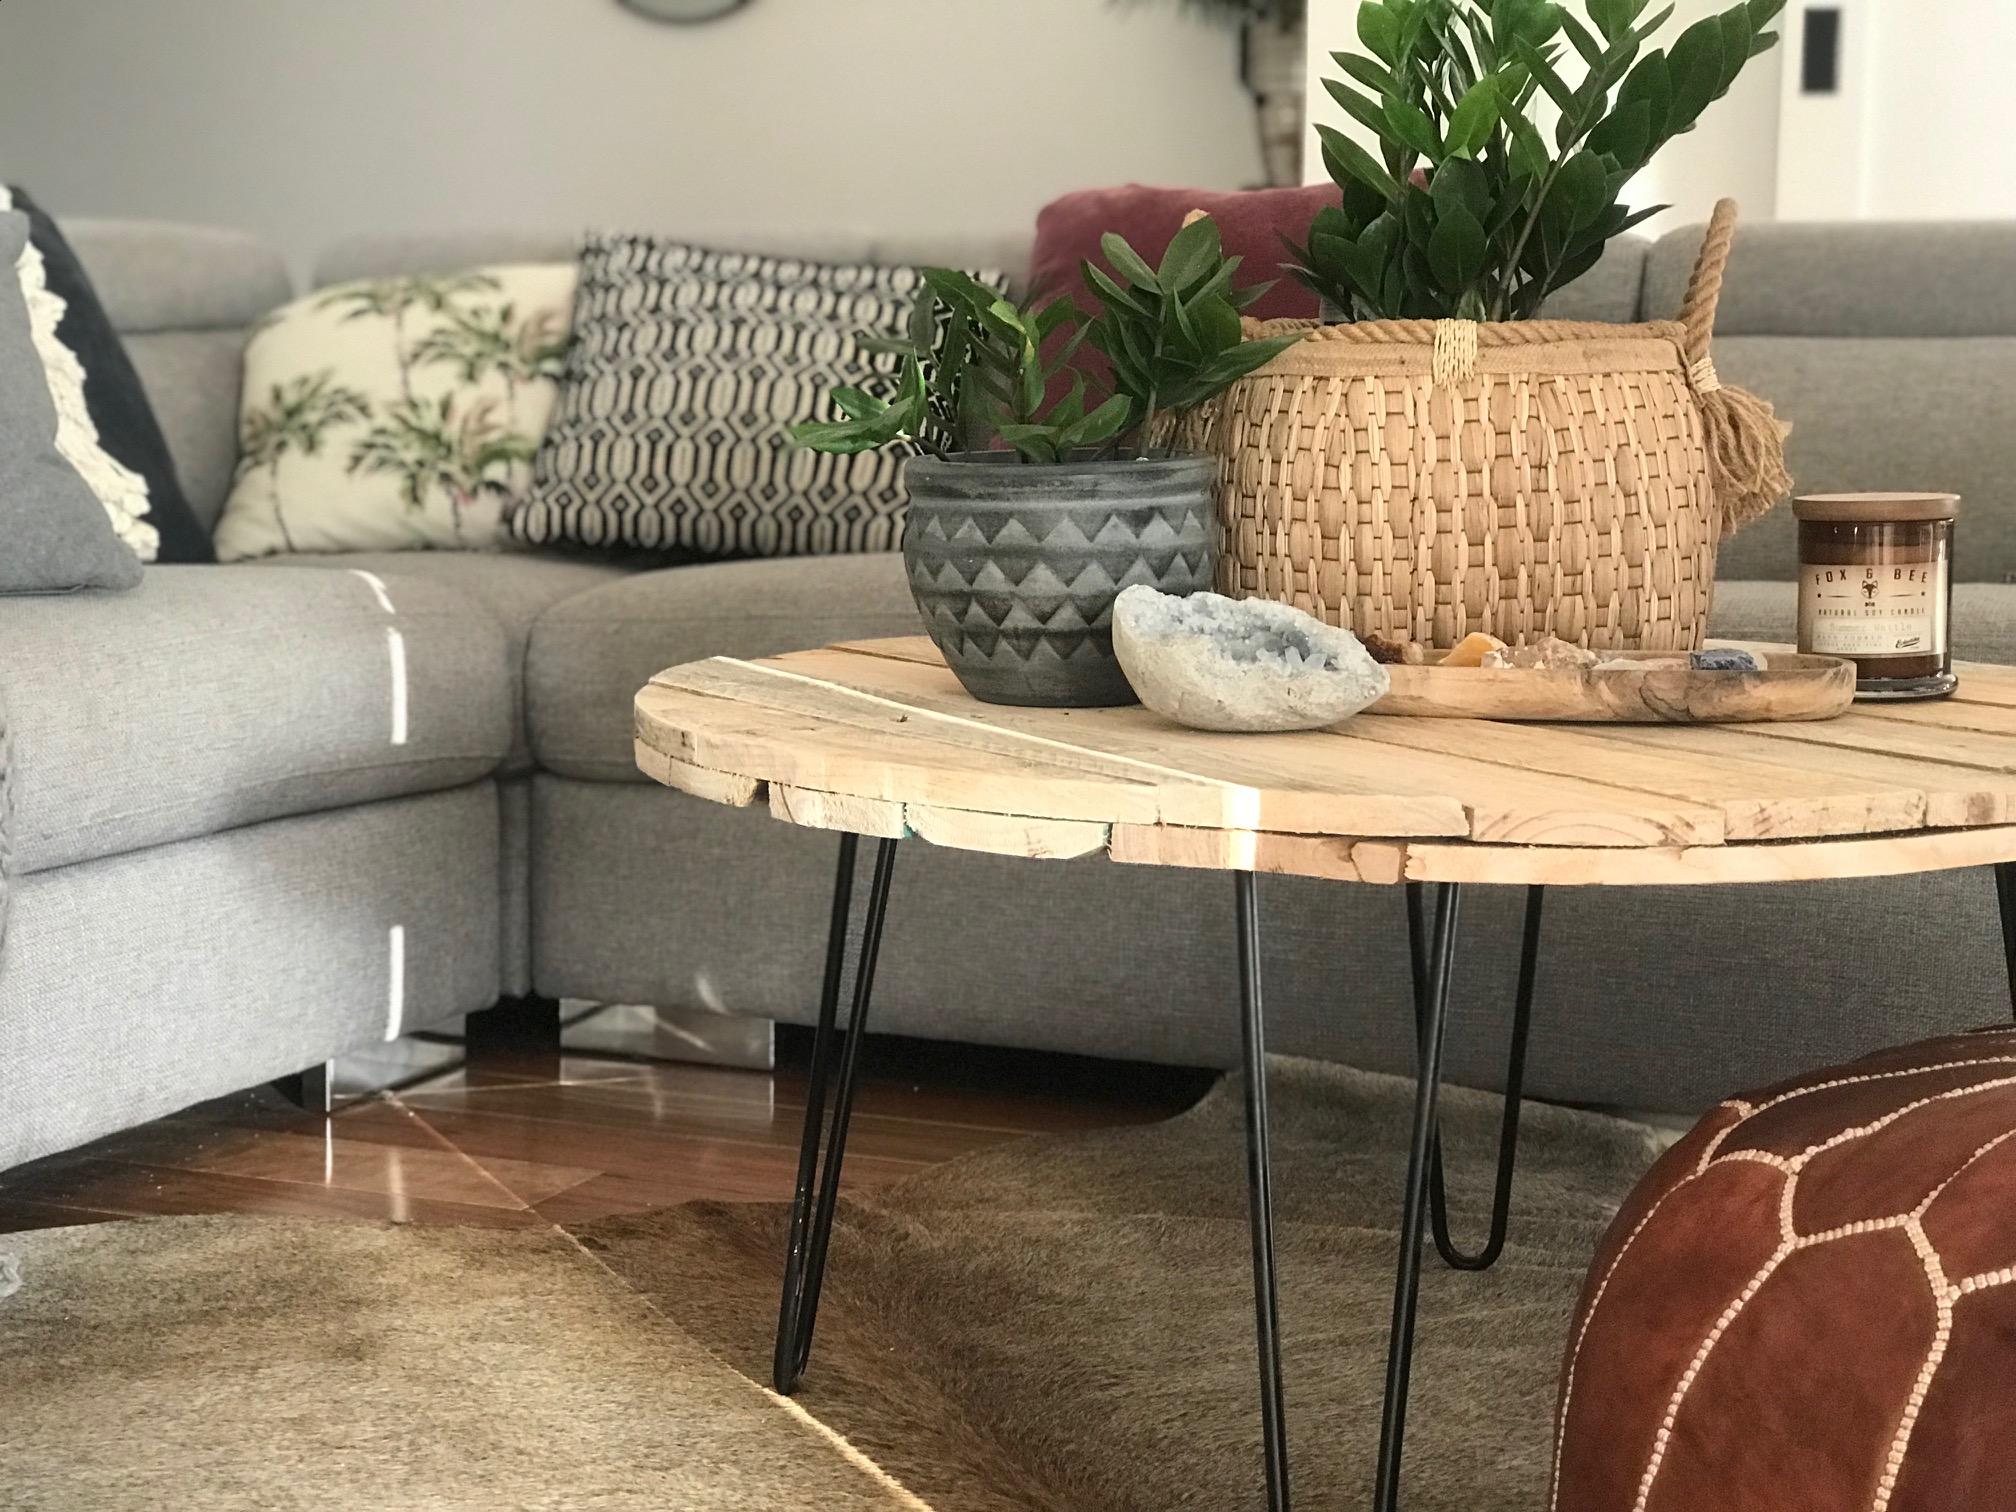
Anyway, here’s a round pallet coffee table with hairpin legs. It’s come up so well and was so easy to do…
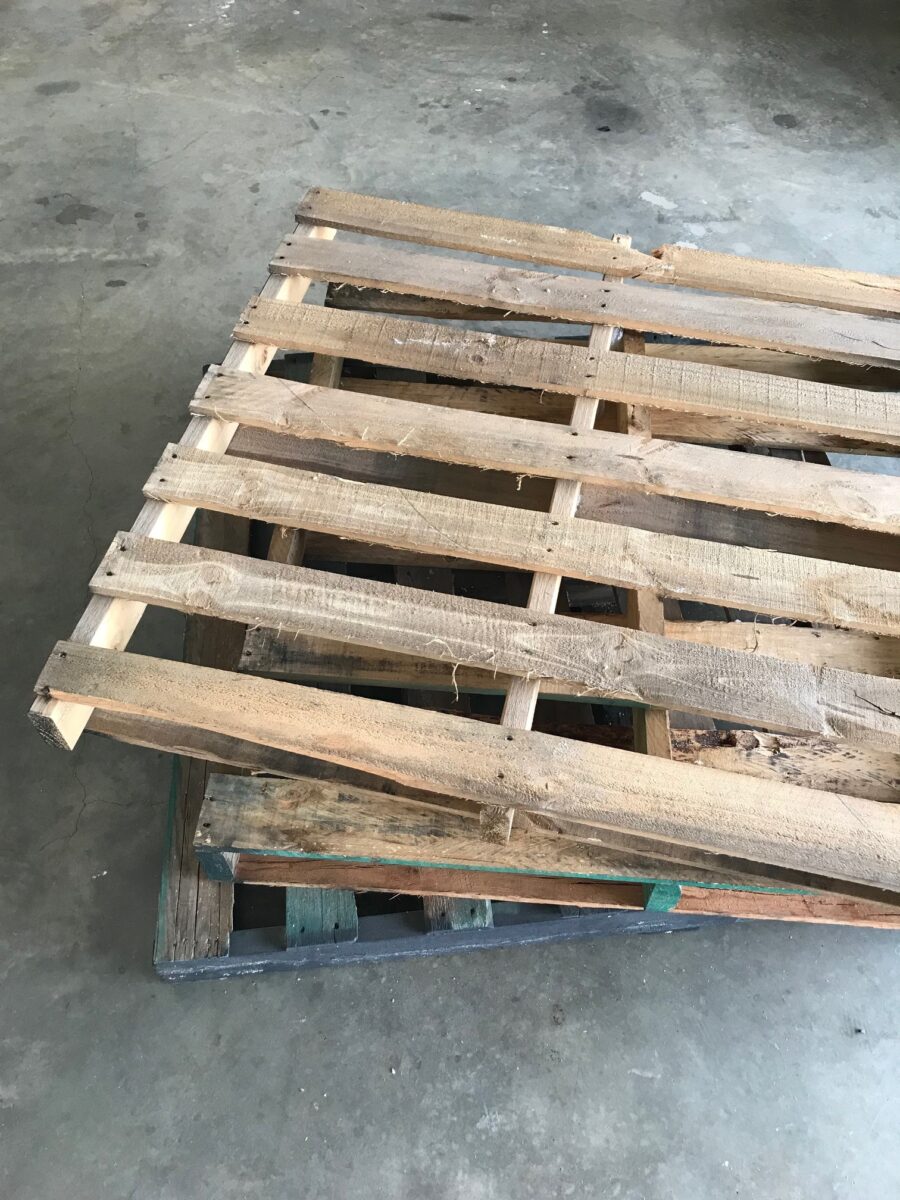
We grabbed a few pallets so we could choose pieces.
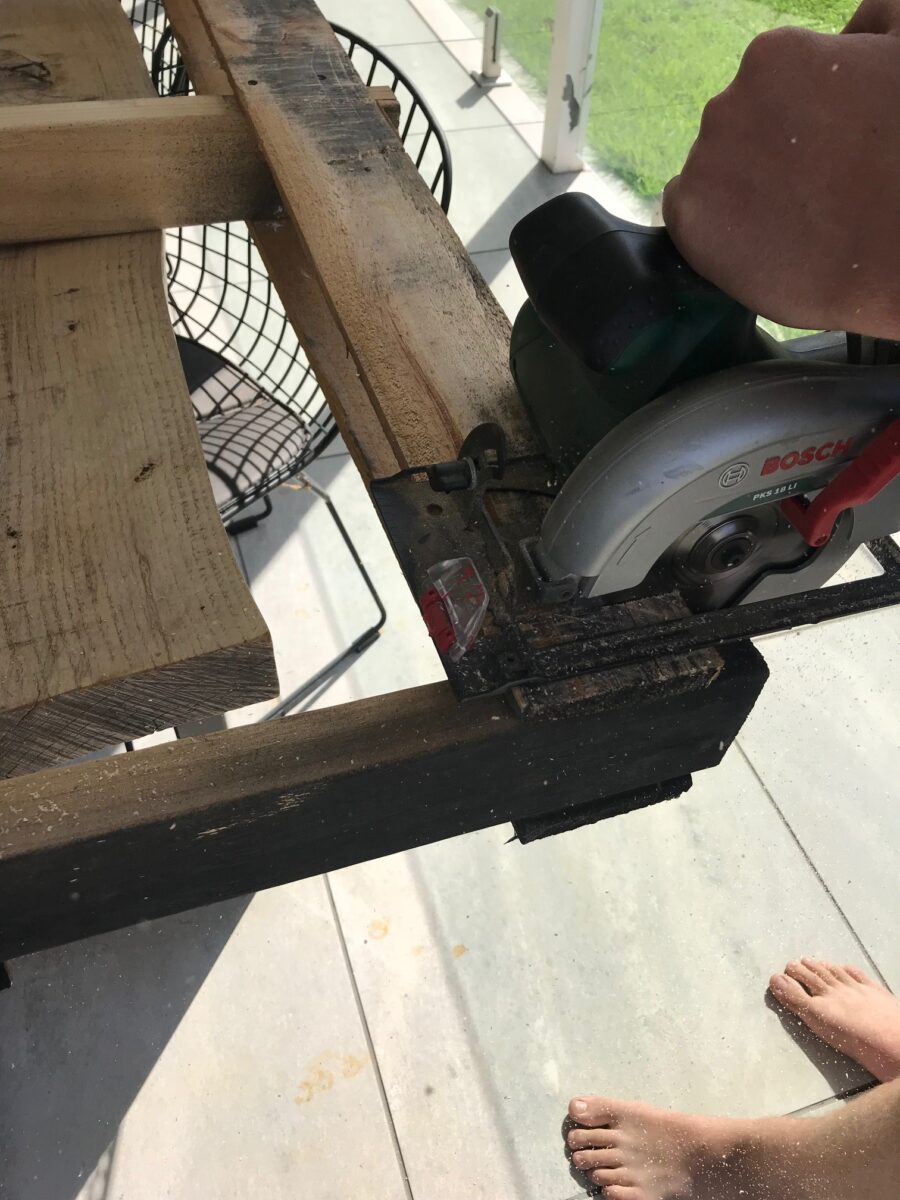
You can pull the pieces off by bashing with a hammer, or take the easy way out and saw them off.

Once we had all the pallets we hammered them all back on to a piece of pine to keep them straight and inline with each other. We were cutting these in to a circle so needed them to stay together.
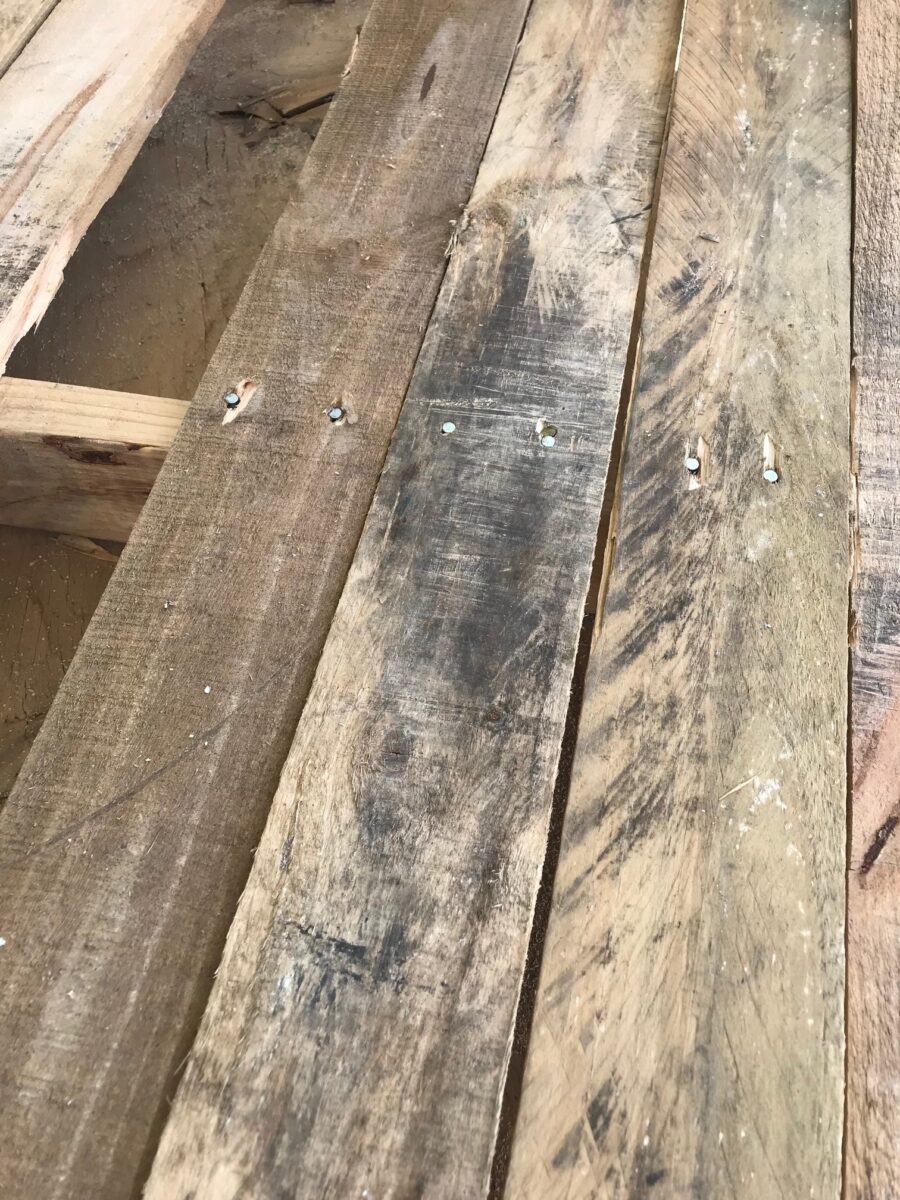

We traced the circle. I had a table in the size already so that was easy to lay it on top and copy. Otherwise tie a texta to a piece of string in nailed in the middle and run it around.
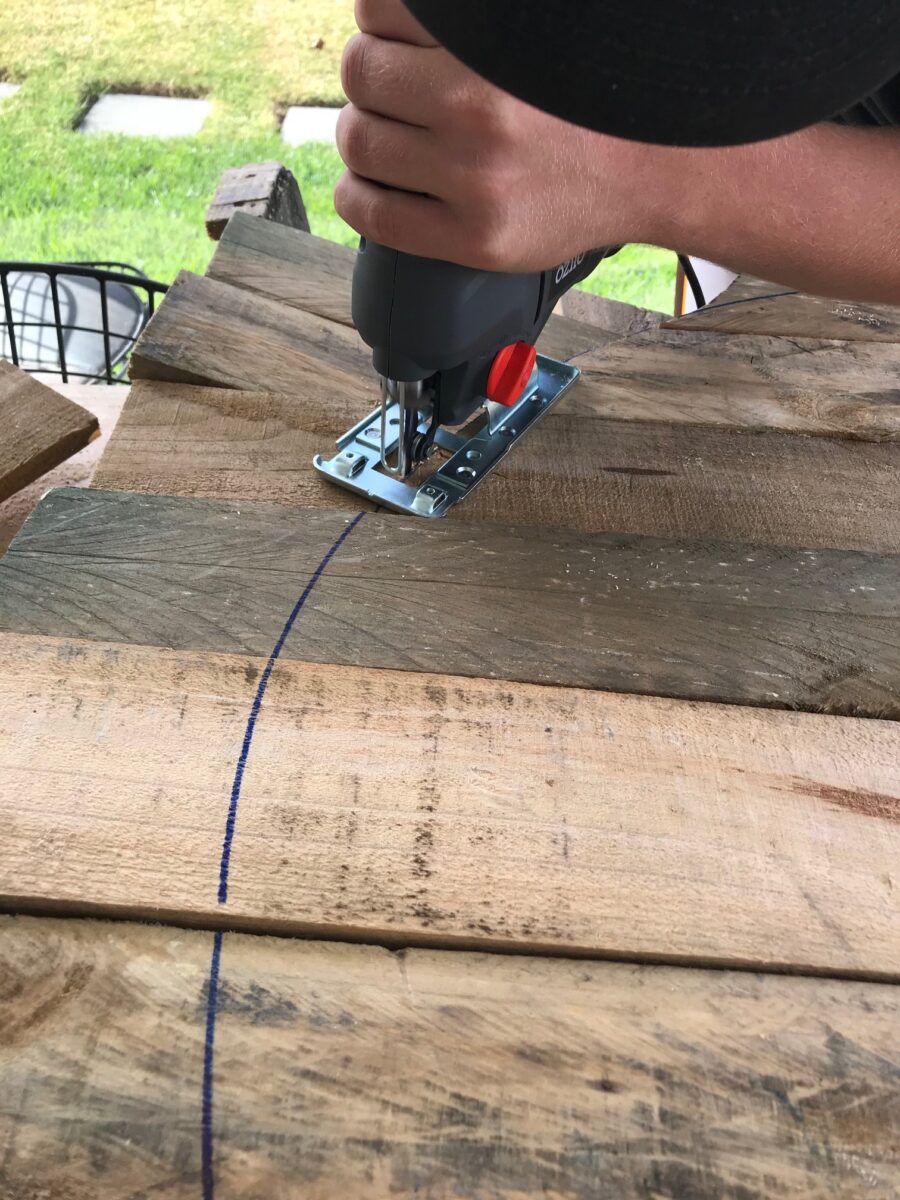
Next came the jigsaw. We had to buy this especially for the project because we didn’t have one. It was only $32 from Bunnings and was awesome for this job!
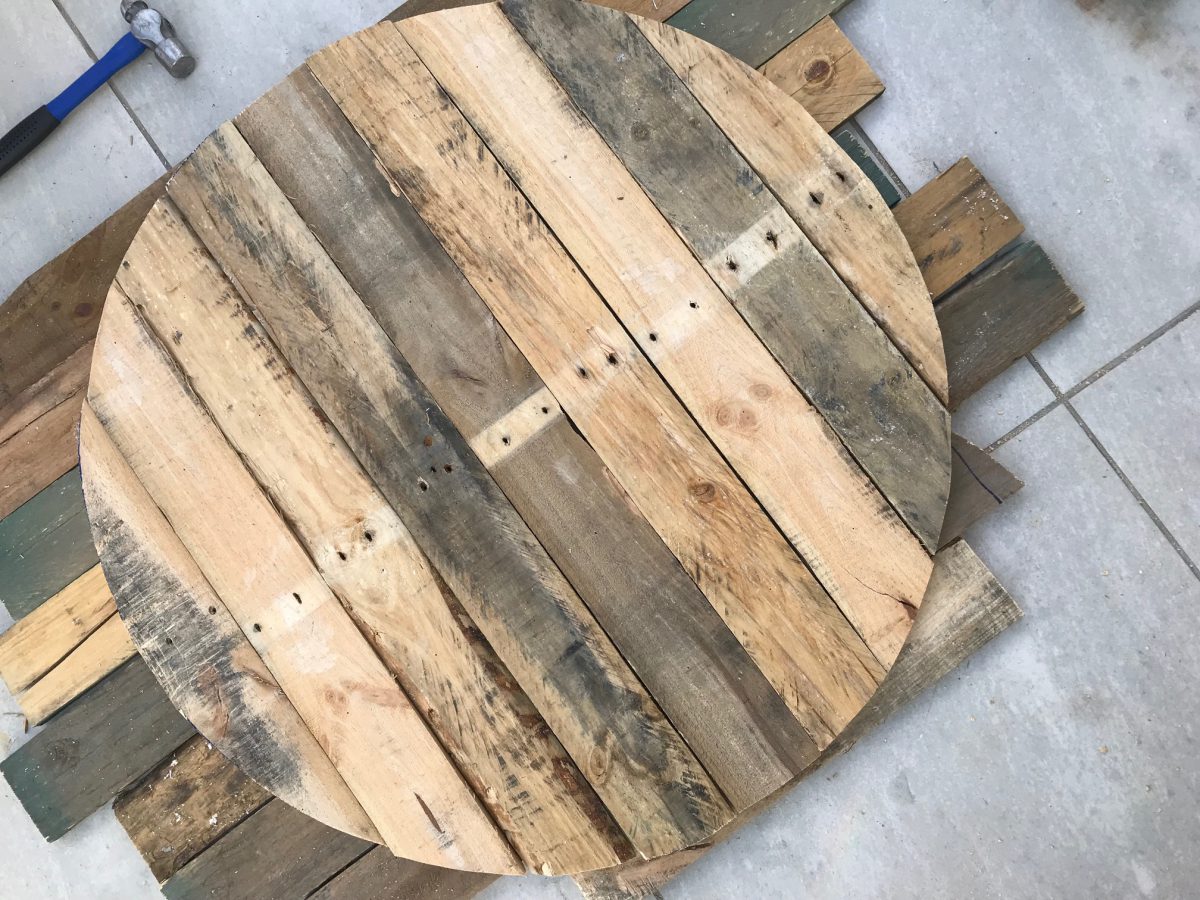
We took off the pine holding the circle together and next we layed out another row of pallets for the under side (going in the opposite direction). This is so they would all stay together.

Then we nailed each piece on.
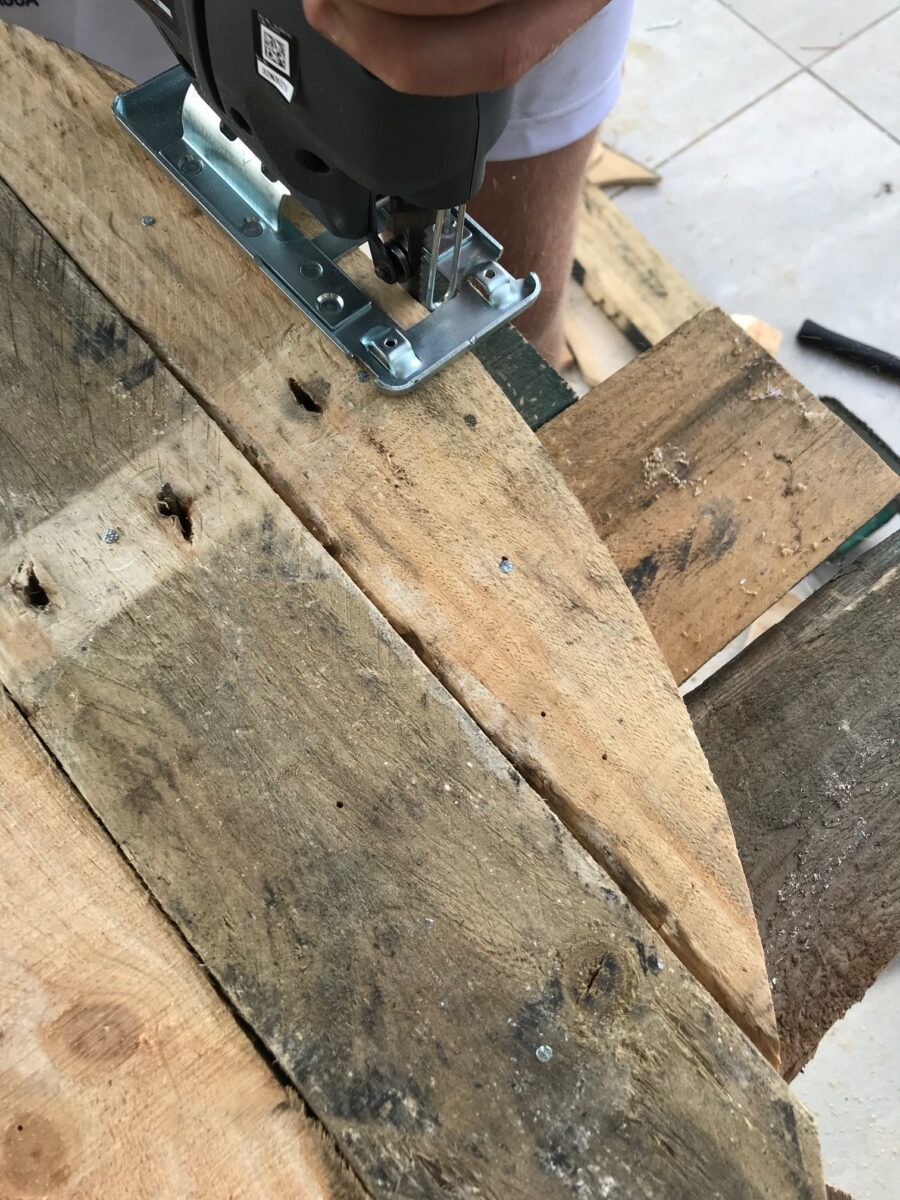
Then used the jigsaw again.
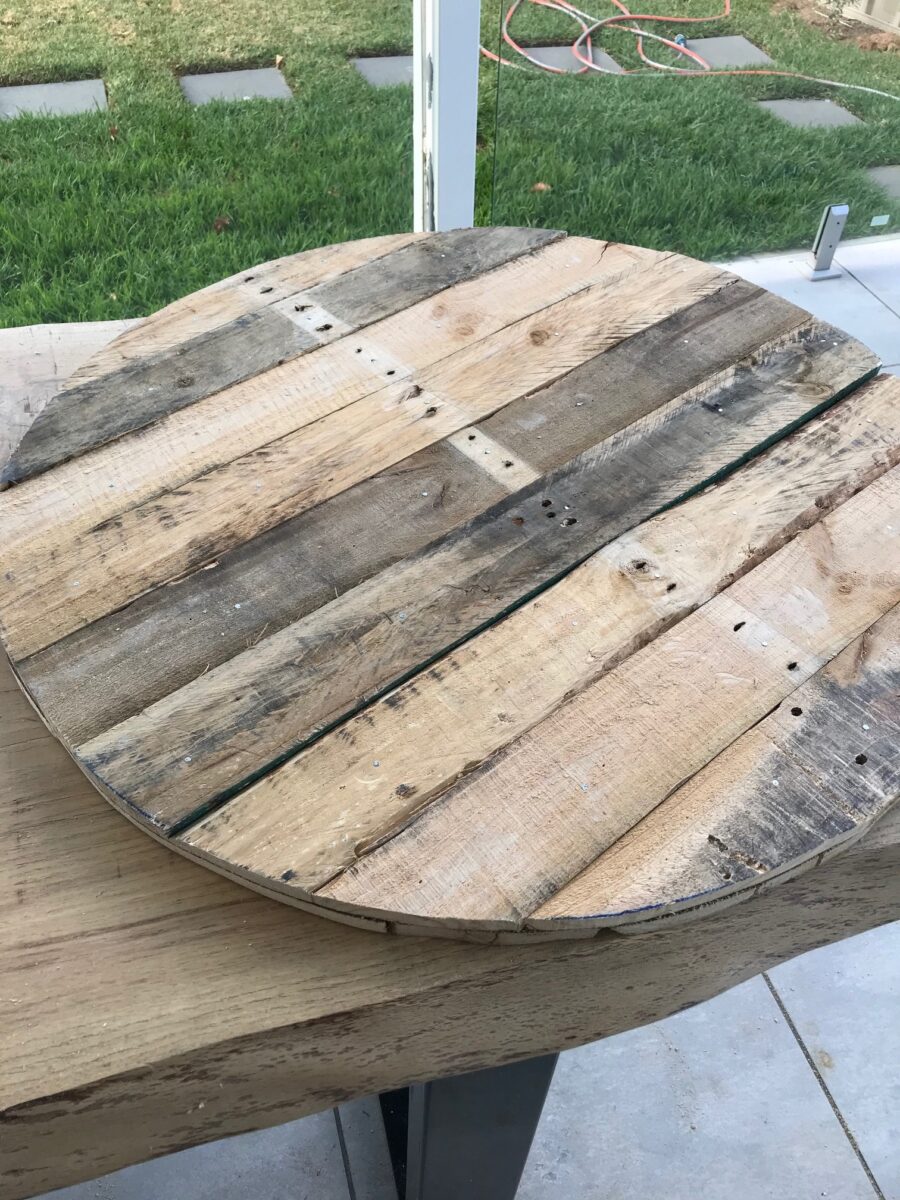
Ta-dah! Now we had a solid round top.
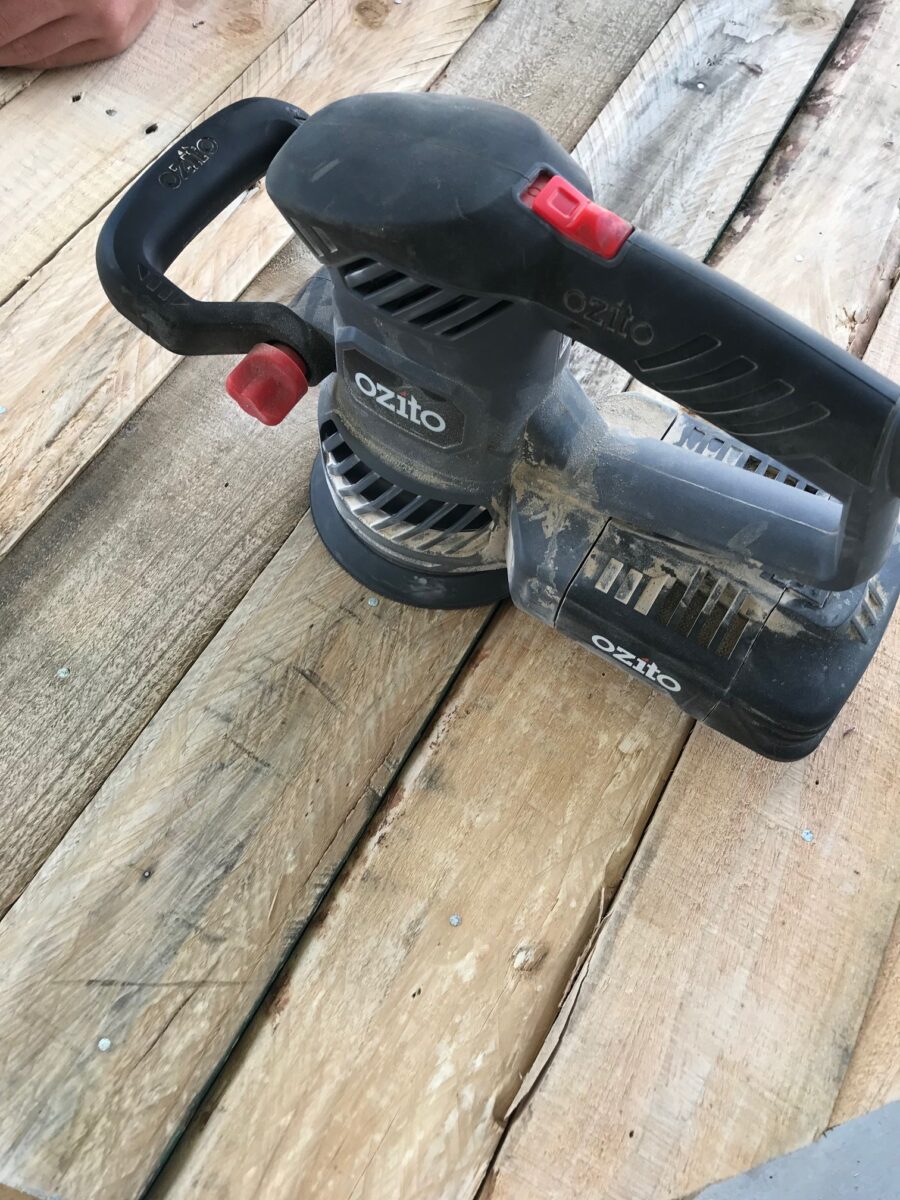
I sanded the top and edges so there were no splinters.

I got the hairpin legs from here.
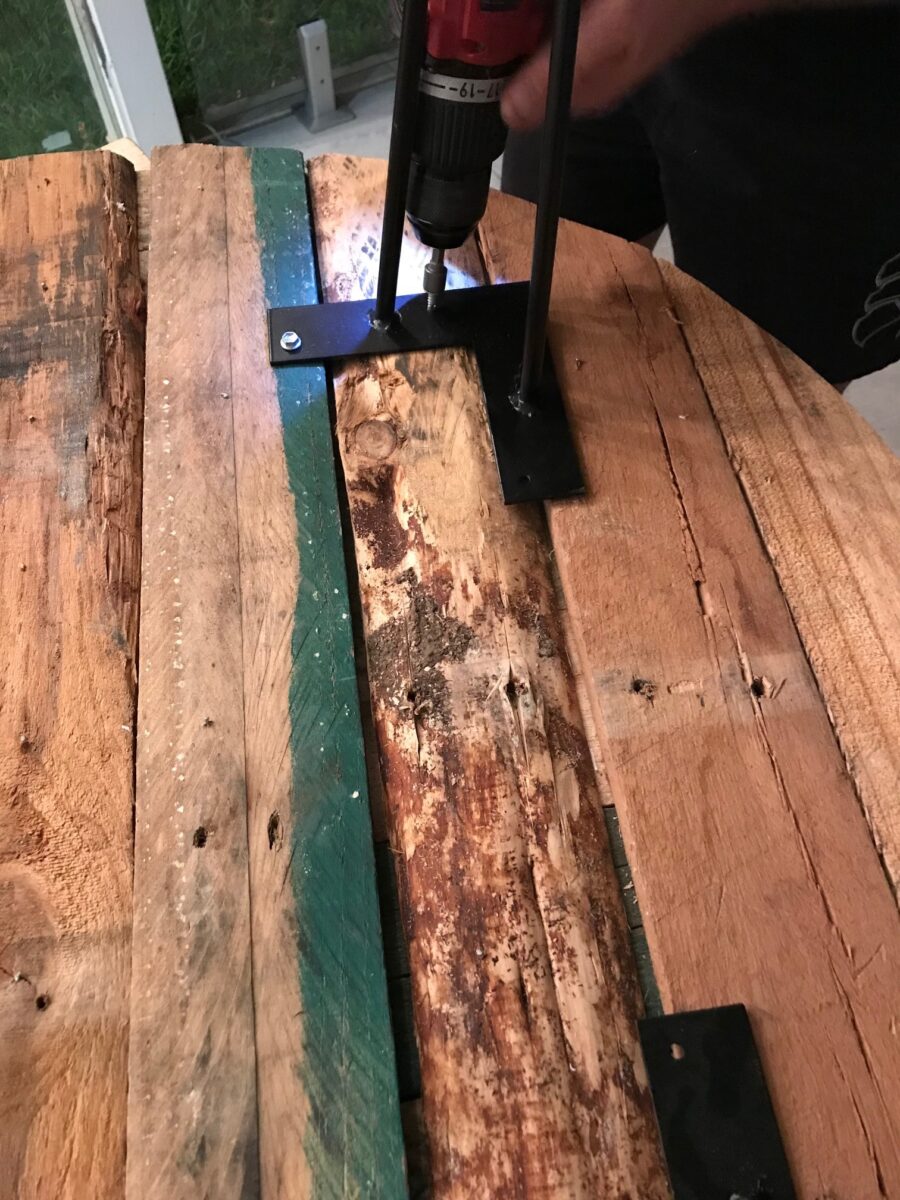
We drilled the legs in to place and were done! So easy.


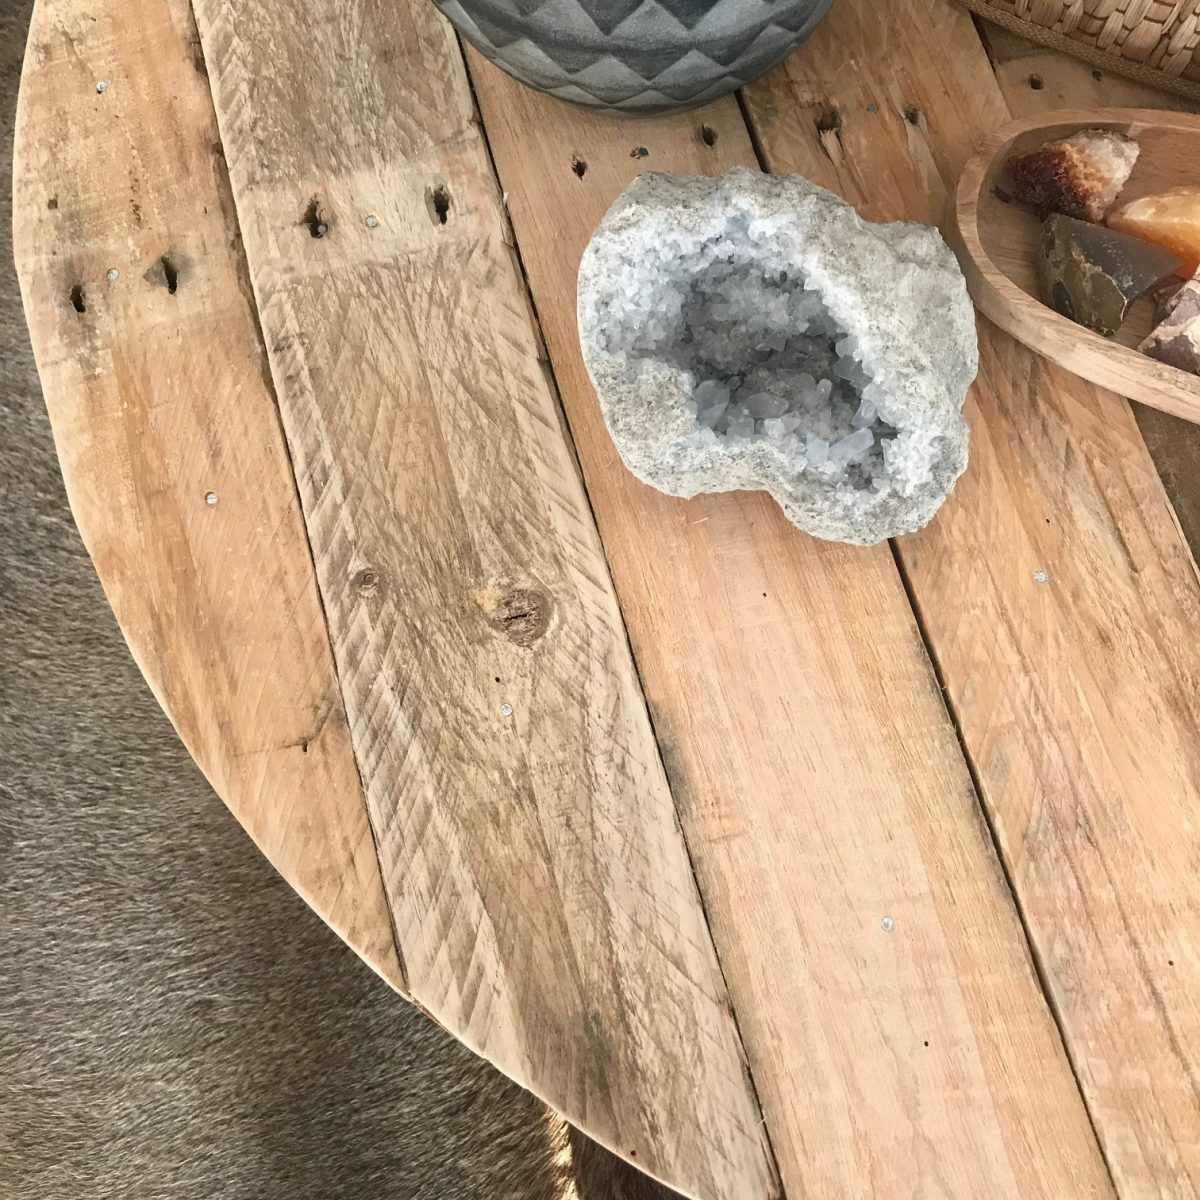
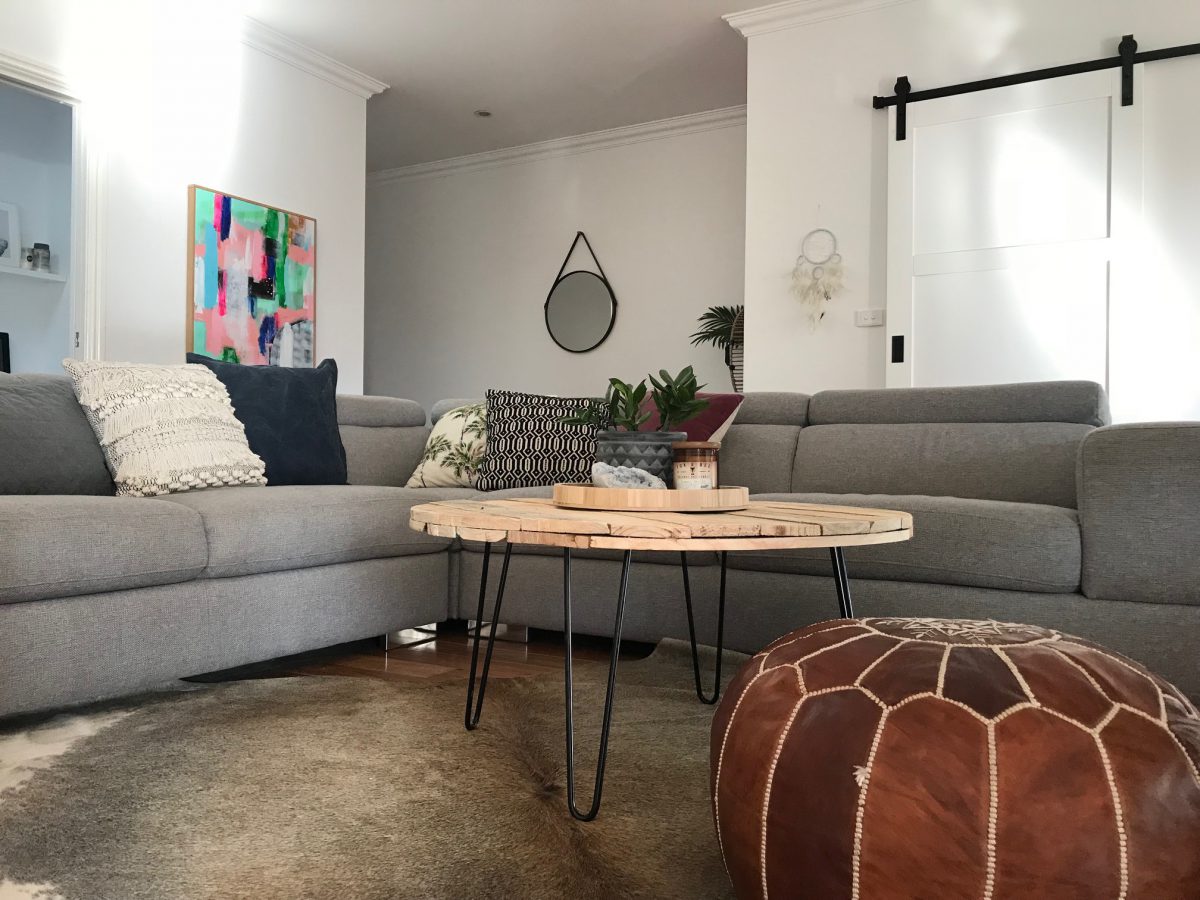
I am so happy with this new little addition to my house. It feels good to have something new that you created yourself. It’s different and not like something you see everywhere.
♥ KC.
Be the first to read my stories
Get Inspired by the World of Interior Design
Thank you for subscribing to the newsletter.
Oops. Something went wrong. Please try again later.


Comments
Anonymous
Looks great! A good little sideline there for the teen to make a few extra $$
Katrina Chambers Life & Design
Actually we did mention that too!
Anonymous
I’m sure he has the building part down but the behind the scenes business side would be a great learning experience. I’d love to do something similar myself
Elisabeth
That is REALLY nice!
Jolene Ejmont
I am absolutely amazed at how you can turn something so mundane into something so stunning! Absolutely love the coffee table!