A couple of weeks ago I got in a mood and decided my bathrooms needed a freshen up. I hated the grout, it wasn't great to start with and it was a yucky colour, bits had fallen out and I didn't want dramas down the track, so I decided to do something about it. My …
A couple of weeks ago I got in a mood and decided my bathrooms needed a freshen up. I hated the grout, it wasn’t great to start with and it was a yucky colour, bits had fallen out and I didn’t want dramas down the track, so I decided to do something about it. My husband calls me crazy. But I didn’t want his help, I just wanted to do the job and get on with it. But it meant doing 2 showers, so I did one at a time.
I started with the main shower. I let it dry out for about 3 days (kids showered in the ensuite). I bought a small grout remover tool. Now, I will say I did not intend on removing every ounce of grout in there, I just took out the crappy areas. You have to be very careful because you can chip the tiles easily! Some areas I did manage to get it all out, other spots I just took half of the depth out.

After that was done, I gave it a good clean and got ready to add the new fresh white grout.
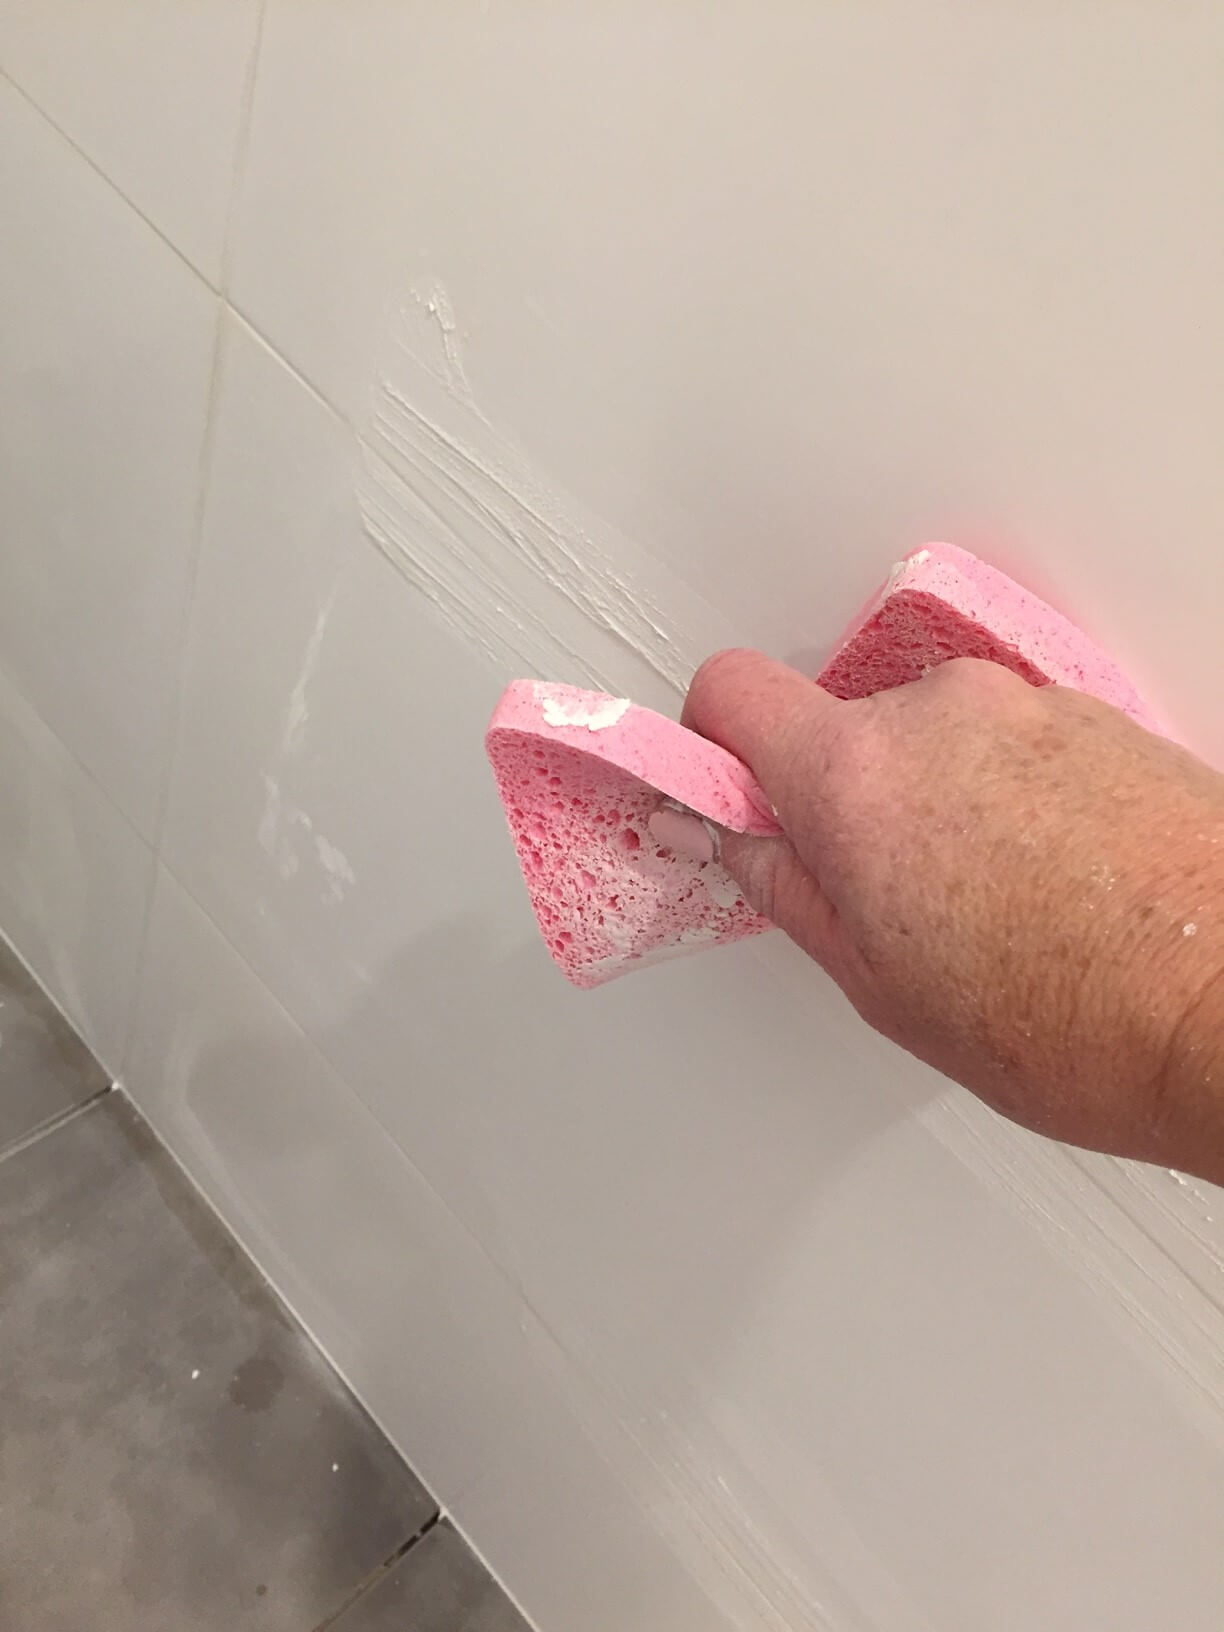
Smooth it in, wipe it off. I did wear gloves most of the time, but sometimes it was easier to use my finger.
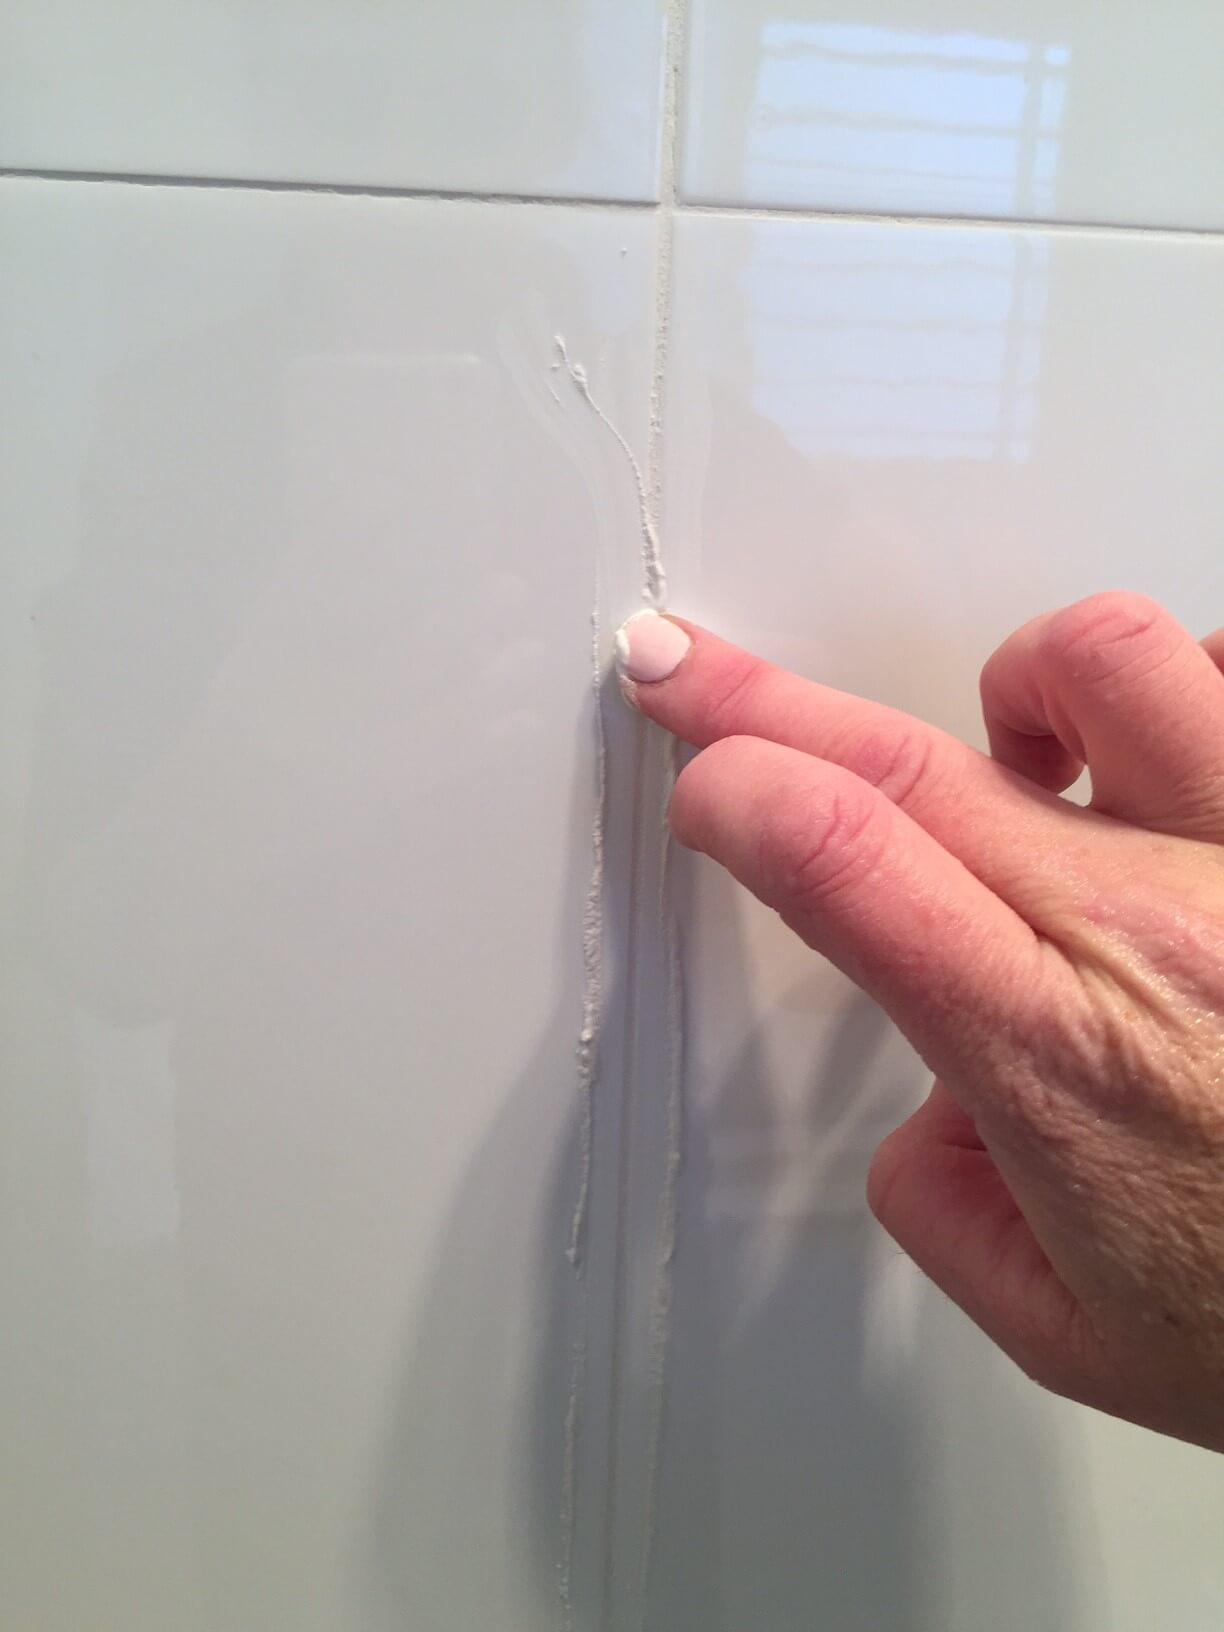

I also did the floors. I didn’t use huge amounts of grout, so I mixed it in a snap-lock bag because then I didn’t need a huge bucket or container and could just throw it out when I was done.
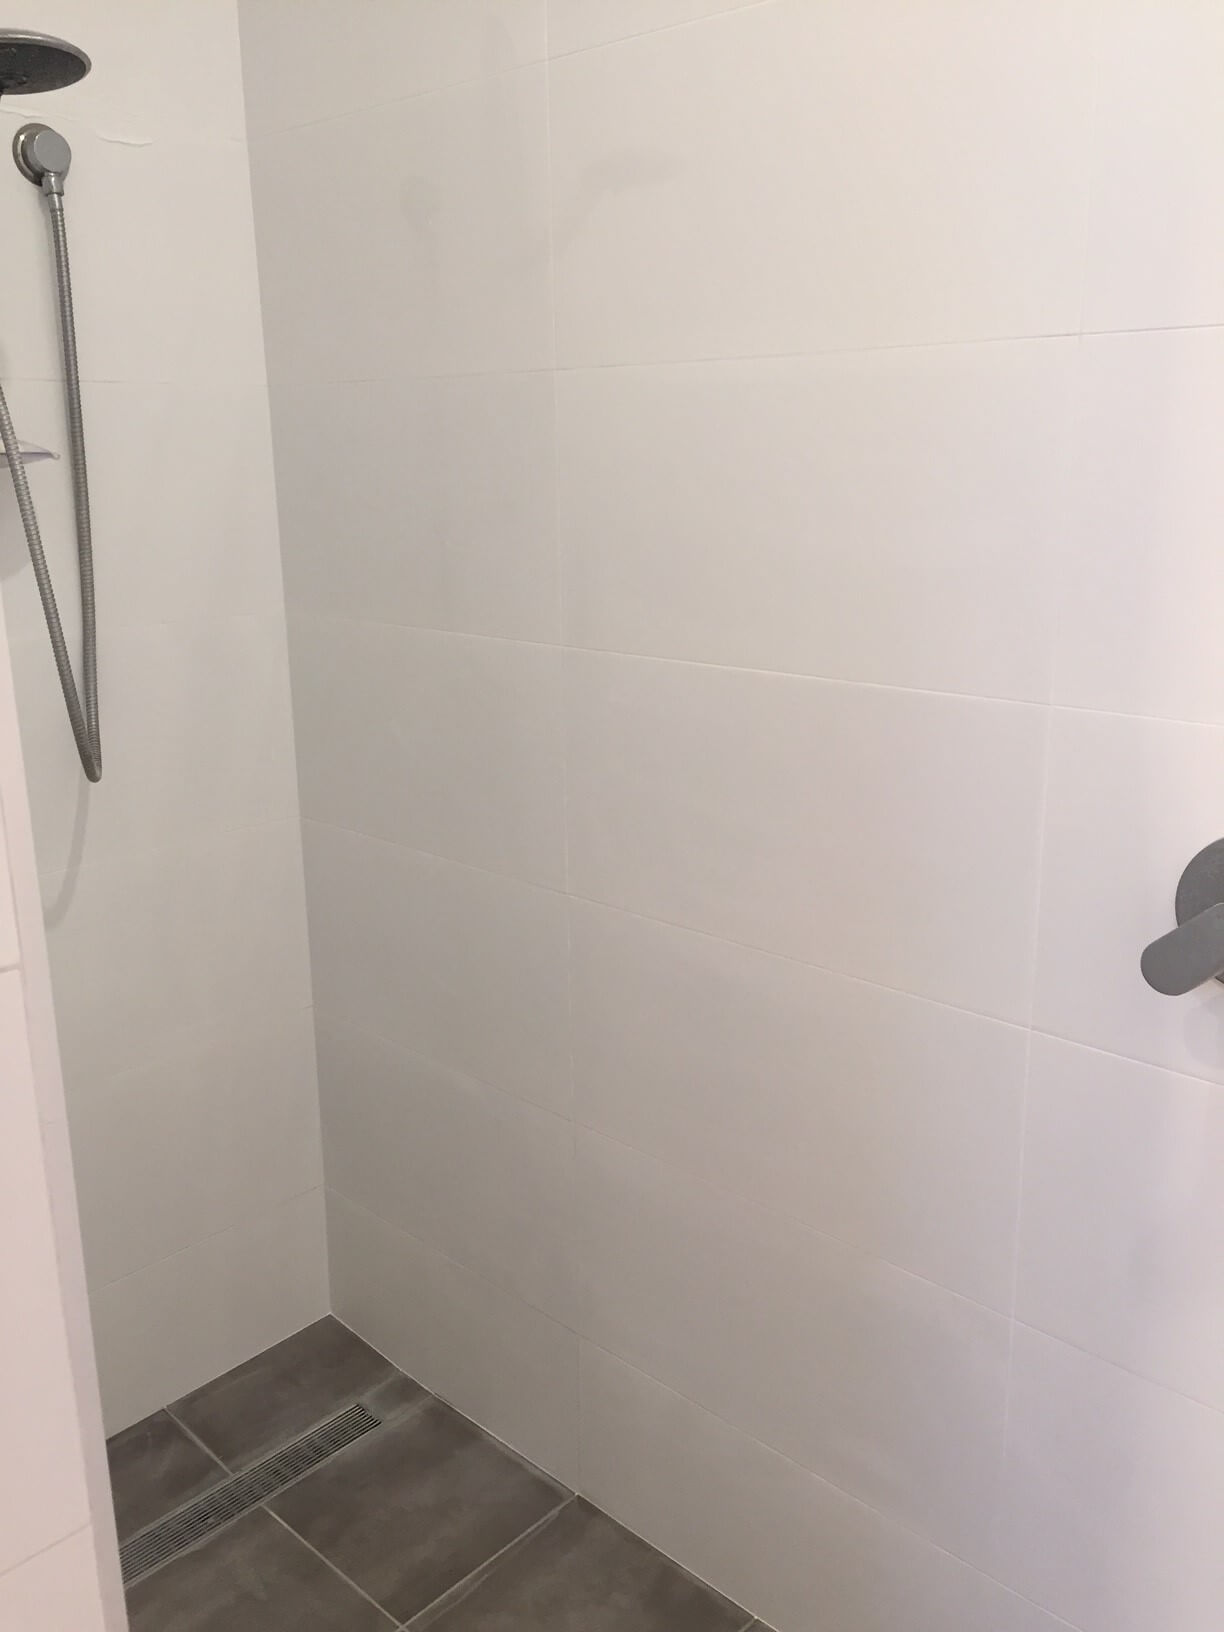
Looking so much better!!! I was rapt with how it came up.
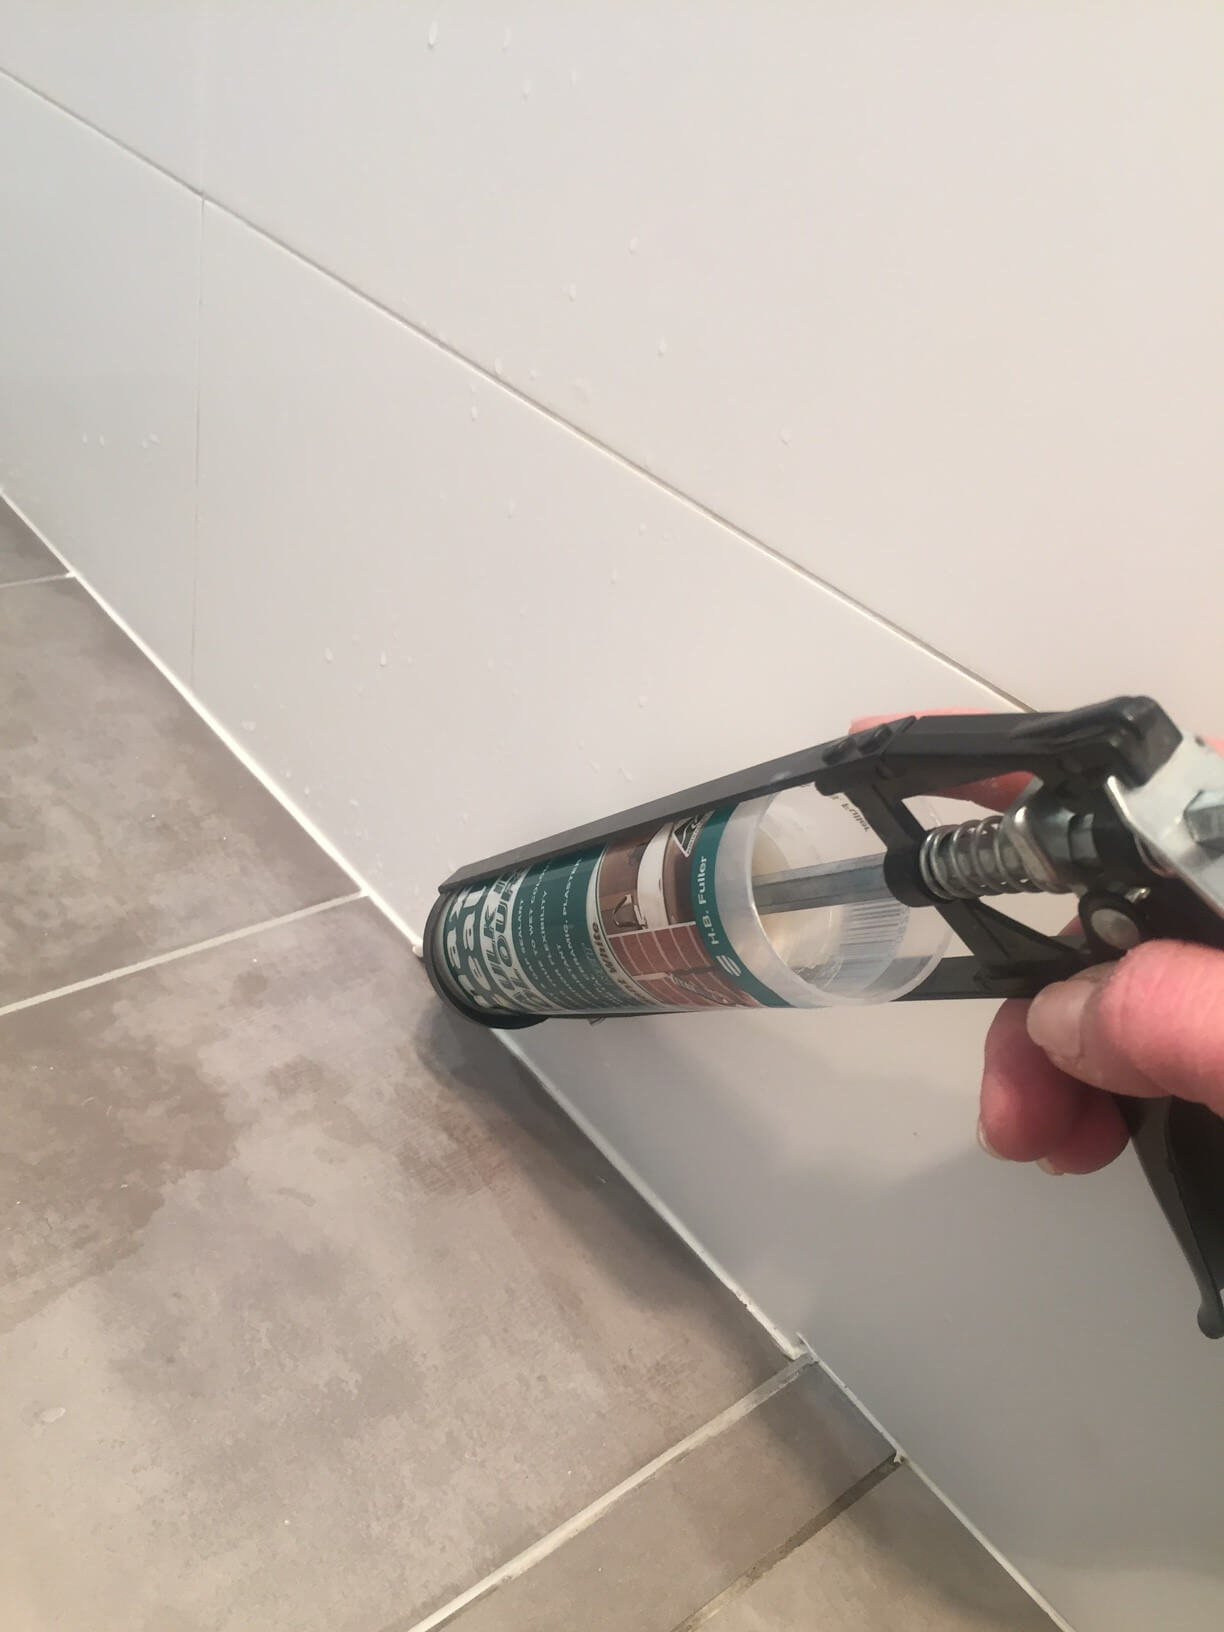
Last job was to caulk up the bottom area. This is just a tube of white sealer in a gun. You roll it along the edge and wipe the excess off. I love this little gadget, I decided to re-do around my bath while I was at it.
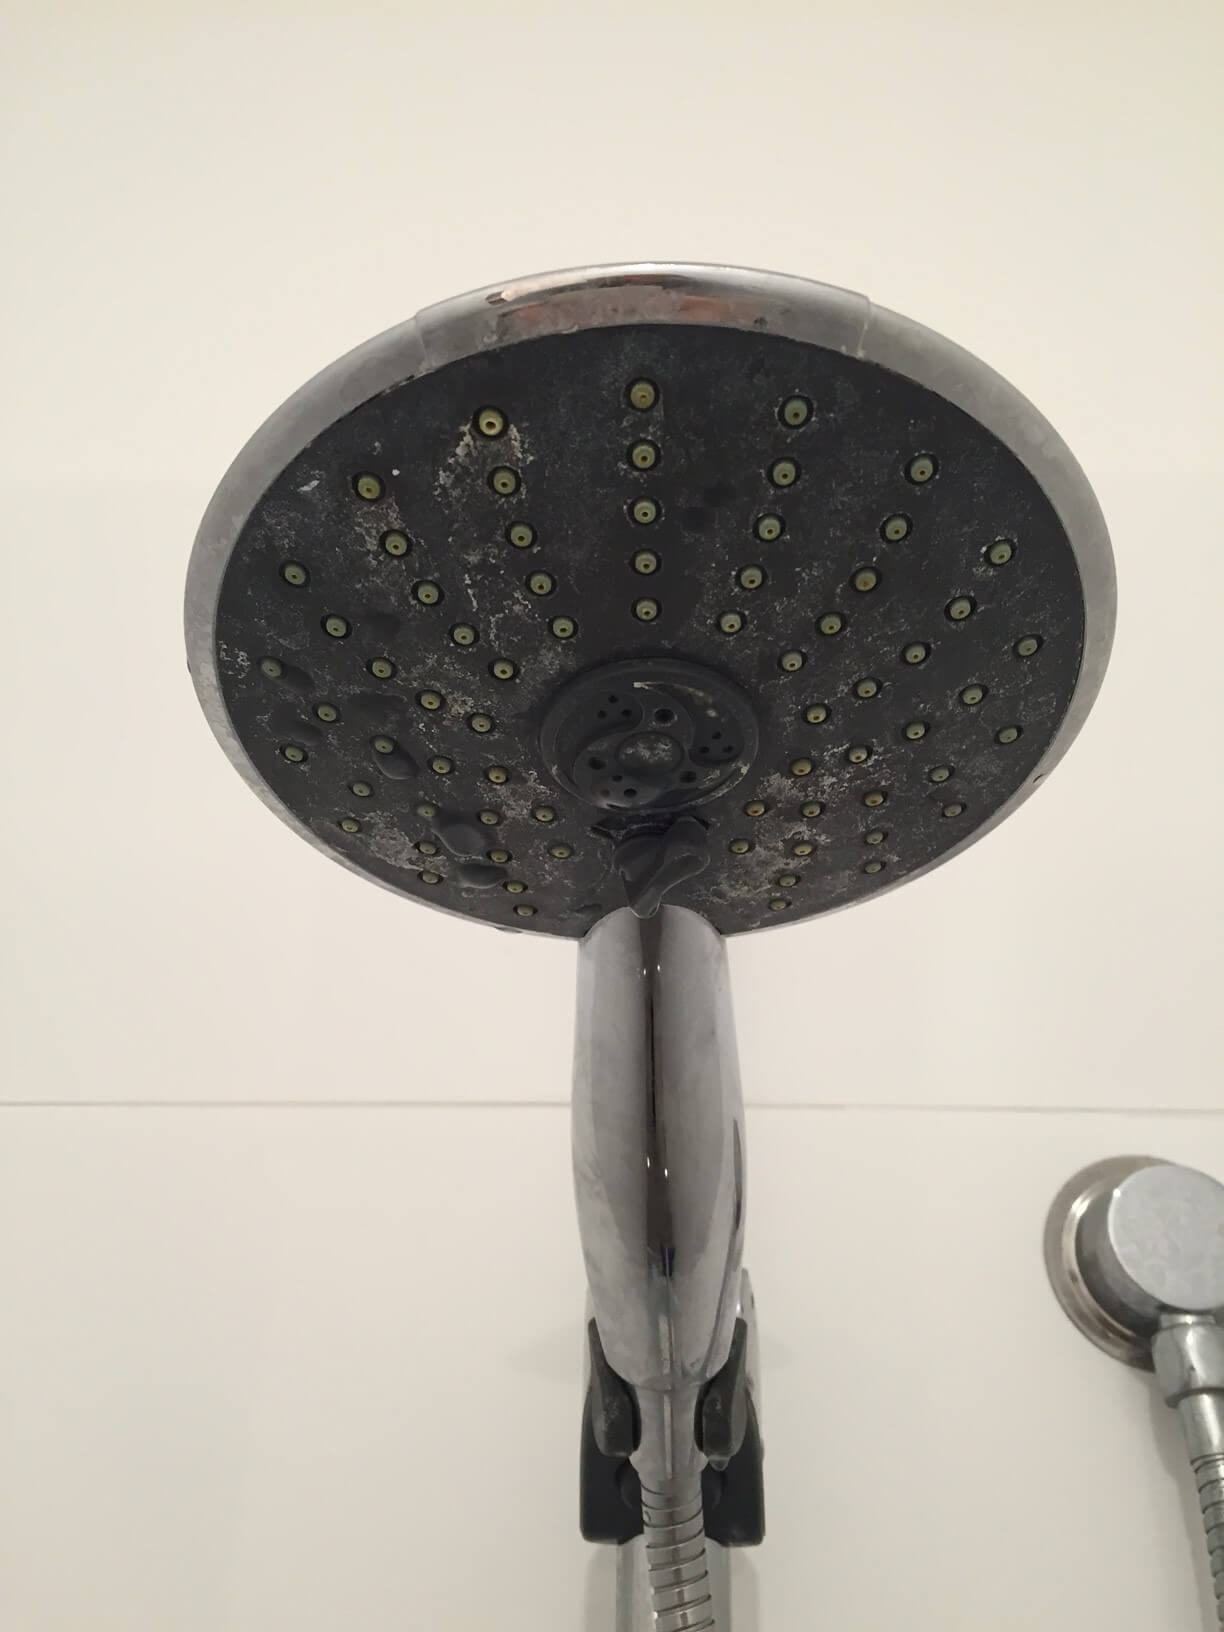
Oh now look at this yucky thing! My poor shower head. It’s full of calcium…
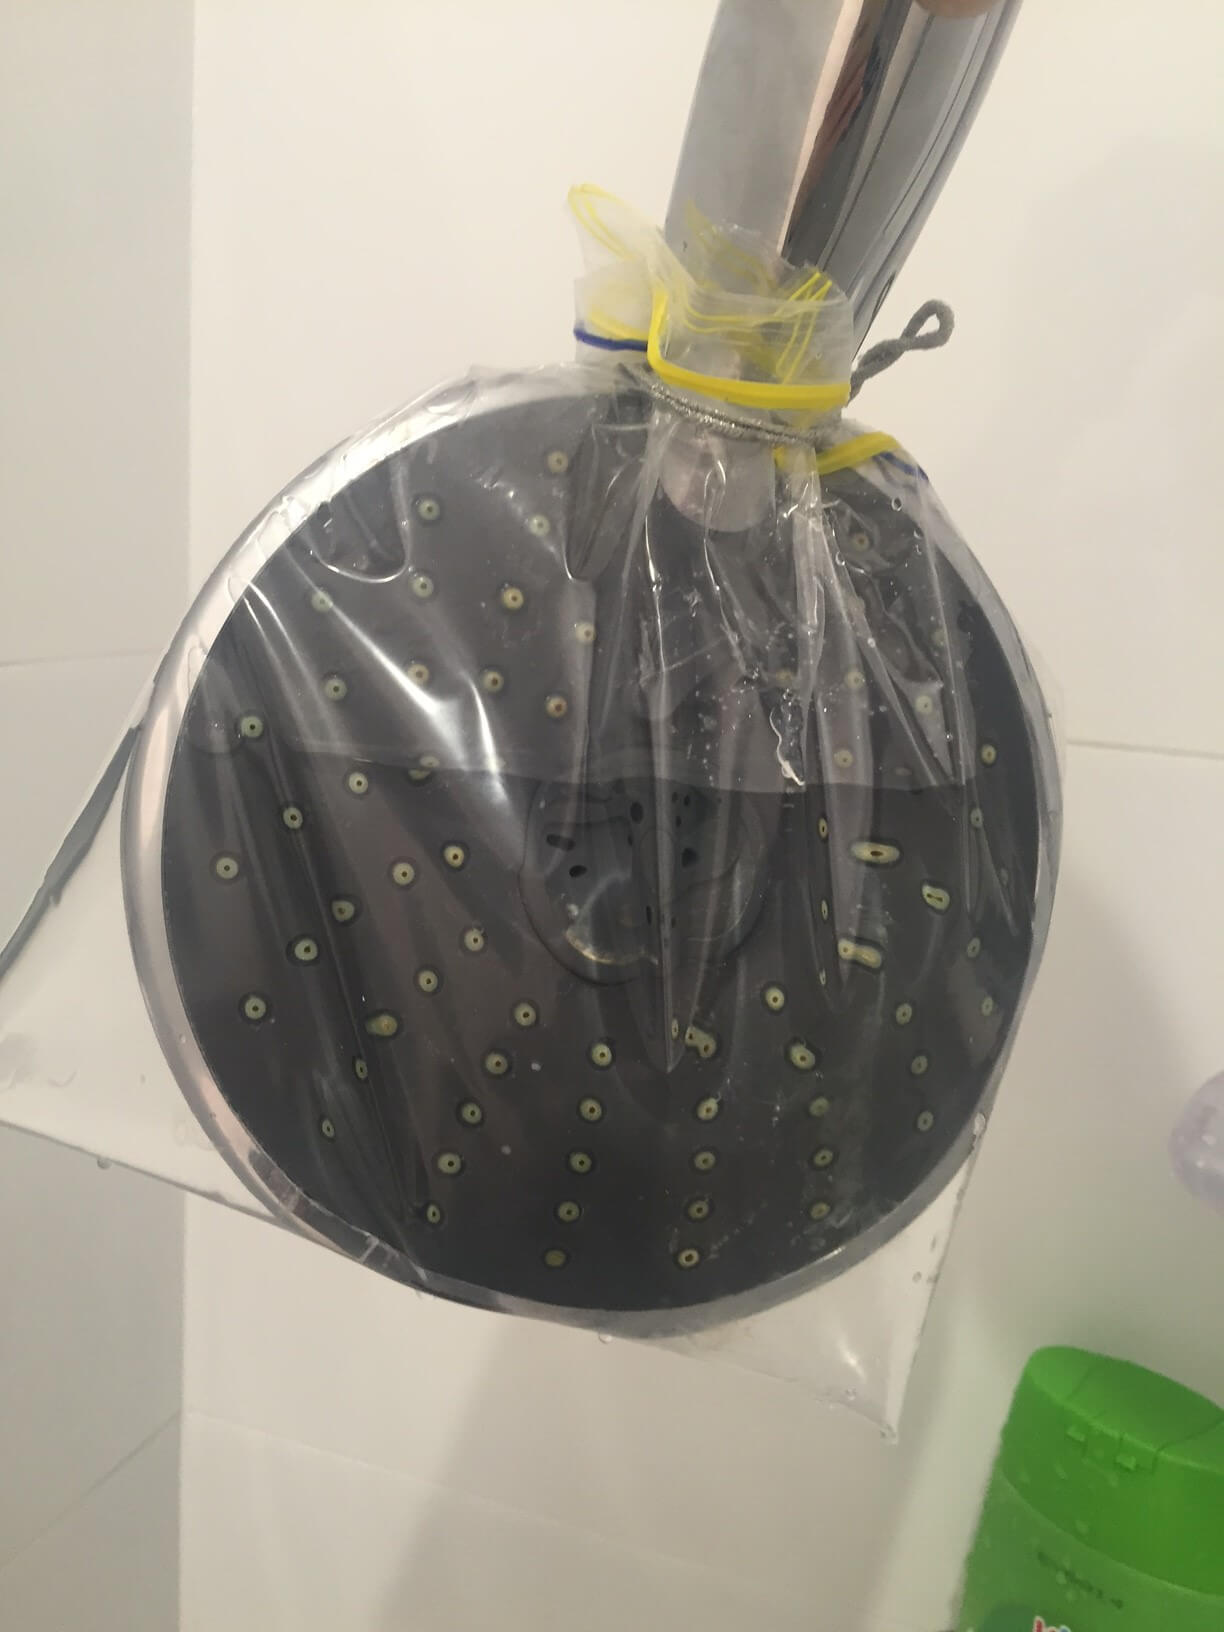
I just soaked it in a bag of vinegar, swished it around, moved it from side to side (I left it for a few hours) and it’s come up like brand new. The kids asked why is the shower suddenly so fast? ha!
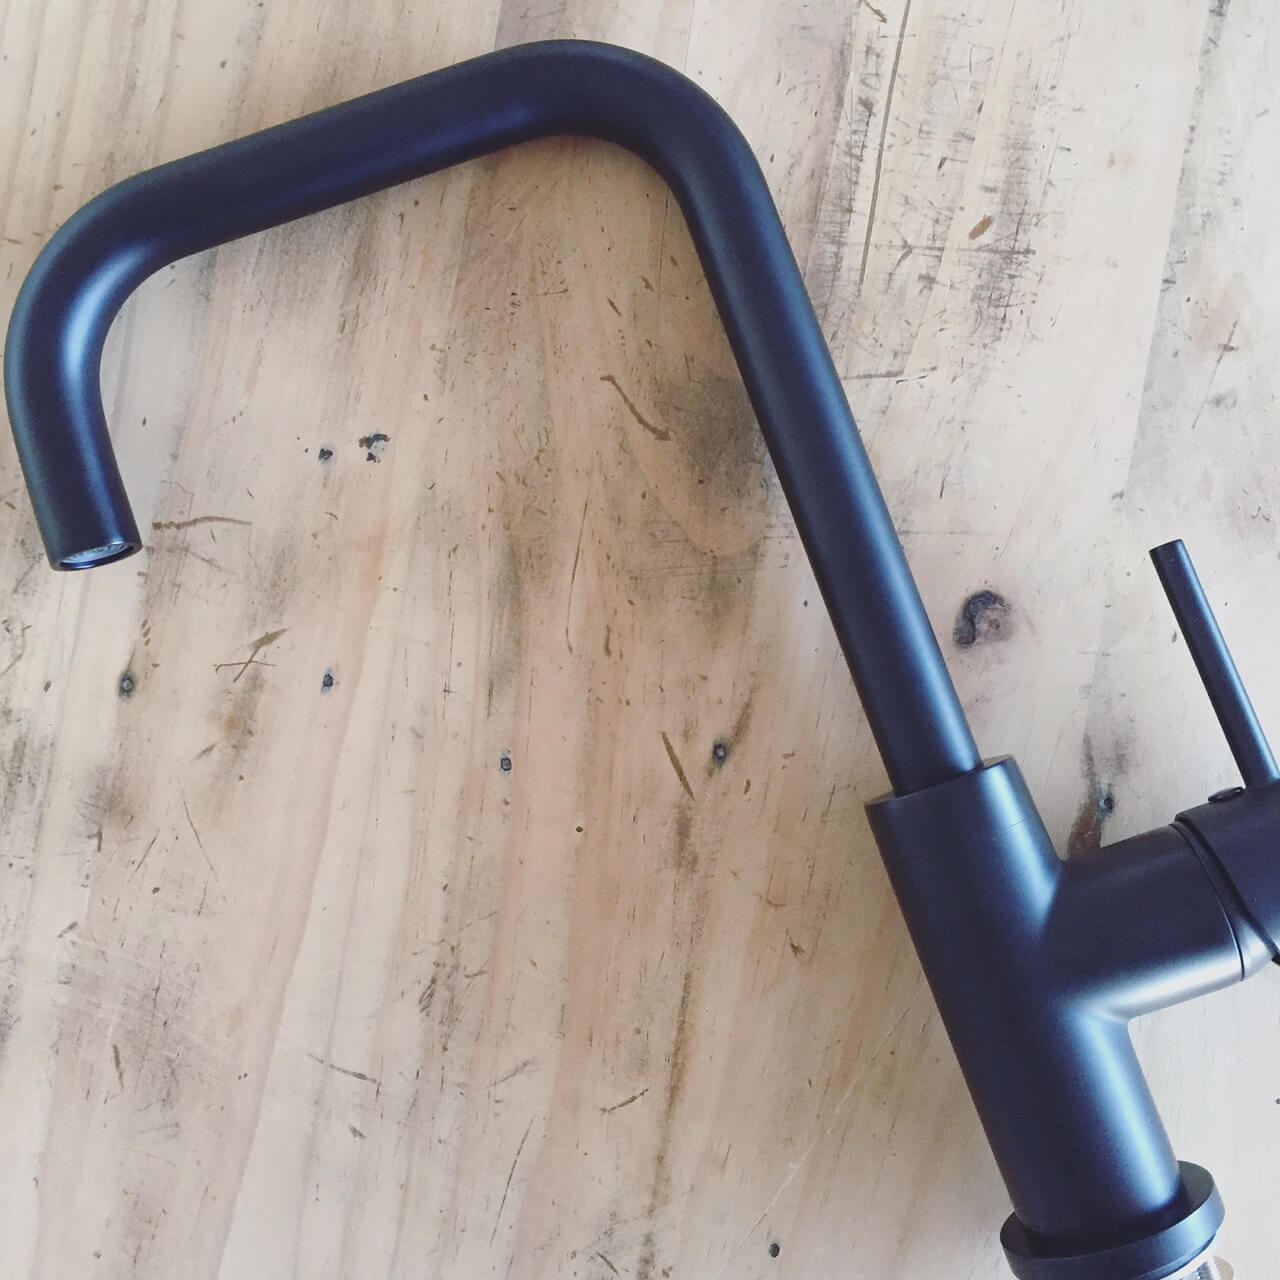
Now here is my favourite thing! New black matte taps from MEIR Australia. I wrote about my old taps here and why I wasn’t happy with them. I was desperate to fix them because you couldn’t wash under them properly. These black ones are so trendy and I knew they would look amazing in my bathrooms. Check out all the photos I couldn’t help it!)…

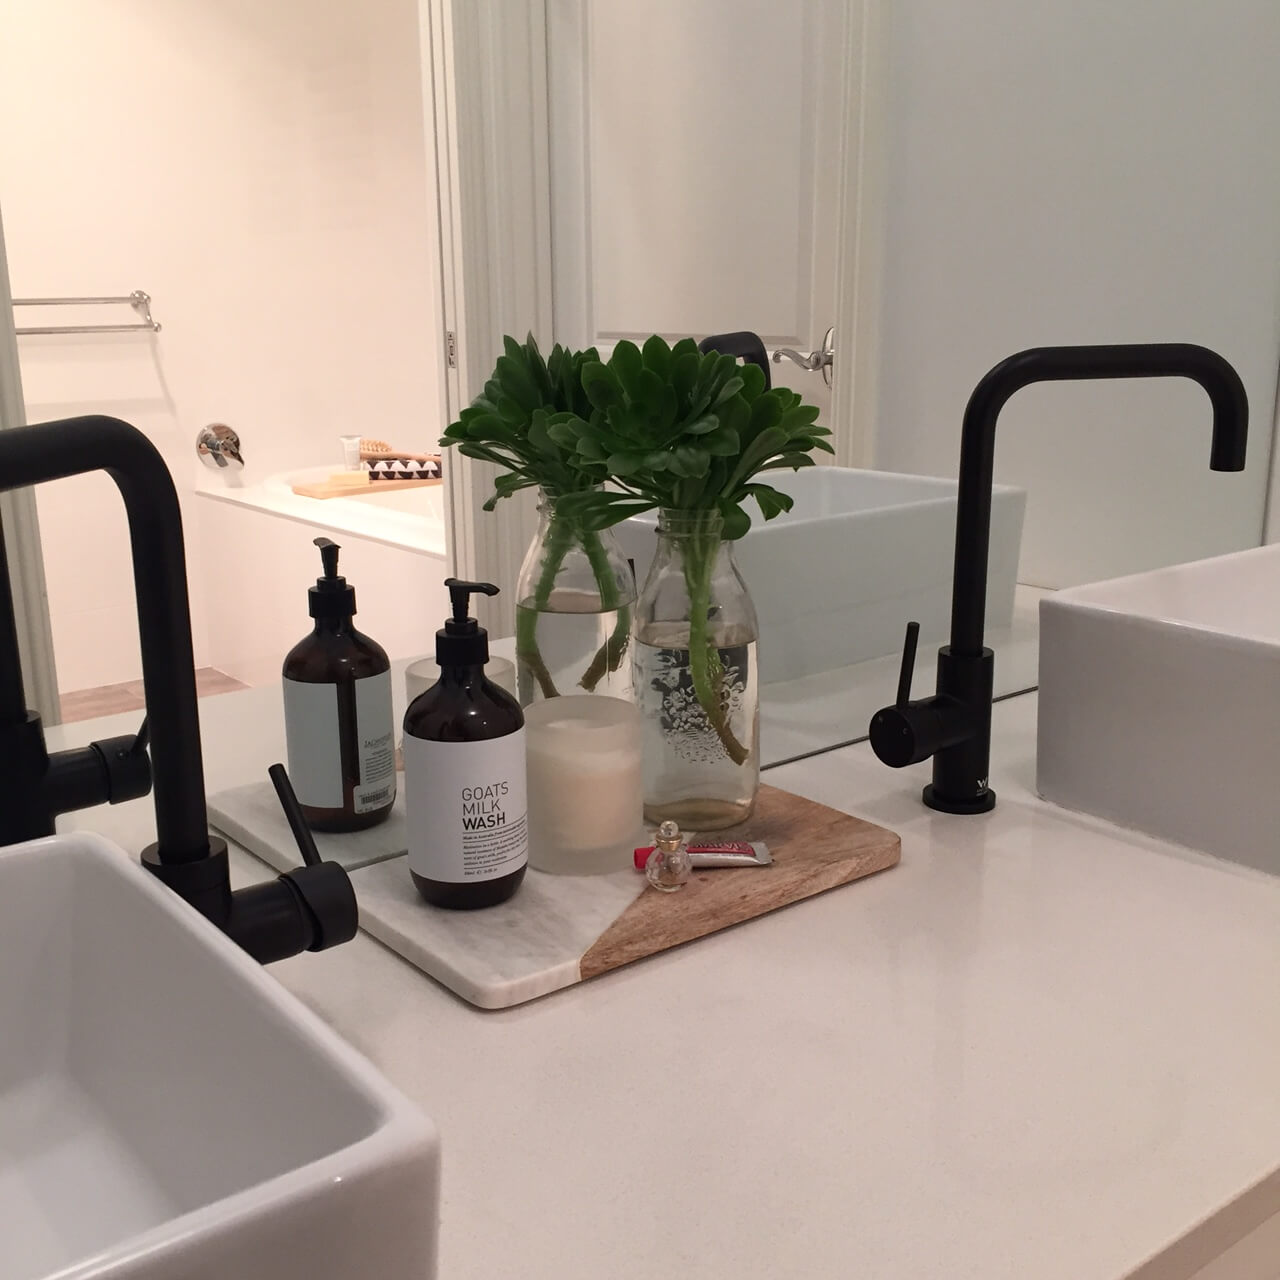
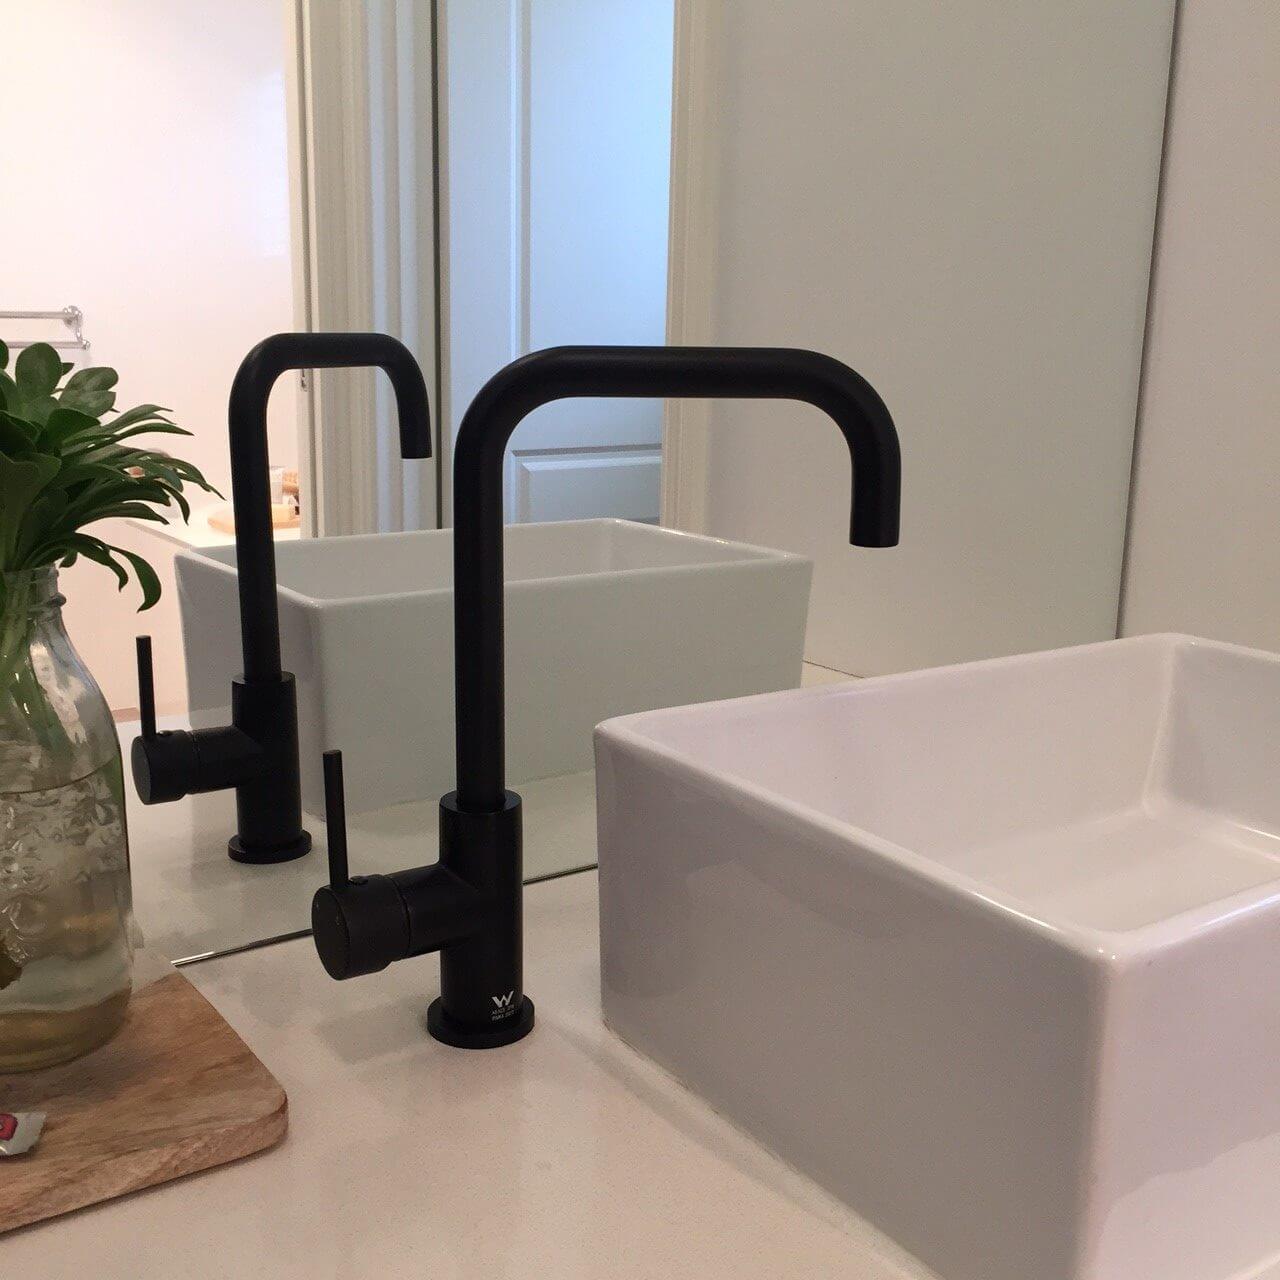
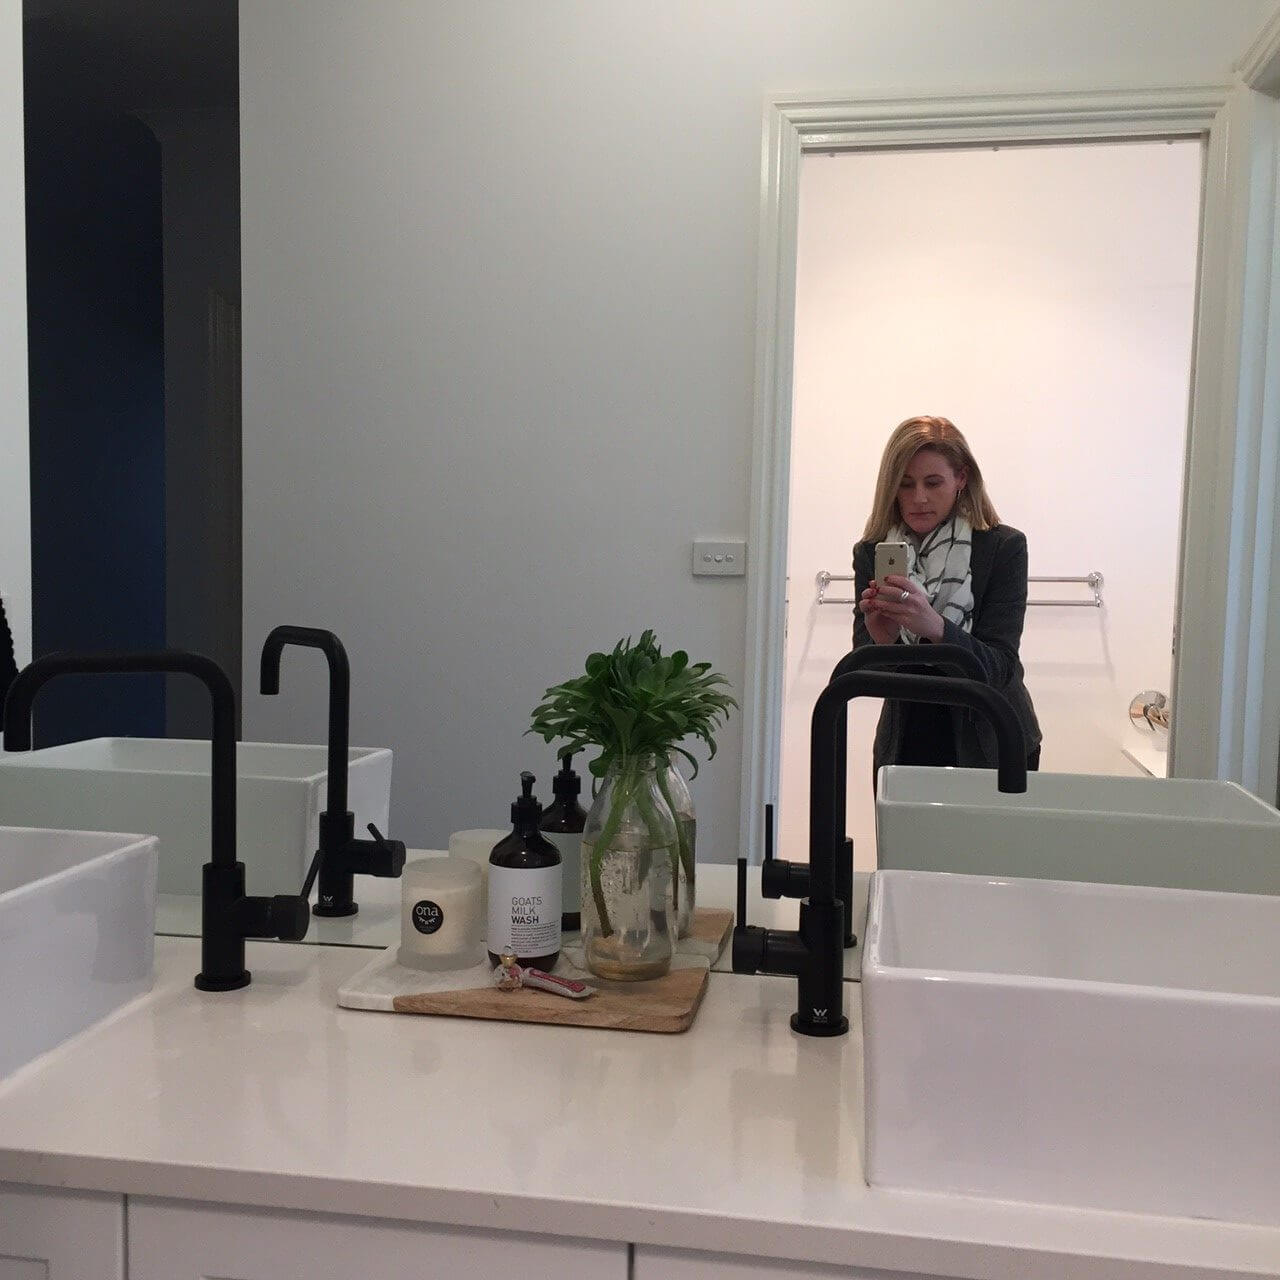
The taps are actually kitchen mixers, but they suit my space perfectly because I have the above bench tubs/sinks. They have a single-lever mixer and 360° swivel rotation which means nothing remains out of reach. You can see them on Meir’s site here.
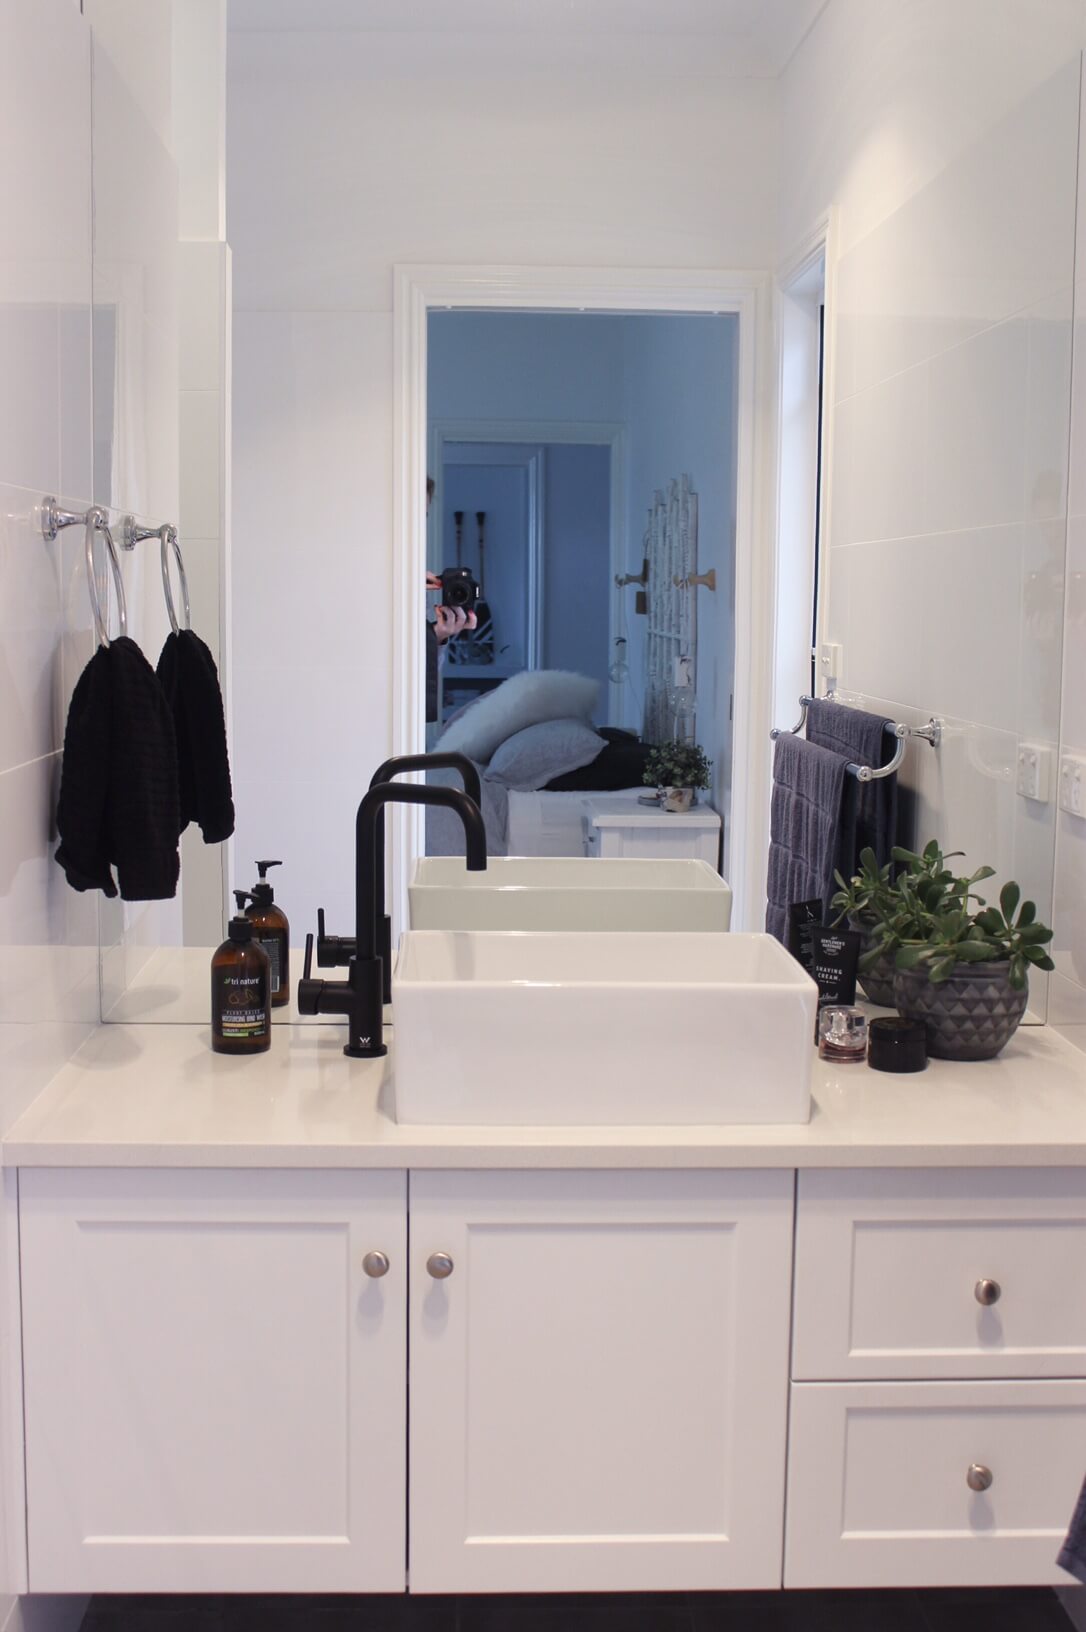
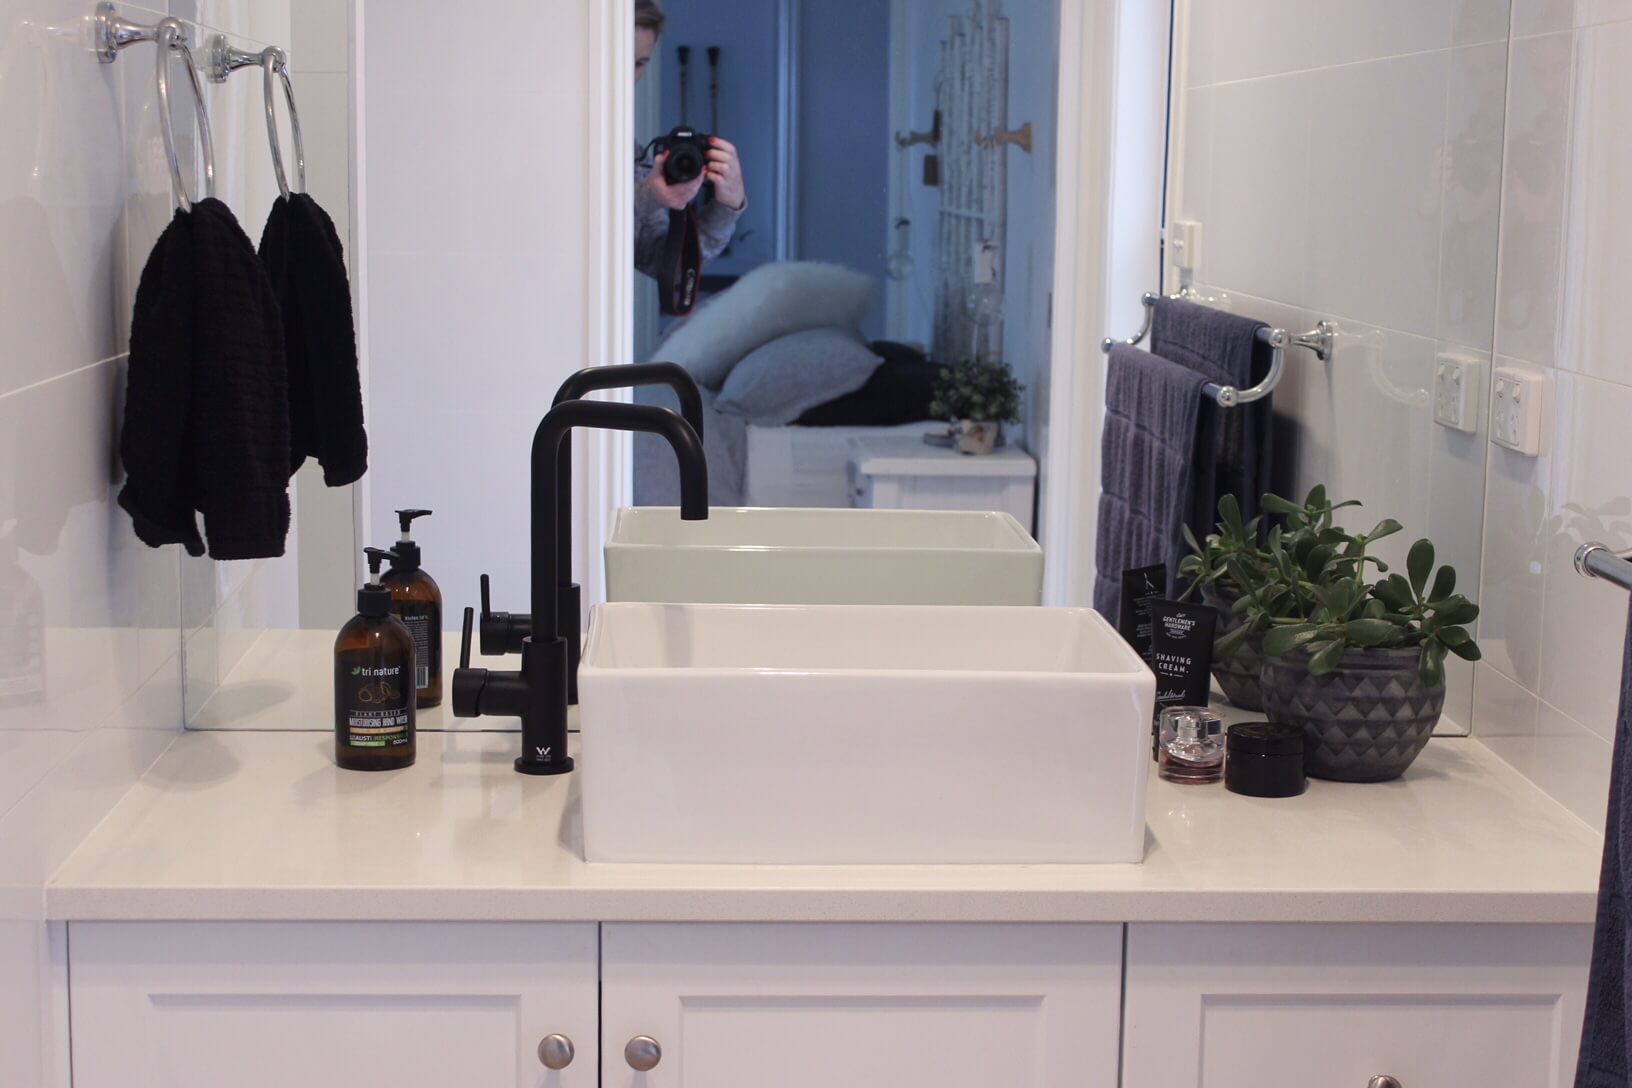
Here is the other one in my ensuite (so hard to get a photo without me in it because the entire wall is mirror!). I know someone will ask – the cabinets were custom made, white satin 2-pack paint and Osprey Ceaserstone benchtops.
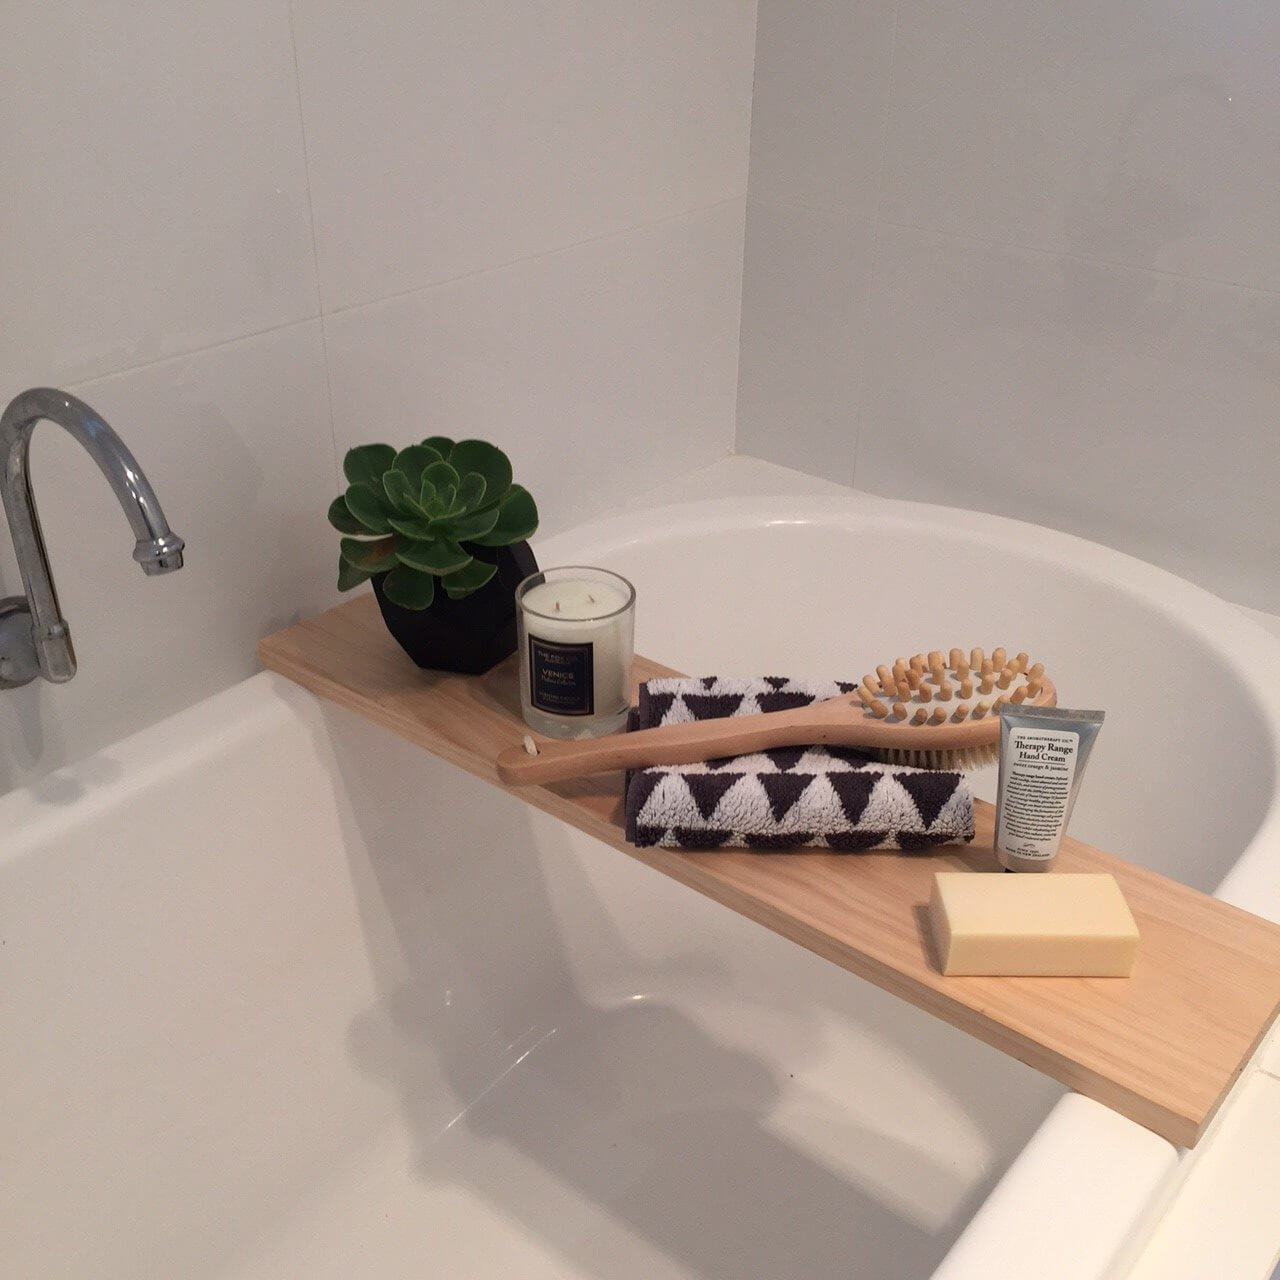
To finish off my mini bathroom makeover I added this to my bath. An $8 piece if pine and a few bits from around my home.
Check out Meir and all their other goodies. They have lots popping up on The Block this season I believe.
♥ KC.
Be the first to read my stories
Get Inspired by the World of Interior Design
Thank you for subscribing to the newsletter.
Oops. Something went wrong. Please try again later.



Comments
Sarah Grenfell
Looks great! I need to do the same in our shower. But now I think I need new taps too.
Kerry
Frickin WOW, what a clever girl you are, looks awesome. Great job.
Kirsty
They look awesome! Exactly what I’m looking for in our ensuite! Do they need any special cleaning products?
Katrina
I’ve just been wiping them over as normal 🙂
Jen
Great post Katrina – and hope you’re feeling better!! I need to do this in our holiday house as the bathroom has the smallest budget ever so Ive replaced the toilet and vanity (limited by the existing plumbing so nothing fancy) but the shower needs re-grouting. Love the zip lock bag idea to mix the grout -Ill do that for sure. Funny I have the same goat wash soap in my main bathroom … is the little cactus over the bath real ? Looks gorgeous! Greta job Jenny (metallicmum)
Katrina
Thanks Jen! Yep the succulent is real, but I bet I kill it haha!!
Larry Adkins
Really cool designs, It looks very luxury and stylish.
Thanks for the lovely post! 🙂
Helen
I am after a vanity that looks just like yours. I love the simple design of the cabinets with the caesarstone top. I was wondering who made the vanity. If you could supply the details that would be great. Thanks Helen
Suzanne
Hi Katrina – where did you get the grout remover tool from? I can’t find anything like it and it looks great. Thanks.
Katrina
I’m pretty sure it was just from Bunnings 🙂