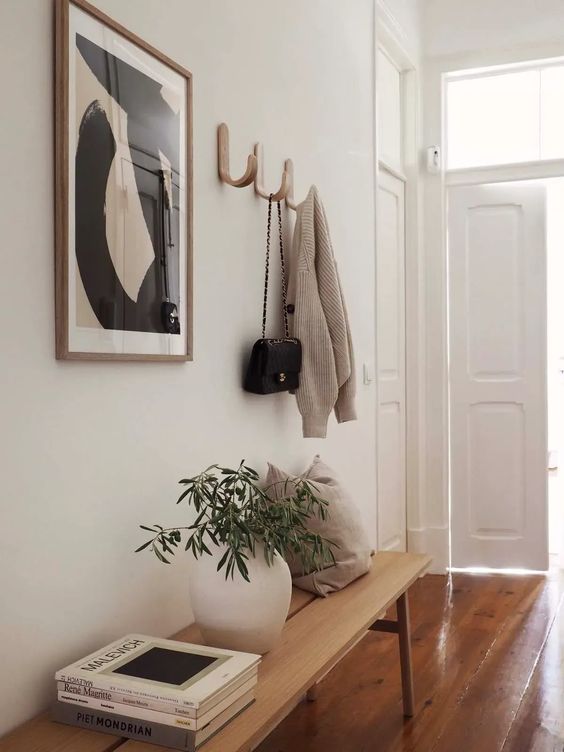
Hanging a single piece of art is a simple yet impactful task that can significantly affect your space's aesthetics. Here’s how to ensure a seamless and visually pleasing display: Choose the Right Location Select the ideal spot for your artwork, considering the room's purpose, existing decor, and desired focal point. Make sure the wall you …
Hanging a single piece of art is a simple yet impactful task that can significantly affect your space’s aesthetics. Here’s how to ensure a seamless and visually pleasing display:
Choose the Right Location
Select the ideal spot for your artwork, considering the room’s purpose, existing decor, and desired focal point. Make sure the wall you choose can support the weight of the artwork.
Measure and Mark
Before hanging your art, measure its height and width. Use a pencil to mark the ideal location.
The centre of the artwork should be about 145 to 152 cm above the floor, aligned with eye level.
Adjust this based on your personal preferences and typical viewing distance.
Locate Studs or Use Wall Anchors
It’s best to hang your artwork securely by locating the wall studs. Use a stud finder or tap the wall to listen for a solid sound, indicating a stud. If studs are not available or in the desired location, use wall anchors or specialised picture-hanging hardware that can support the artwork’s weight.
Prepare the Hanging Hardware
Attach the appropriate hanging hardware to the back of your artwork. Simple picture wire or D-rings work for lighter pieces, while heavy-duty hooks or wall brackets are better for larger or heavier paintings.
Position and Hang
Hold the artwork against the wall, aligning it with your marked spot. Use a spirit level to ensure it’s straight. Once aligned, carefully place the artwork on the wall hooks. Step back and make adjustments to ensure it’s centred and level.
Finishing Touches
After your artwork is securely hung, inspect it from different angles to ensure it appears straight and balanced. Make any necessary adjustments, then erase any pencil marks or touch up the wall for a polished look.
Be the first to read my stories
Get Inspired by the World of Interior Design
Thank you for subscribing to the newsletter.
Oops. Something went wrong. Please try again later.


