
Brought to you by Command™ Picture Hanging Strips. I move prints around in my home all the time. Of course, every time I do this I end up with holes on my walls (which annoys my husband to no end). I've been wanting to put these huge 60 x 90cm prints up for a while, but …
Brought to you by Command™ Picture Hanging Strips.
I move prints around in my home all the time. Of course, every time I do this I end up with holes on my walls (which annoys my husband to no end). I’ve been wanting to put these huge 60 x 90cm prints up for a while, but I haven’t been able to decide on where they would look best.
So instead of whacking a few more holes on the walls, I was glad when Command™ Picture Hanging Strips came to my rescue! I could put the prints up, take some photos and then decide on which spot works better. Actually, YOU can help me!
I bought the prints online (I wrote about them here), got them printed at Officeworks and I purchased the large frames for $15 from Kmart.
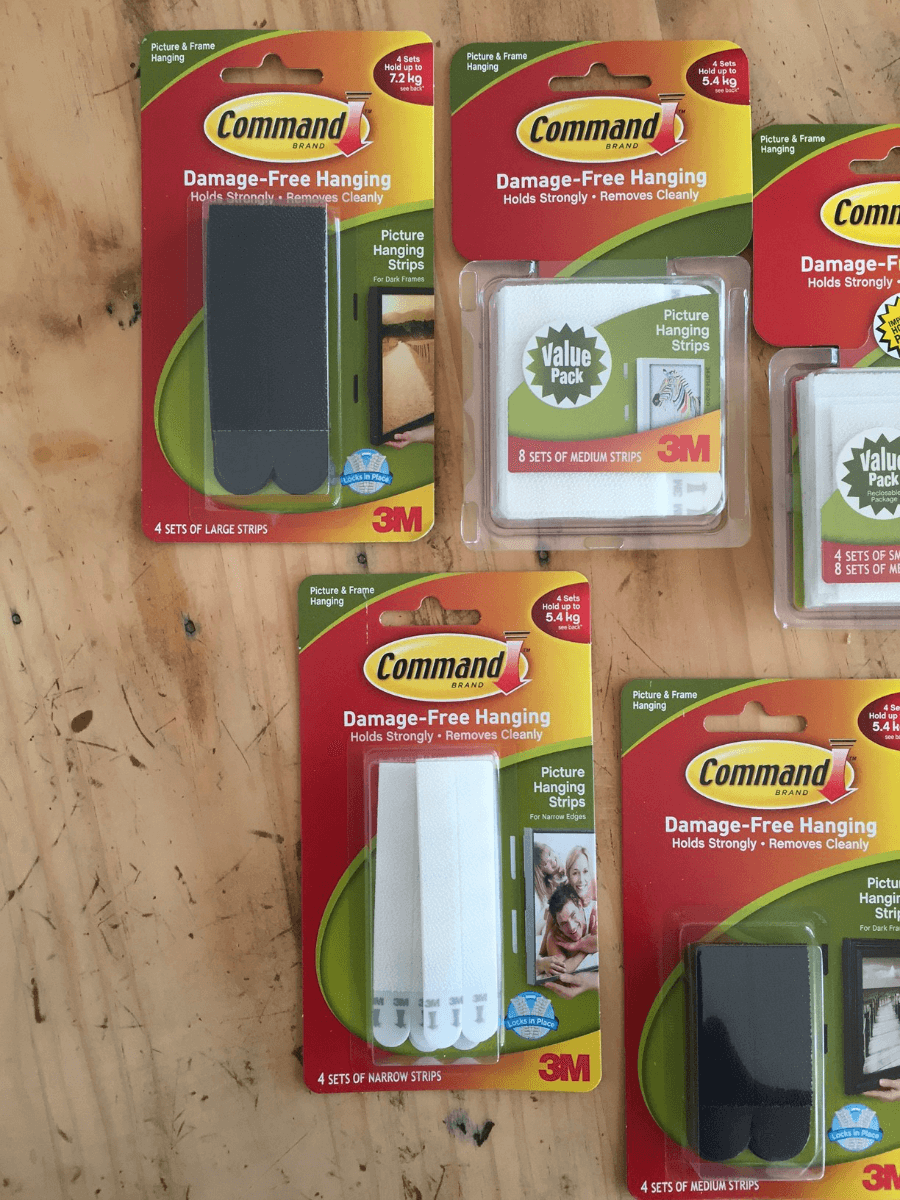
I haven’t used the Command™ Picture Hanging Strips before, but was eager to give them a go. They come in so many different sizes to suit your wall hanging. I made sure I picked the right strip for the size of the frame. There is a handy guide on the back. So for me, I need the strips to hold 7.2kg as the instructions say they will hold a 60 x 90cm frame.
 I positioned the strips as per the instructions – 4 x sets of strips on each frame.
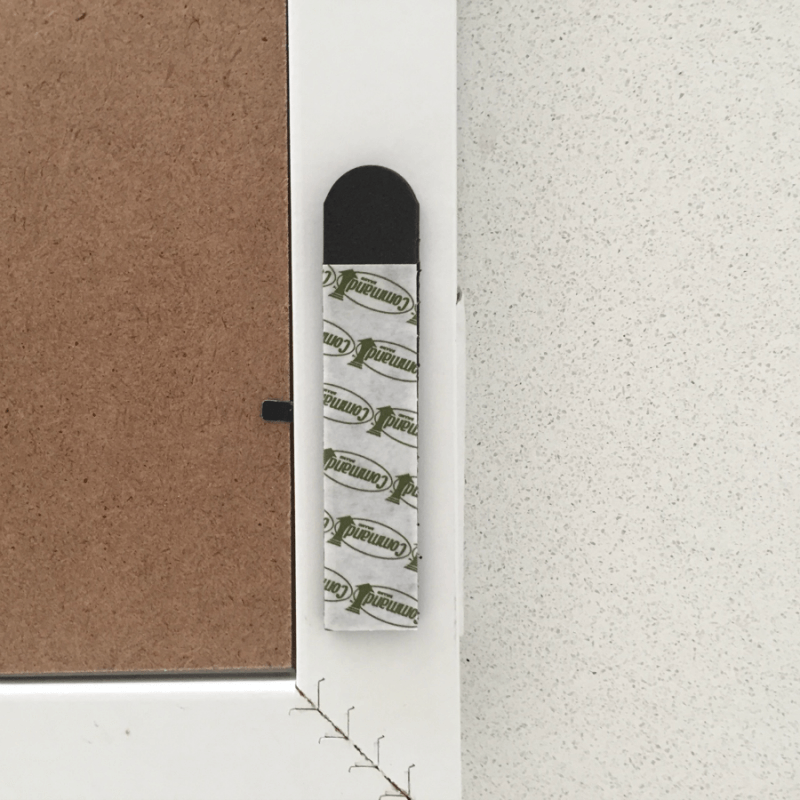
They were so easy to put on the wall. Remove the little plastic sticker back and then push the frame on… If they are a little crooked you can easily re-position. You can watch a good video here too.
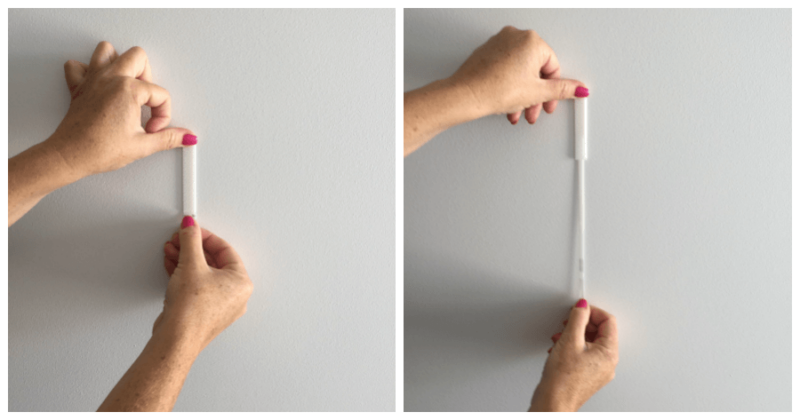
All you have to do is gently pull the frame upwards from the bottom and you’ll hear a velcro sound.
- You then need to press firmly for 30 seconds before removing – left behind will be 4 strips and the matching ones will be on the frame.
- Ideally remove the picture for 1 hour before re-hanging for maximum strength.
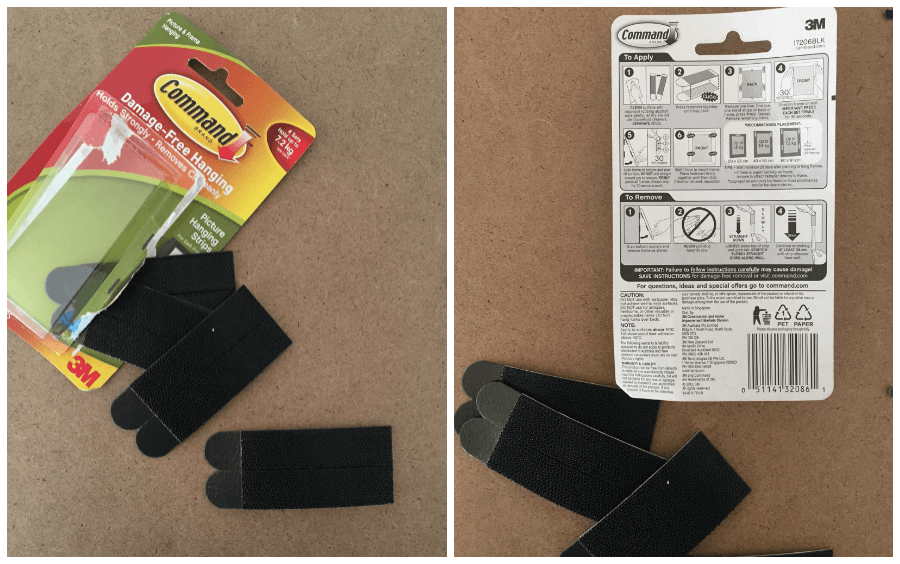
The strips come in both black and white – I used the black ones here as they were easier for me to photograph.

I had a go at removing them altogether and it’s easier than ever. Just gently pull the flap directly down and it’ll be off in a matter of seconds.
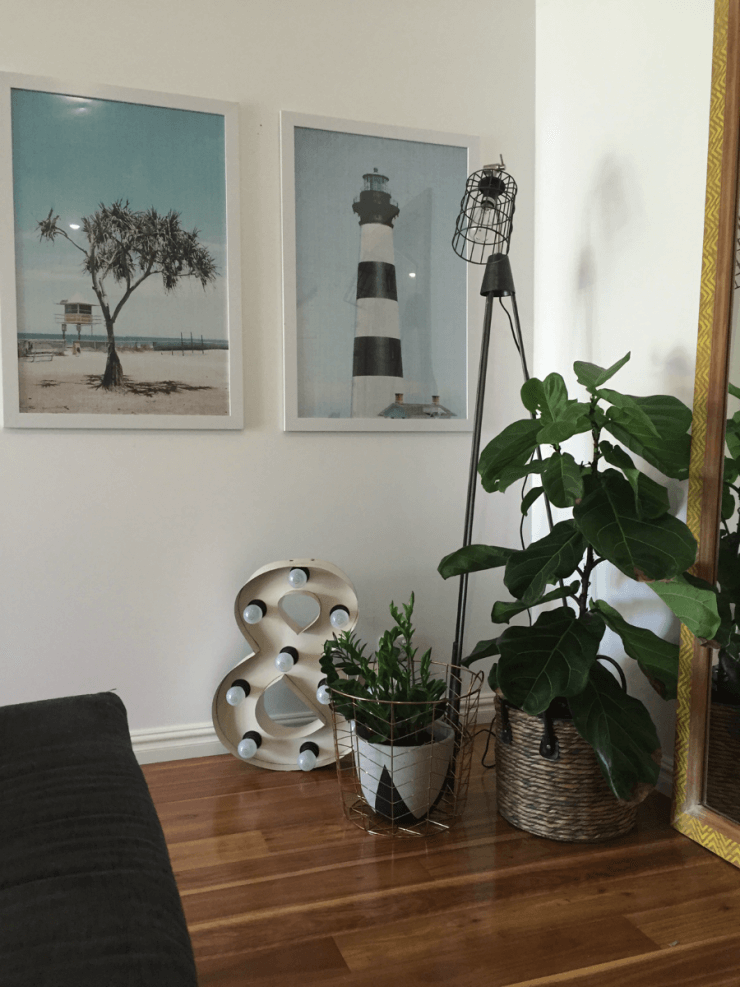
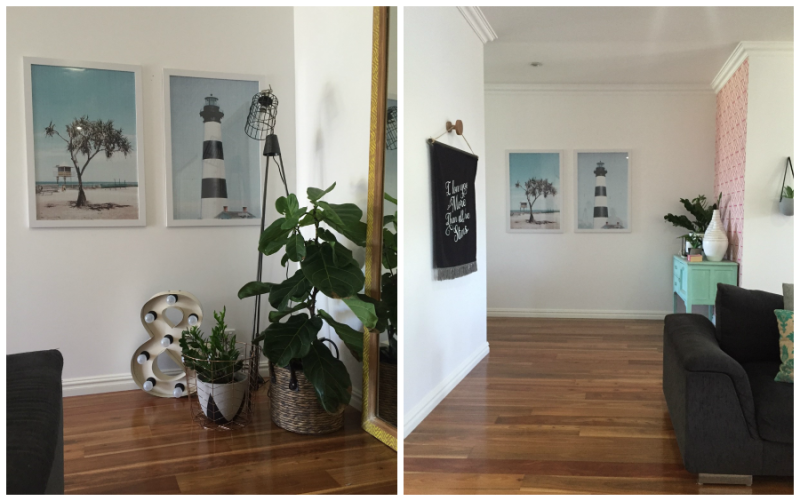
But then I wasn’t sure if I really liked them in this spot, so I decided to add another set of strips and place the frame on an opposite wall to see what they would look like…
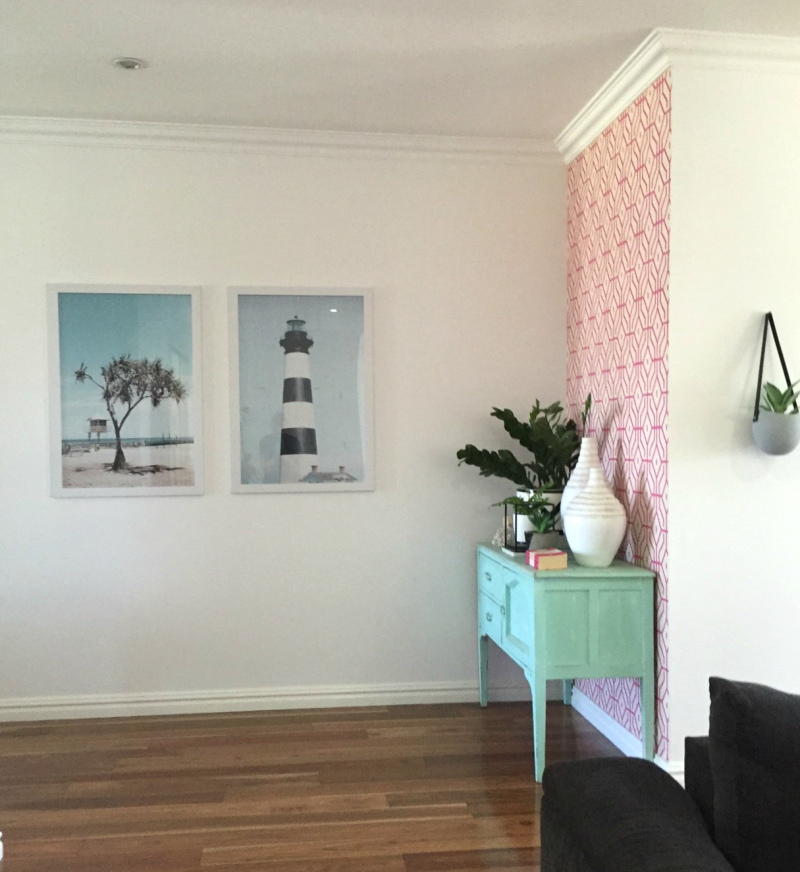
What do you think? The left or right photo?
Just for voting in my comments below I am going to give you the chance to win an awesome prize!
20 readers will each receive a pack of large size Command Hanging Strips capable of safely holding up to 7.2kg.
CLOSED. WINNERS ANNOUNCED IN THE COMMENTS.
Giveaways are in accordance with my disclosure policy.
See more…
Tara Dennis demonstrates a great video here below so you can really see how easy it is!
Plus head to the Command Facebook page for lots more ideas!
♥ KC.


Comments
Rachel Mudge
I like the print on the right ????
Louise
The right looks classy
carol ferrone
Love the pic on the right, takes me to a faraway oceanside place…
Katrina
Hi, you’re a winner of the Command Hanging Strips pack. Please email me with your address to claim your prize. Thanks!
Cheryl Kennedy
On the right ????
Katrina
Hi, you’re a winner of the Command Hanging Strips pack. Please email me with your address to claim your prize. Thanks!
Jessica McIntosh
I like the left ???? Iam about to move and going to use command to create a gallery wall
Lachlan
Right ☺☺
Meagan Green
Right looks simply beautiful ????
Chrissie Taylor
Left
Tracee Goldspink
Left
Anna moore
I like them on the left, they go nicely with your floor display plus you double get to see them with the mirror there ????
Katrina
Left ????
Kirsty Rawlings
Love these prints. Think the left photo ????
Karina
I like the one on the left.
Kirby
I like the left
they are apart of something special not just on a wall…….
I have just printed 80 of my own instagram prints ranging from 4×4 to 12×12 to enter in the show and my favs will be going on my walls so these command hanging strips would be awesome ????
Thanks for the opportunity
Nicola Hardaker
Loving the left!
Karen
Definitely the left. The colours in the prints goes with the rest of the decor around it but the right fights with the pink and green. Love love love command strips. Was just waiting for our walls to be repainted in our maintenace check but I’m good to go now hanging stuff!
Renee
I like the left!
Tess O'Brien
I like them on the left. Works well with the pieces you have around them.
Kimberly
I’m loving the left. Looks perfect!
Helen N Daryl Law
Definitely Left
Leah
I love the left. The blue in the prints with the greenery looks great.
Lauren Nelson
I love the look on the left! Right looks good as well, but personally I would pick the left, it suits better with the surrounding items