
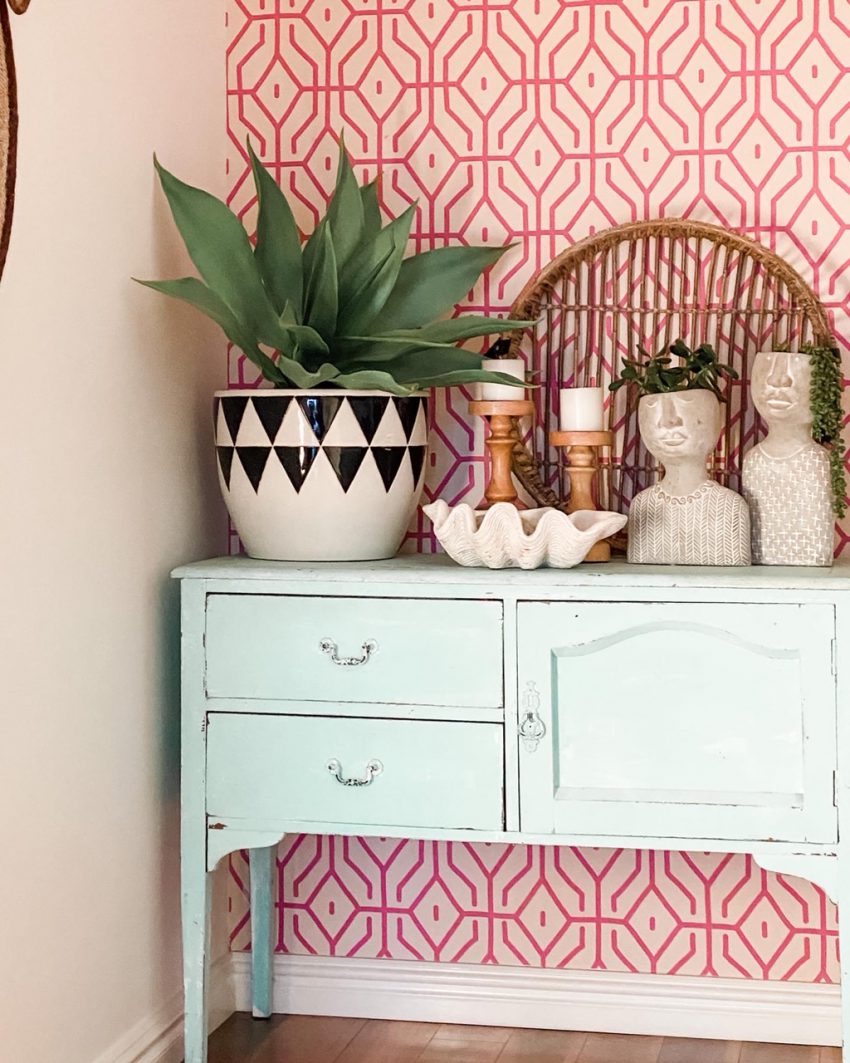
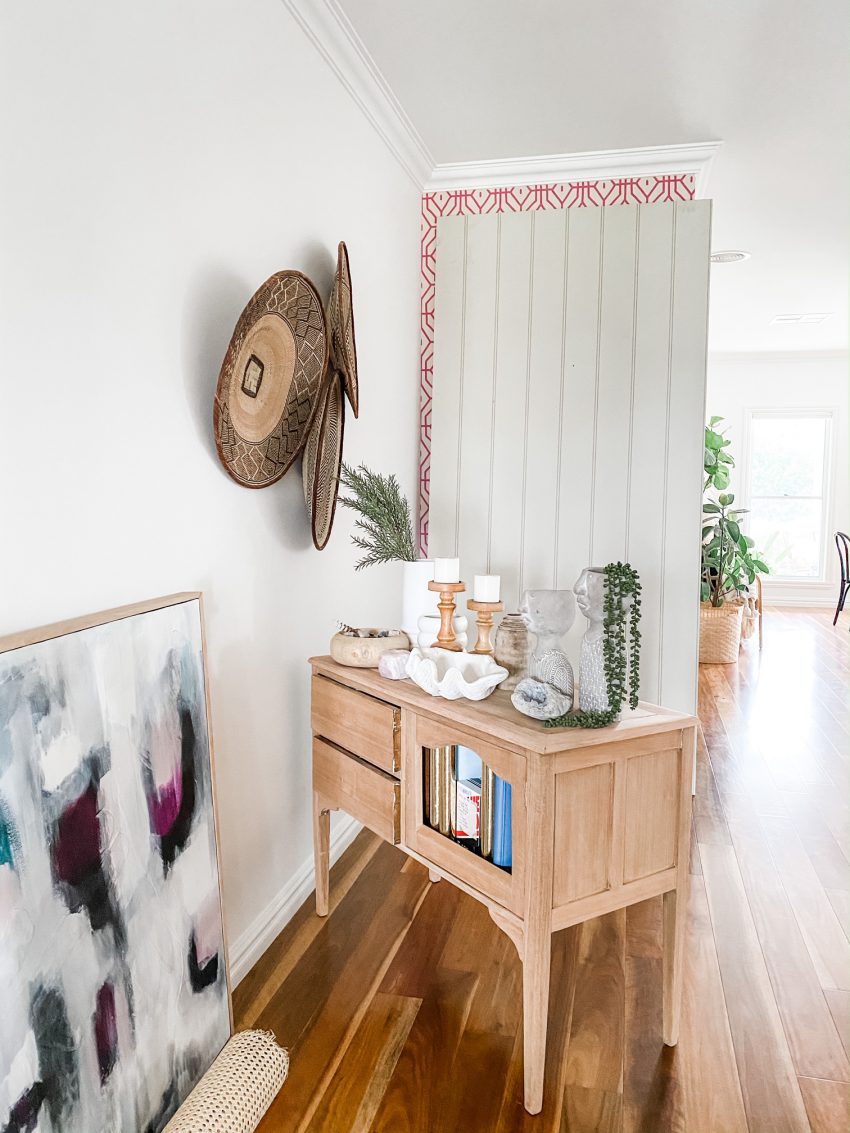
I woke up one day and said right I'm going to change this corner around! As you do, when you've got a lot of time at home staring at things. I bought this little cabinet at a garage sale about 12 years ago. It was actually painted brown, and then I painted it white. At …
I woke up one day and said right I’m going to change this corner around! As you do, when you’ve got a lot of time at home staring at things. I bought this little cabinet at a garage sale about 12 years ago. It was actually painted brown, and then I painted it white. At some point I then added a greeny/blue paint. I also put this wallpaper up about 7 years ago, so it was due for a change!
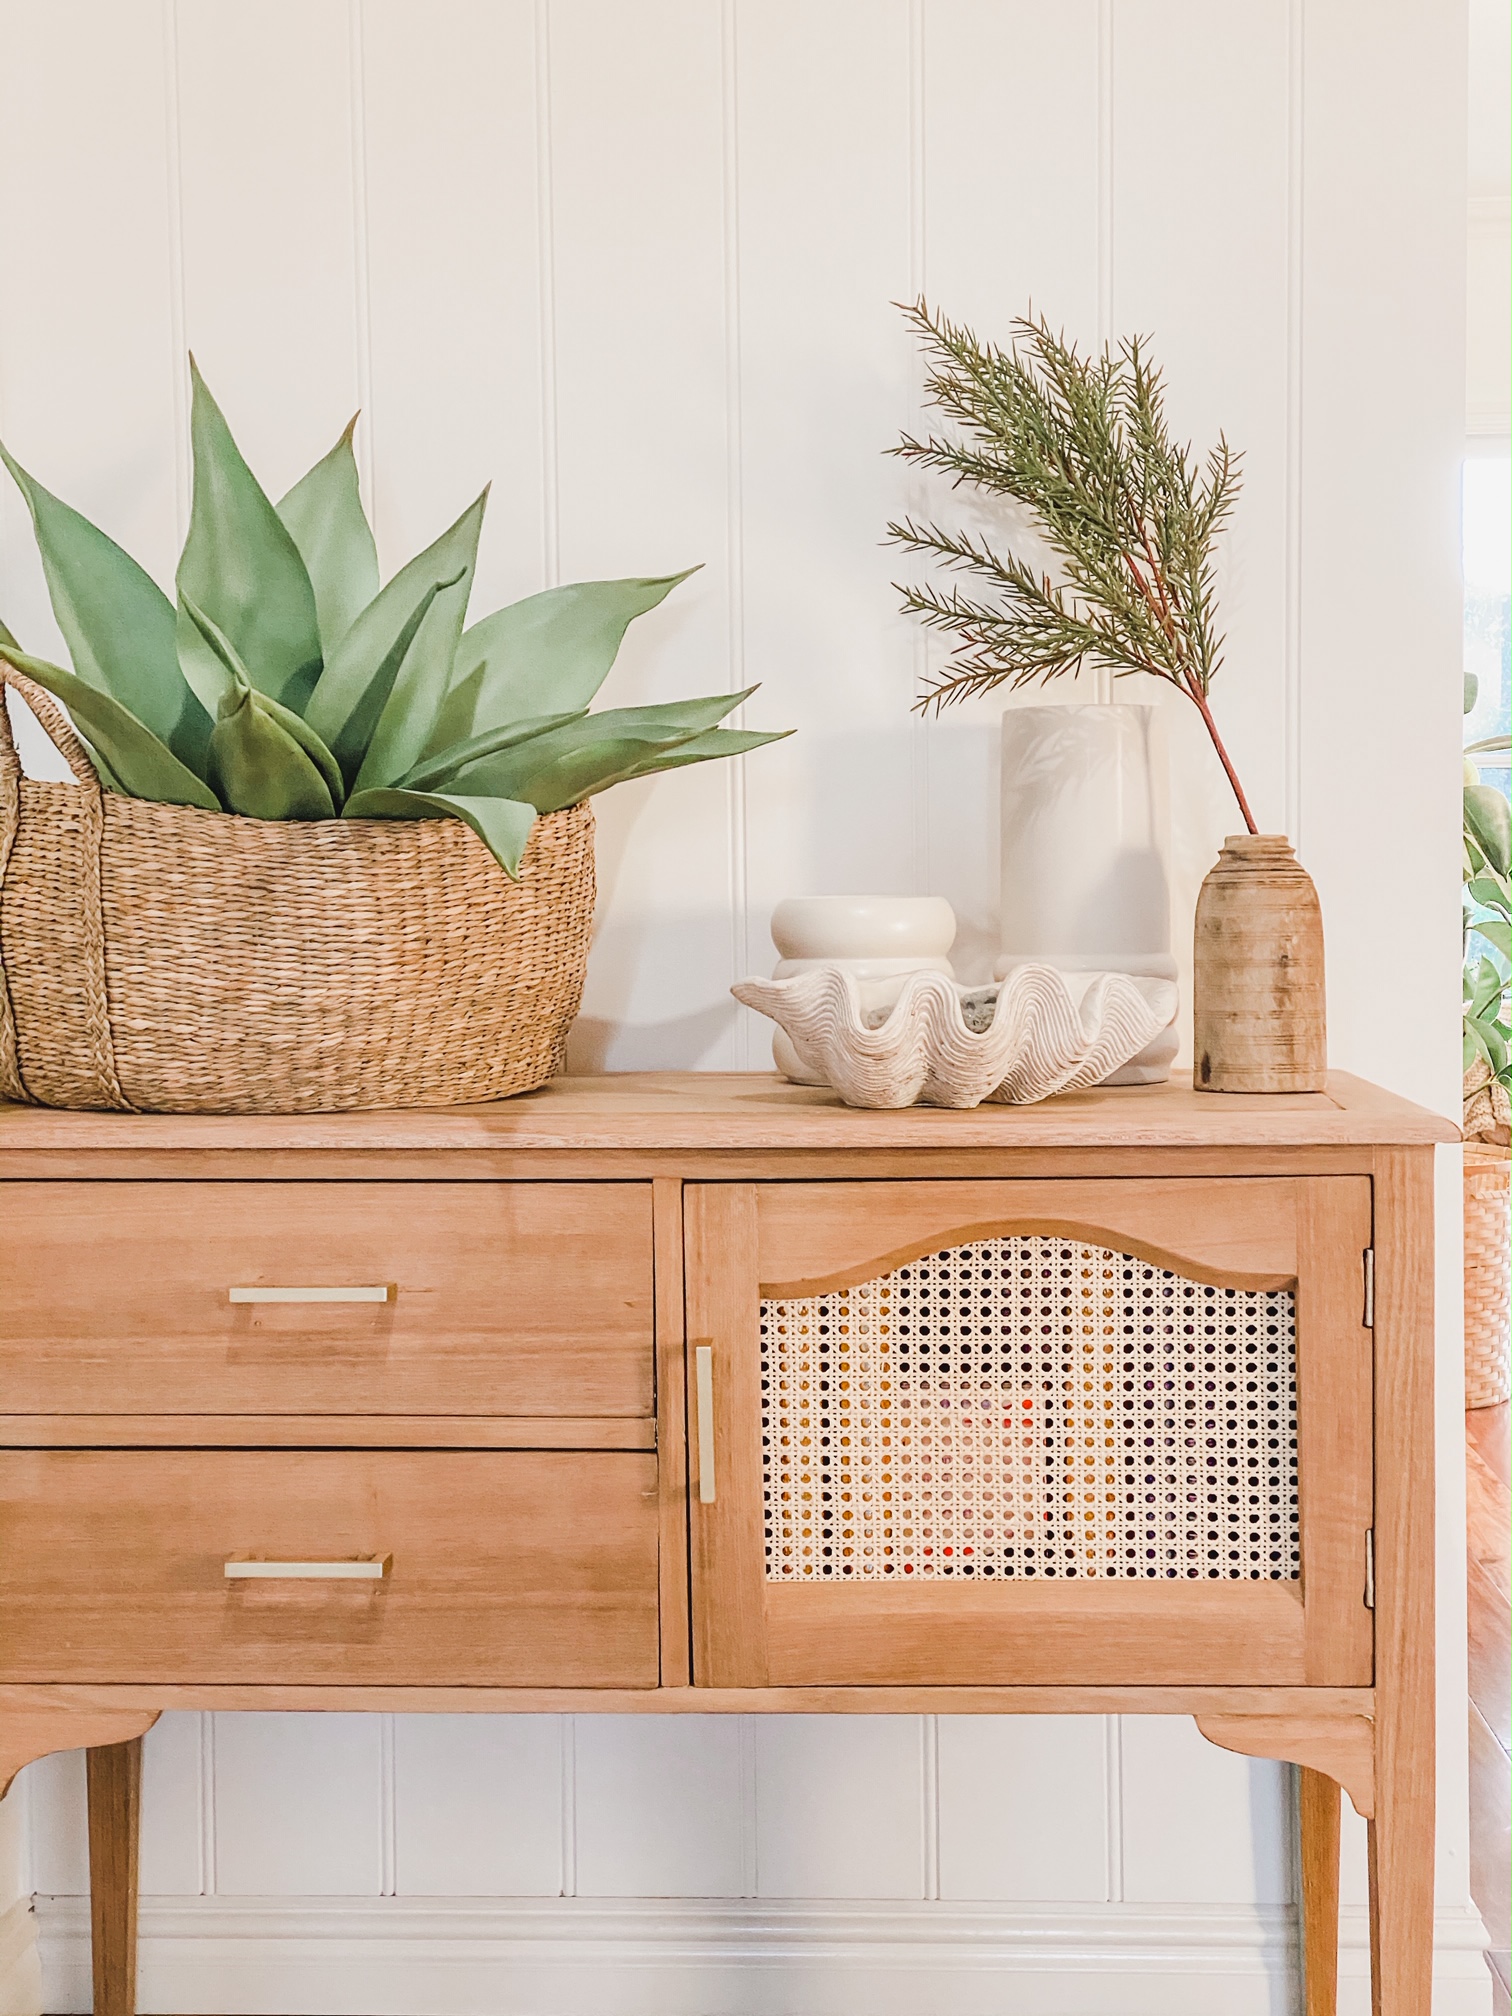
All I needed to do was sand the cabinet back and add some VJ panel over the wallpaper and I knew it would be a fresh new space.

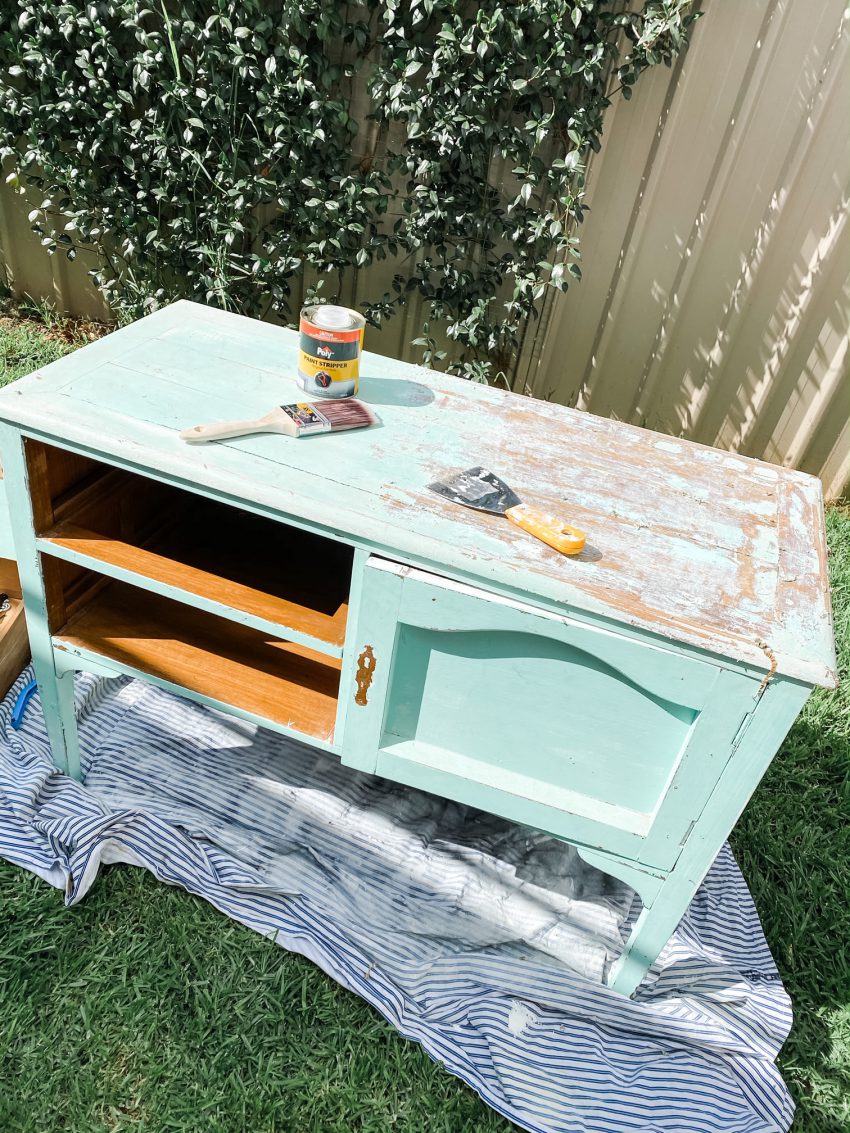
I thought this job would be pretty easy but this went on and on for about 2 weeks. I almost threw it out and I started looking for a new cabinet, but I persisted.
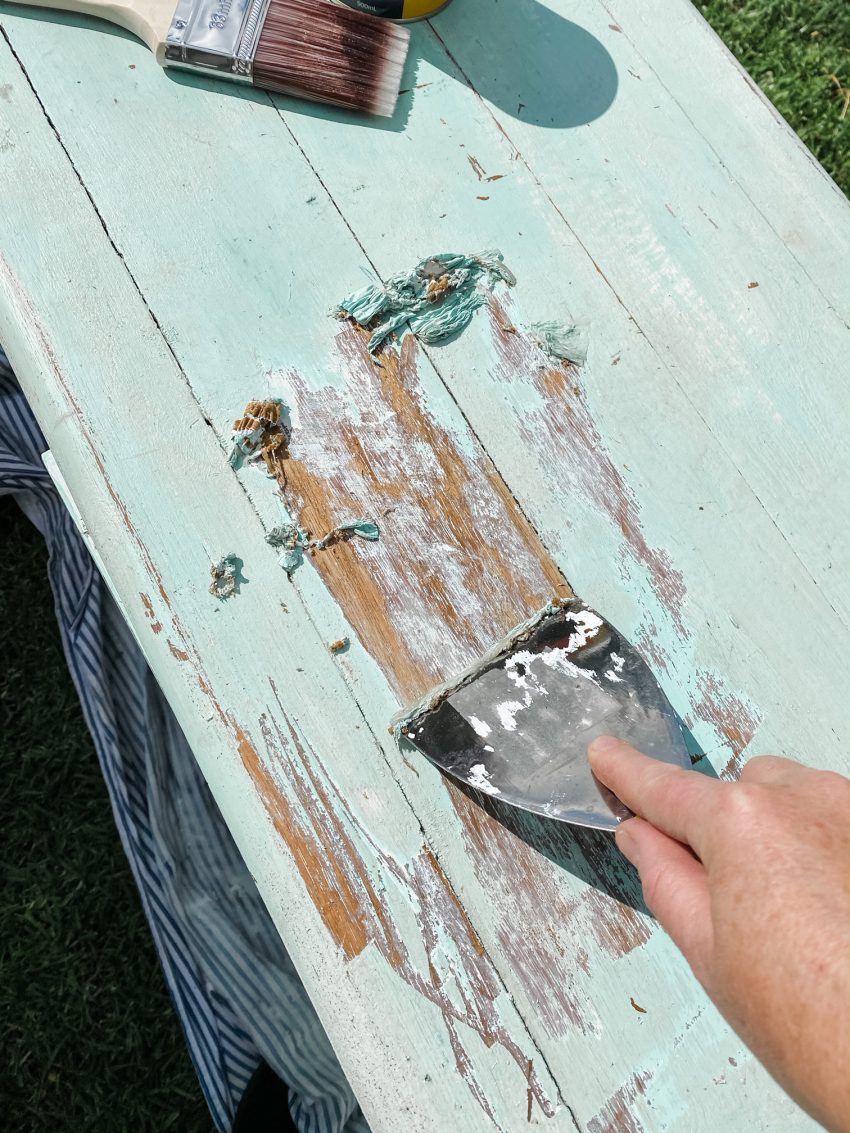
Paint stripper was the easiest and quickest way to lift the layers of paint. It’s a blessing that stuff! It stings your skin if you’re not careful and you have to work quickly, but it will remove the bulk of paint easily.
We took the old handles off and that wasn’t easy because the screws were wrecked, but a kid finally got them off.

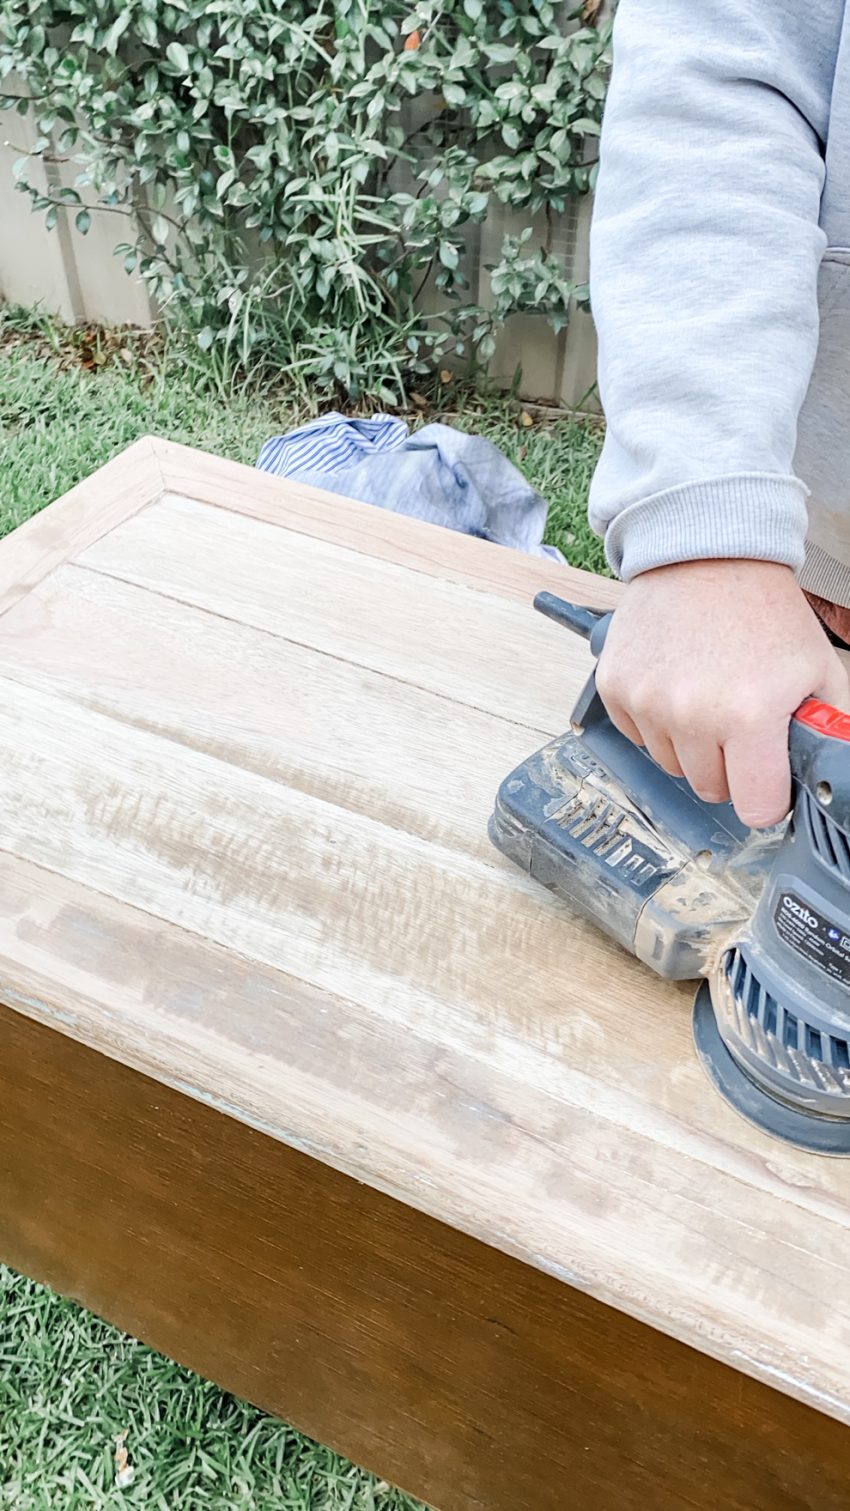
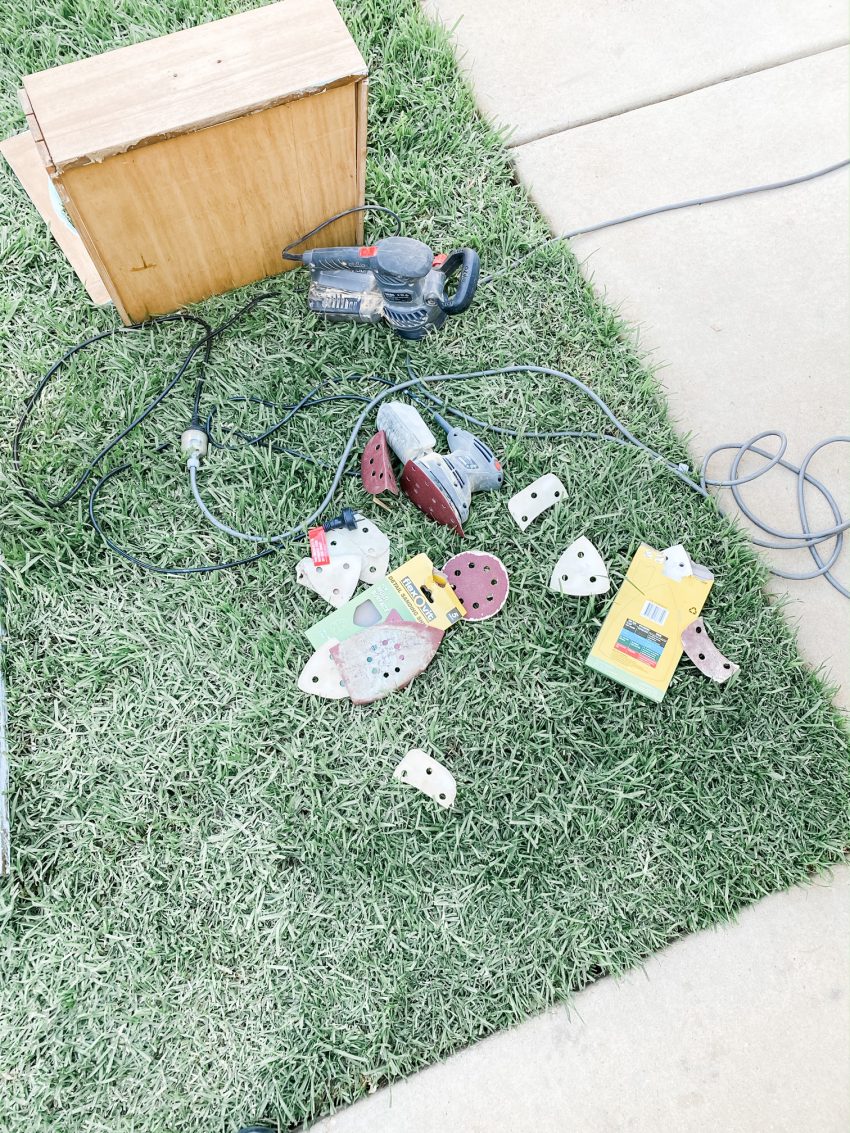

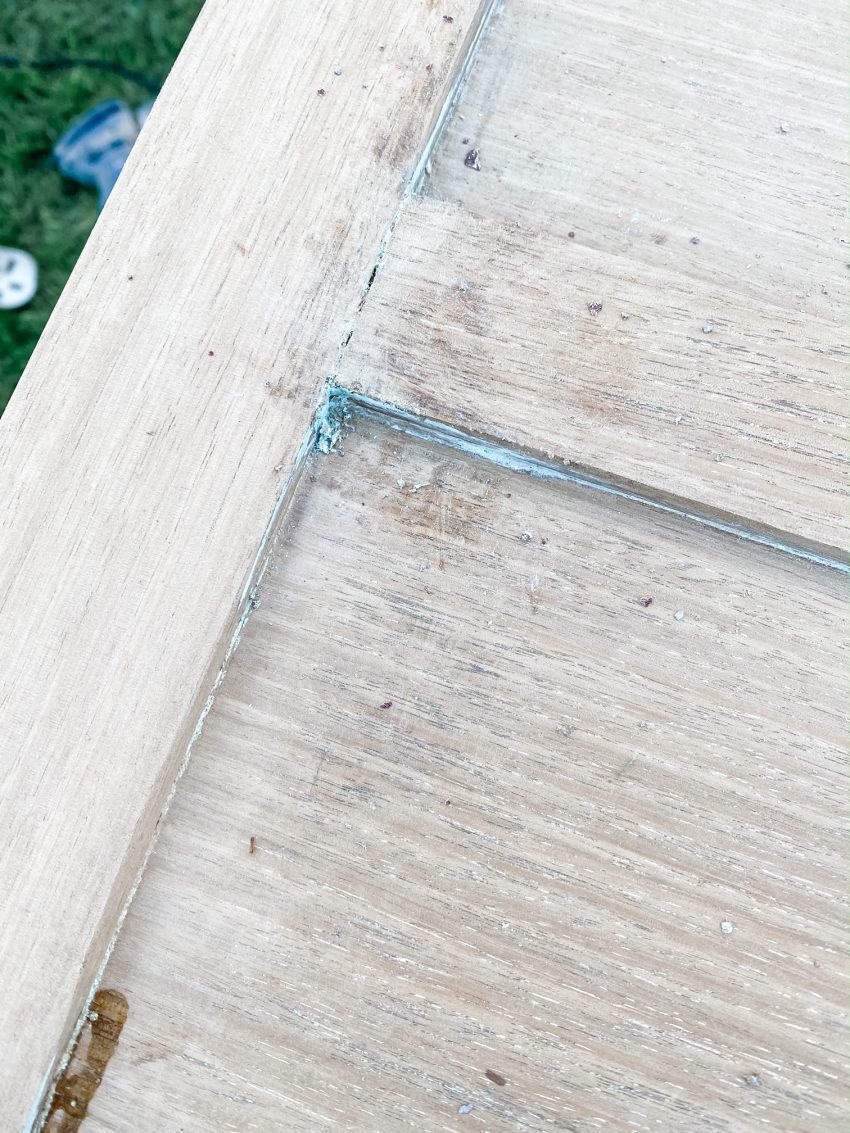
Then the sanding…. oh there was lots of it!! I had two sanders – a large one that just ripped in and a smaller one to get in the edges. I had the kids taking turns because I was getting sick of it. I even had to get a little Stanley knife to flick paint from within the corners.
Then I popped the middle panel out of the cupboard and bought a little piece of cane webbing from eBay (just search over there). And that took 2 full weeks to arrive so I was really getting sick of it all by then haha!
I had put a soft wax over the top as the final finishing touch but I didn’t like the way it made the cabinet looked. SO again I put it back outside and sanded the whole thing again and now I’ve left it raw! That’s why I nearly threw it out ;).

I used a staple gun to secure the cane webbing and I added some brush gold handles (from Bunnings). I did have to wood-fill a couple of old holes and re-sand them because I couldn’t find handles to match the old holes.

One of my kids attached the VJ board (which I had to special order from Bunnings for the height) and I painted it Vivid White to match the rest of my house.
Then it was finally done!
I’m glad I kept with it, because I do love the way it all turned out.


Comments
Carine
Bravo !
Mira
Lovely cabinet. Glad you did not throw it away. Re: cane webbing from eBay. Is this the one you ordered … ,bleached’ 3/8″ super fine bleached pre-woven cane webbing 24″ wide. https://www.ebay.com.au/itm/3-8-super-fine-bleached-pre-woven-cane-webbing-24-wide-Sold-by-the-inch-chair-/381958978807. Thank you.
Janice
Love it…looks fabulous ?