I recently had another opportunity to add a shaftless skylight in my bathroom thanks to illume™ Shaftless Solar Skylights. I used one previously in my home office and I was keen to also get one in my main bathroom. It’s a three-way bathroom, so there is no window in the vanity/sink area. It can get …
I recently had another opportunity to add a shaftless skylight in my bathroom thanks to illume™ Shaftless Solar Skylights. I used one previously in my home office and I was keen to also get one in my main bathroom. It’s a three-way bathroom, so there is no window in the vanity/sink area. It can get dark in there when the doors are closed to the shower/bath or toilet. To brighten the entire space up with minimal effort or cost I went for another DIY project. You can install an illume™ anywhere in your home as no roof access required.
Kimberley Products were good enough to send me a new illume to place up in my ceiling.
Come and see how we did this project…
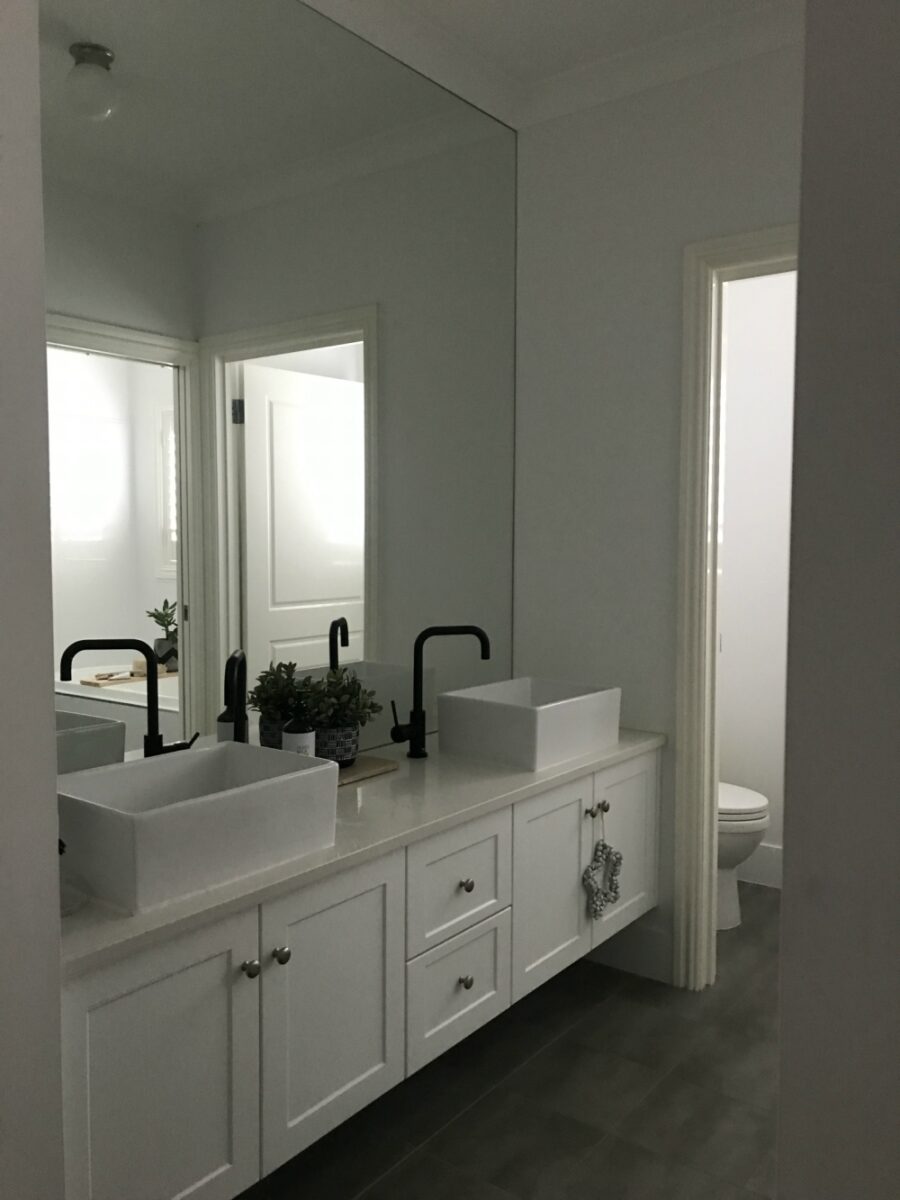
What is a shaftless skylight?
- It’s DIY – this was appealing because it meant the price would be kept right down for this project.
- There’s no shaft – so no worrying about roof height, leaking issues or tricky installation.
- It works via a cord. You install the diffuser panel in the ceiling of your room, then jump on the roof (my husband did this one!) and place the solar collector in position where you’ll receive most of the sunlight during the day (it’s as simple as screwing it to the roof), then connect the cord between the solar panel and the light panel.
- The light will then shine on through!
- I will point out it’s not natural light as such coming through (hence no shaft). It’s more of a light source (that feels similar to a traditional skylight).
- It turns itself on in the morning when the sun starts to rise and turns off at night.
- It’s less bright on a cloudy day and brighter on a very sunny day.
- Installation time was maybe half an hour (once the hole in the bathroom was marked and cut).
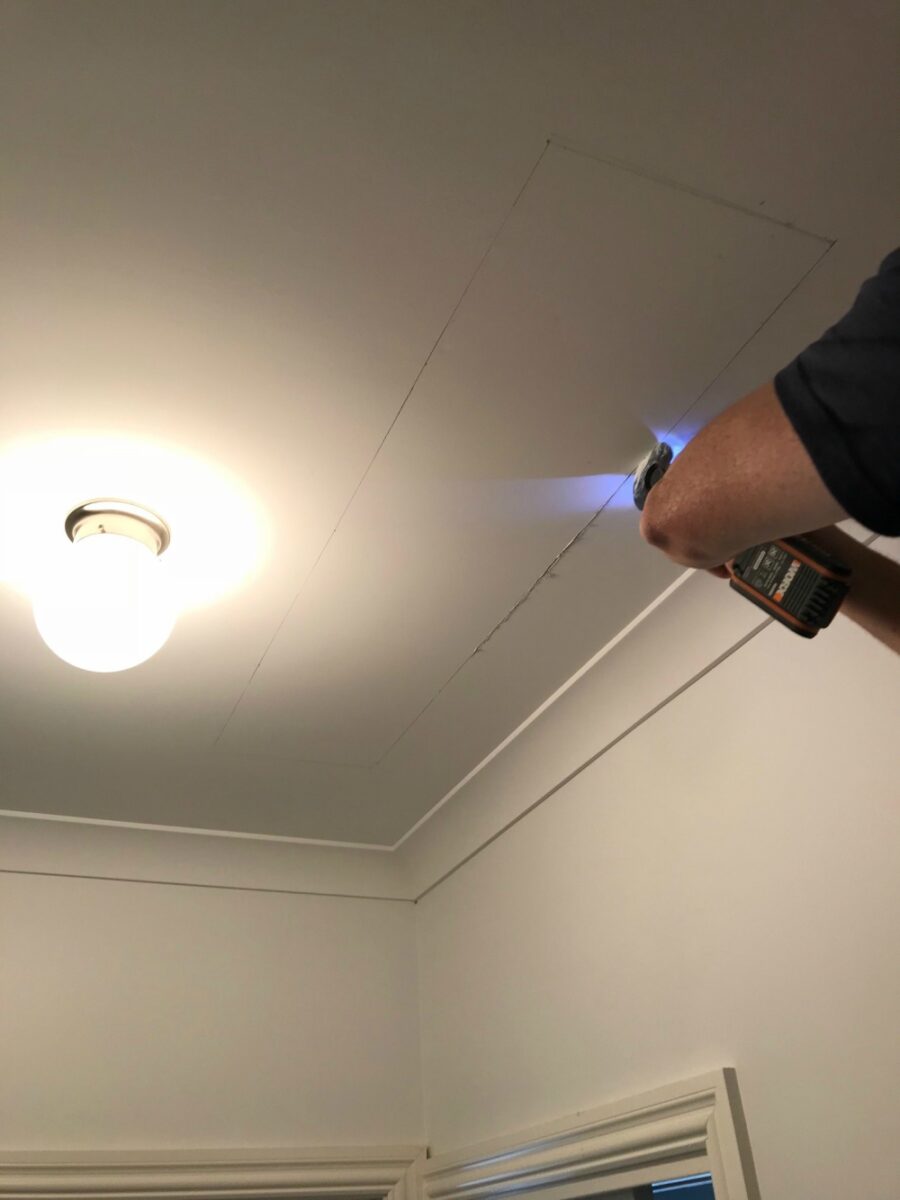
I went for a flush mount style. This means you have to cut the plaster out to fit the illume. However, you can also buy the surface mount style. See those differences here. I also didn’t want to move the existing light, so the size best suited to this space was 300 x 1200mm in white.
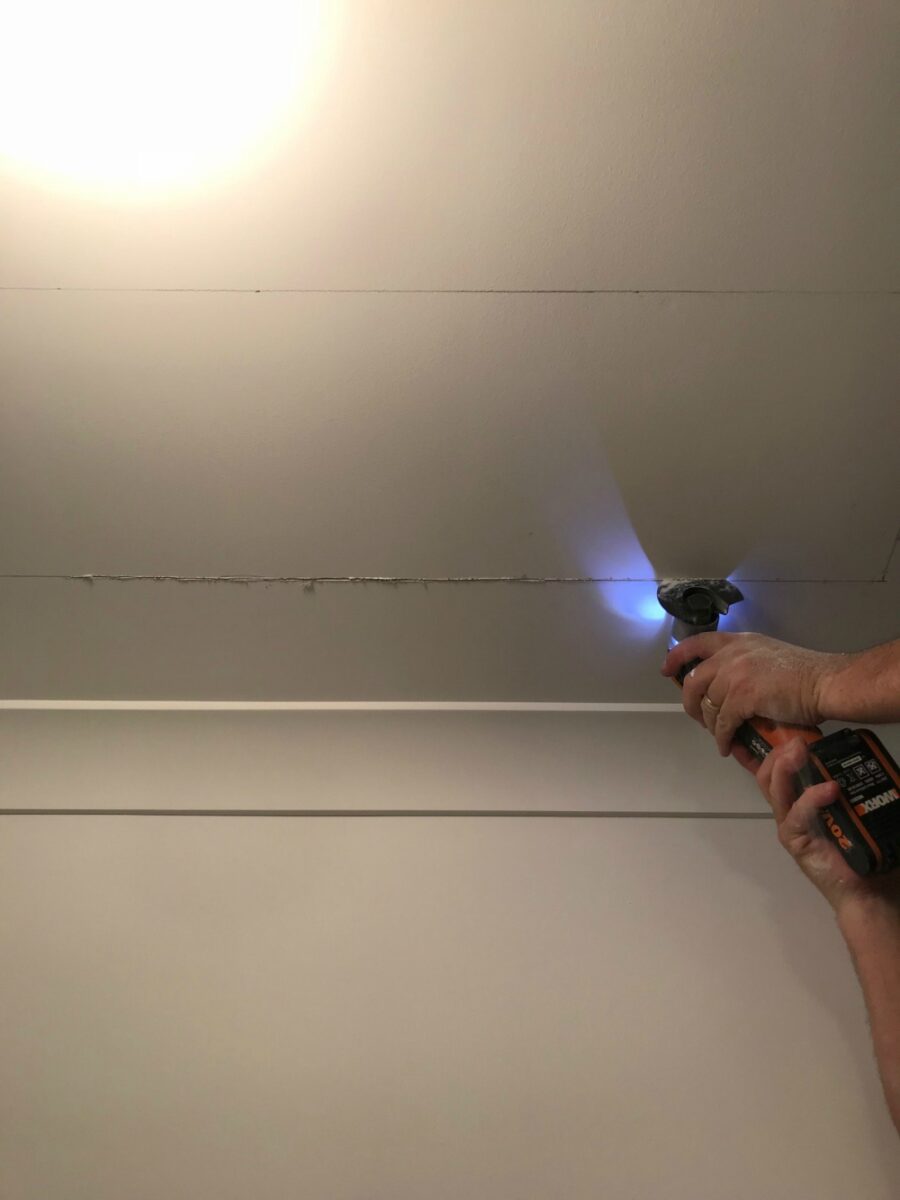


We made a huge mess haha. But it was an easy simple job! We have a little renovator tool which cuts plaster so easily. We just marked out the cut with pencil and started cutting.


It requires no specialist tools or trade skills. Once we’d cut out the templated hole in ceiling plaster, simply mount the solar collector on the roof, connect the cable and you’re done. It wasn’t hard at all.
Now I am loving my new brighter, whiter bathroom!
Head over to the illume™ website and check out the sizes, products and where you can buy one. Happy DIY-ing! ♥ KC.
Be the first to read my stories
Get Inspired by the World of Interior Design
Thank you for subscribing to the newsletter.
Oops. Something went wrong. Please try again later.




Comments
Skye Sears
I need this
Suella Hill
Who is the local supplier Katrina hope there’s one in Albury I had a similar one put in our ensuite when we built but I need one in the main powder room downstairs they look like a great idea
Katrina Chambers
Check eBay or Bunnings
Suella Hill
Katrina Chambers thanks will do
Nic Shaw
You always post things ‘at the right time’
We have the exact same bathroom setup & are in the process of planning our skylight …
now we have saw your post , we are definitely going to go this way.
A lost cheaper & easier & looks fantastic.
Thankyou x
Katrina Chambers
That’s good! It’s really easy. Chambo happy to give you tips x
Melanie Rosengren
I bought our from Bunnings. Love it.
Bron Maxabella
What’s the light quality like, Kat?
Matt
A great way to stop your bathroom getting damp and mouldy. And a great way to lighten up a bathroom too
Maria Stephenson
Lucky you. Love the towels.x