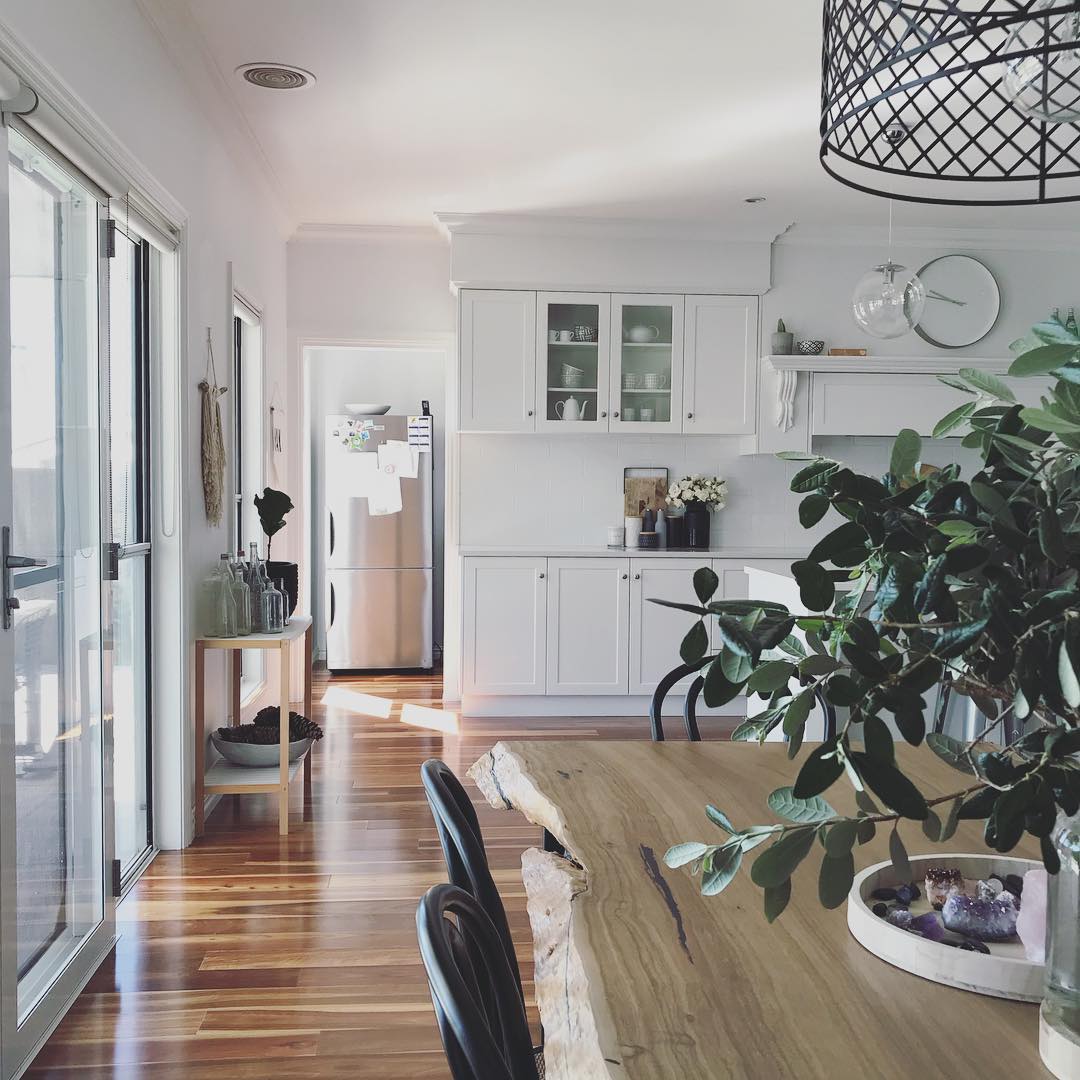
I have a good sized walk-in-pantry. It's behind my kitchen. You can see the fridge above on the left and then the photo below you can see the fridge again, so it's tucked behind the kitchen. It's pretty big, and I love it! But when we built the house 5 years ago, I had to …

I have a good sized walk-in-pantry. It’s behind my kitchen. You can see the fridge above on the left and then the photo below you can see the fridge again, so it’s tucked behind the kitchen. It’s pretty big, and I love it! But when we built the house 5 years ago, I had to sacrifice stuff (you know, budget!) and didn’t get the bottom shelving done. It was always a job “we’ll do later….” 5 years on and finally I have some shelves. My husband did these in about an hour and it hardly cost a thing so I have no idea why we didn’t do it earlier! I thought it would be harder than it was.

My husband and I make a pretty good team. I am the one who plans a project, writes down how it’s to be done, explain it and then buy the stuff. Then he’s the one to bring it all together.

Sooooo…. how do you add shelves to melamine??
- First we measured up the new shelves. We bought 3 pieces at Bunnings ($18 each) and asked them to cut/rip the pieces to the exact size (depth and length).
- Then make new small holes for the plugs. You need to do some careful measuring and put a piece of tape on your drill so you don’t drill too far. The little plugs cost $4 for a pack of 12.
- To hold the back of the shelf up we braced with a piece of pine ($5 each) which we cut to size at home. Drill this under the back top of the new shelf (find studs).
- We even did the corner! To brace the front part of the corner I bought a strap style bracket for underneath.
- To finish it all off we added white no more gaps around the edges.


Finally, I had a massive cull! I went to Kmart and the Reject Shop and bought new baskets. I hate the deep freezer – it’s ugly and again it was one of those things where “we’ll replace that so it looks nicer“… but never got around to it. It works and it’s chock-a-block so it will just stay…


There you go! Much better in my eyes. This was such an easy DIY and I am happy with the final results.
♥ KC.
Be the first to read my stories
Get Inspired by the World of Interior Design
Thank you for subscribing to the newsletter.
Oops. Something went wrong. Please try again later.


Comments
Phil
Hello Katrina
have you published a plan of your own house, so we can see some of your own ideas on the screen!!
Thanks Phil
Amanda
What size are the baskets in your pantry?